Marlin is one of the best and most powerful 3D printer firmware. It is also available for the Kingroon KP3S 3D printer. Today we will show you how to build Marlin firmware for your KP3S and set it up.
* Before that, we must remind you that the Marlin is a third-party firmware, it might cause the warranty loss and you are doing it at your own risk. Please do remember to follow the steps.
First, go https://www.thingiverse.com/thing:4578390 to download the Marlin LCD mount. You will need it to settle the original LCD screen. Just download it and print it. We suggest printing it with 100% infill or using PETG material.
After that, you need to prepare the firmware.
Second, go to GitHub, search for “KP3S Marlin” and find the project you prefer. You can also click https://github.com/bdwilson/KP3S to save some time. It’s a quite detailed project, you can find everything you need in it.
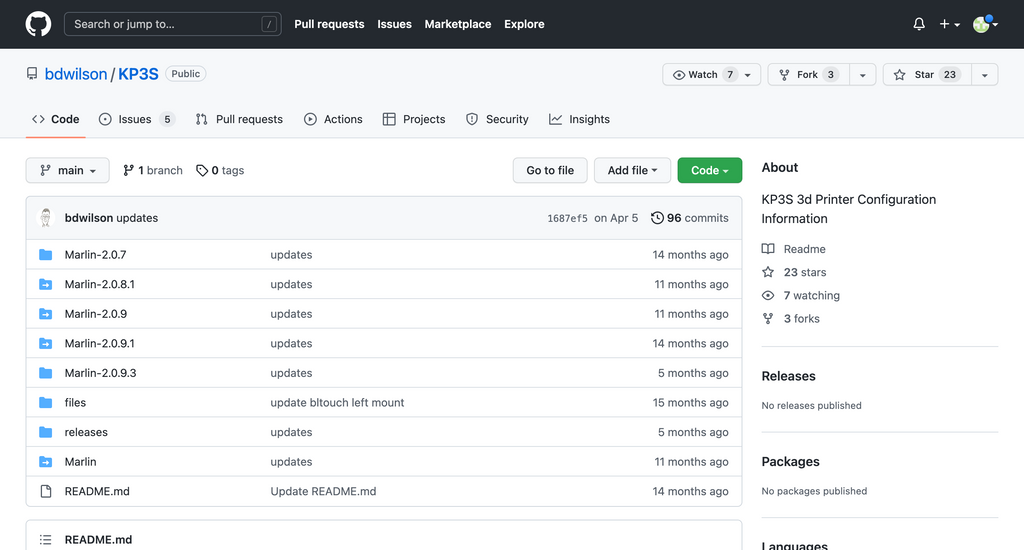
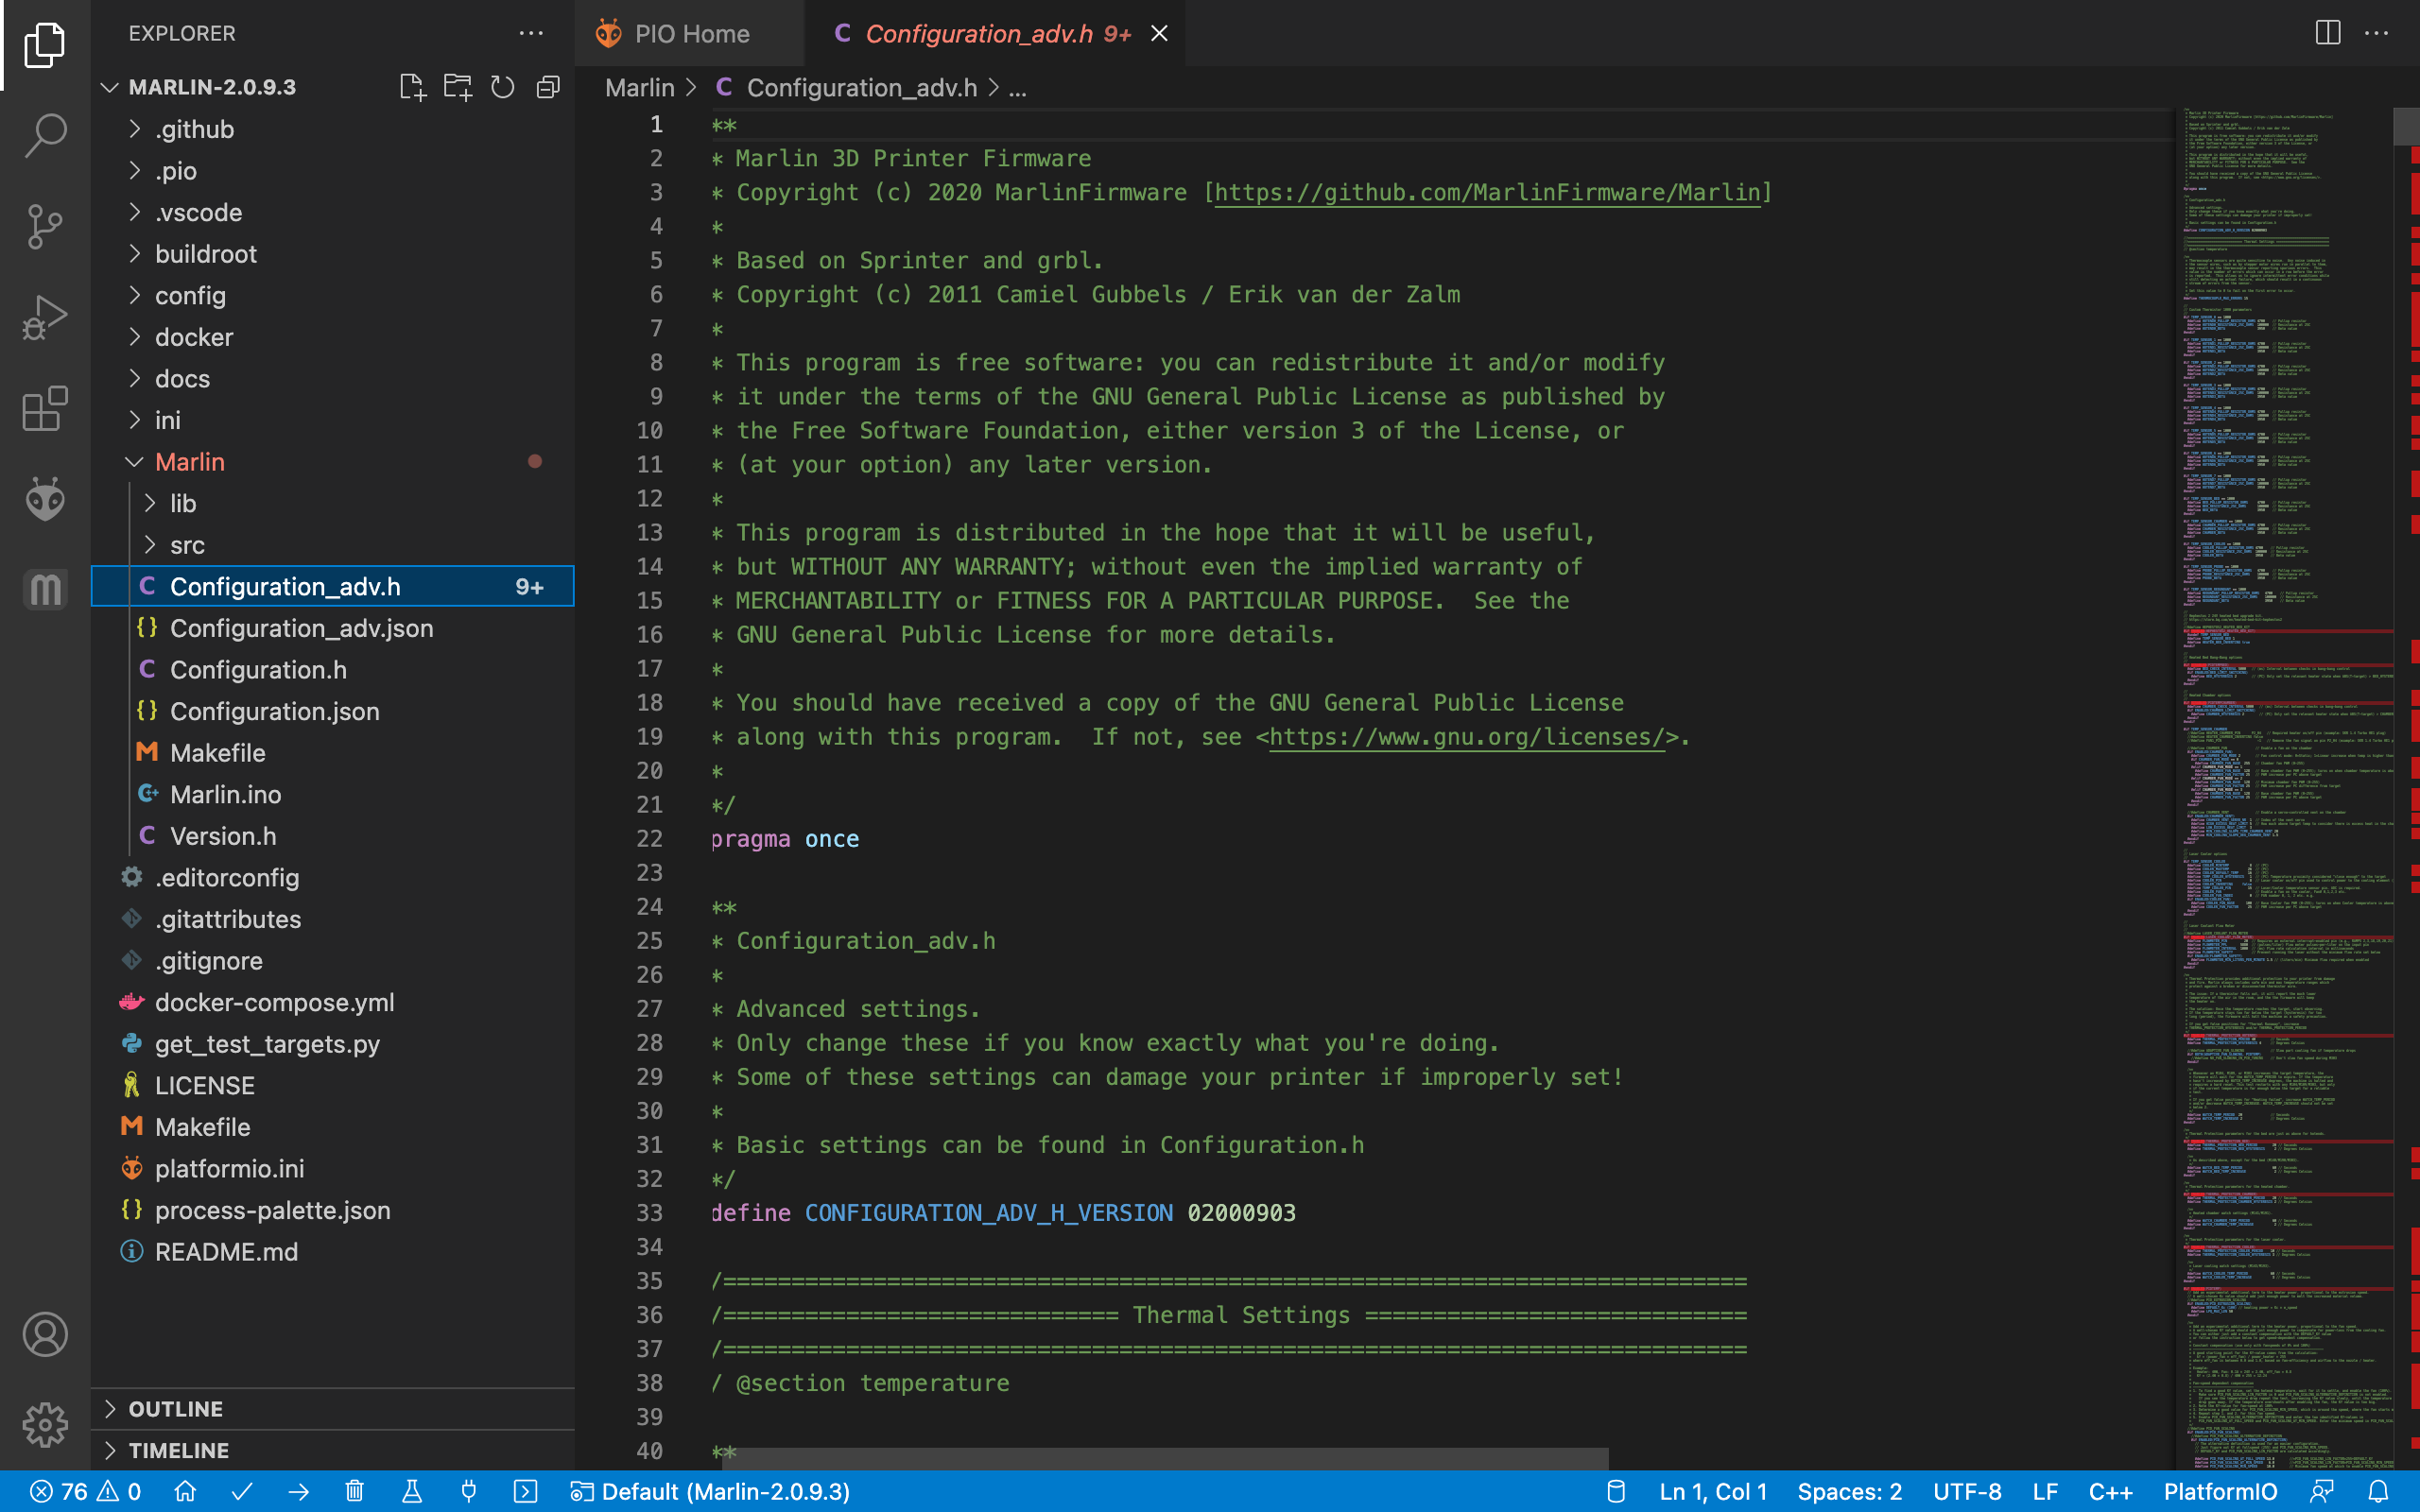
All you need to do is click “Code” then click “Download ZIP”. Next, unzip the file and go to the “releases” folder, choose the version you want. Then Copy the “Configuration.h” and “Configuration_adv.h” to the related Marlin build, then replace the original ones.
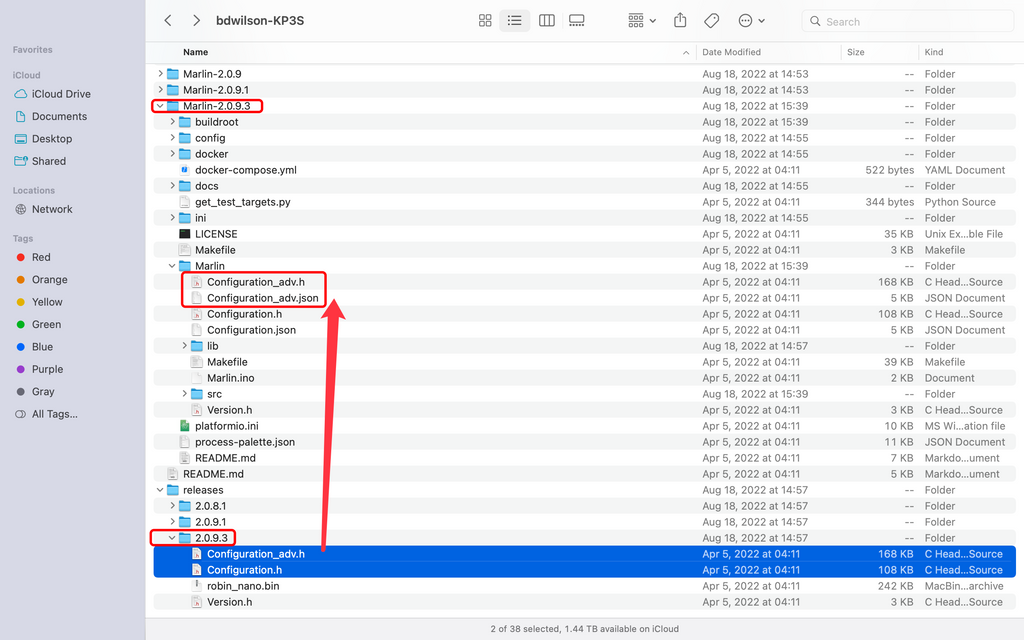
You can also flash the “robin_nano.bin” directly through the SD card and see if it works for your setup. If not, you have to run the following step.
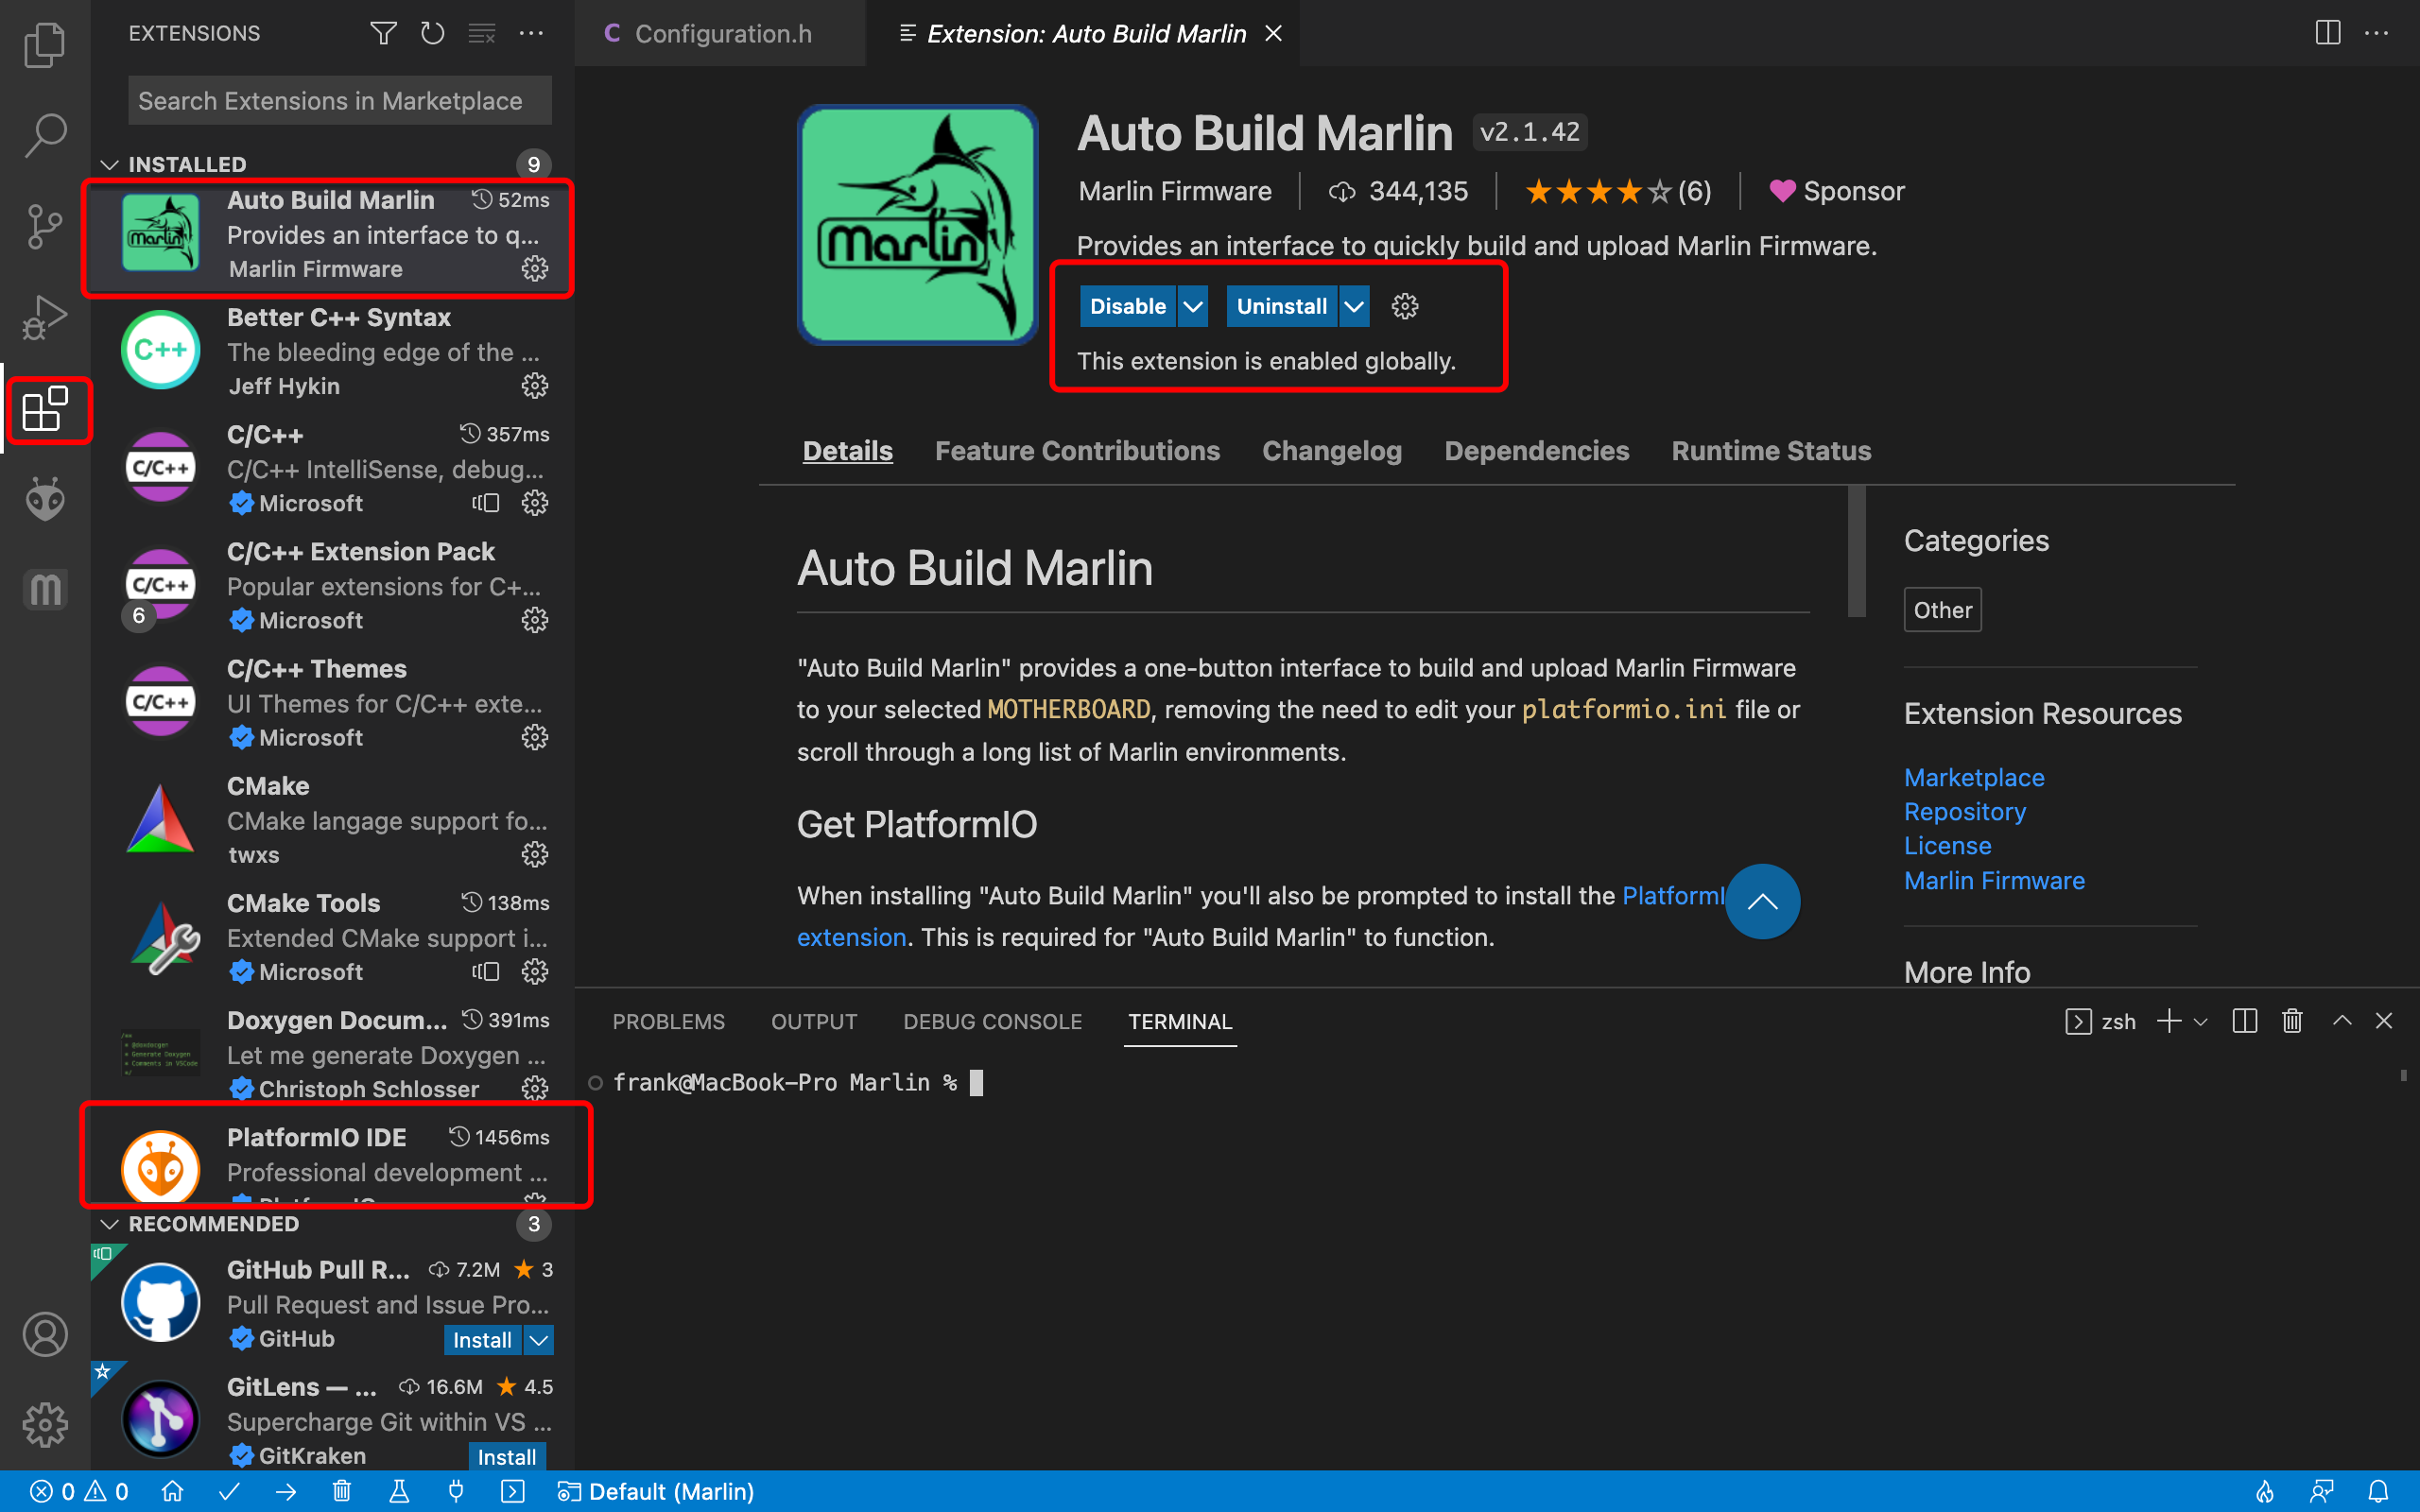
Then go to the https://code.visualstudio.com/docs/setup/setup-overview to install the Visual Studio Code, you need it to config the marlin firmware.
After installing the software, go “search” field, search for “Auto Build Marlin” and “PlatformIO IDE”, then install them.
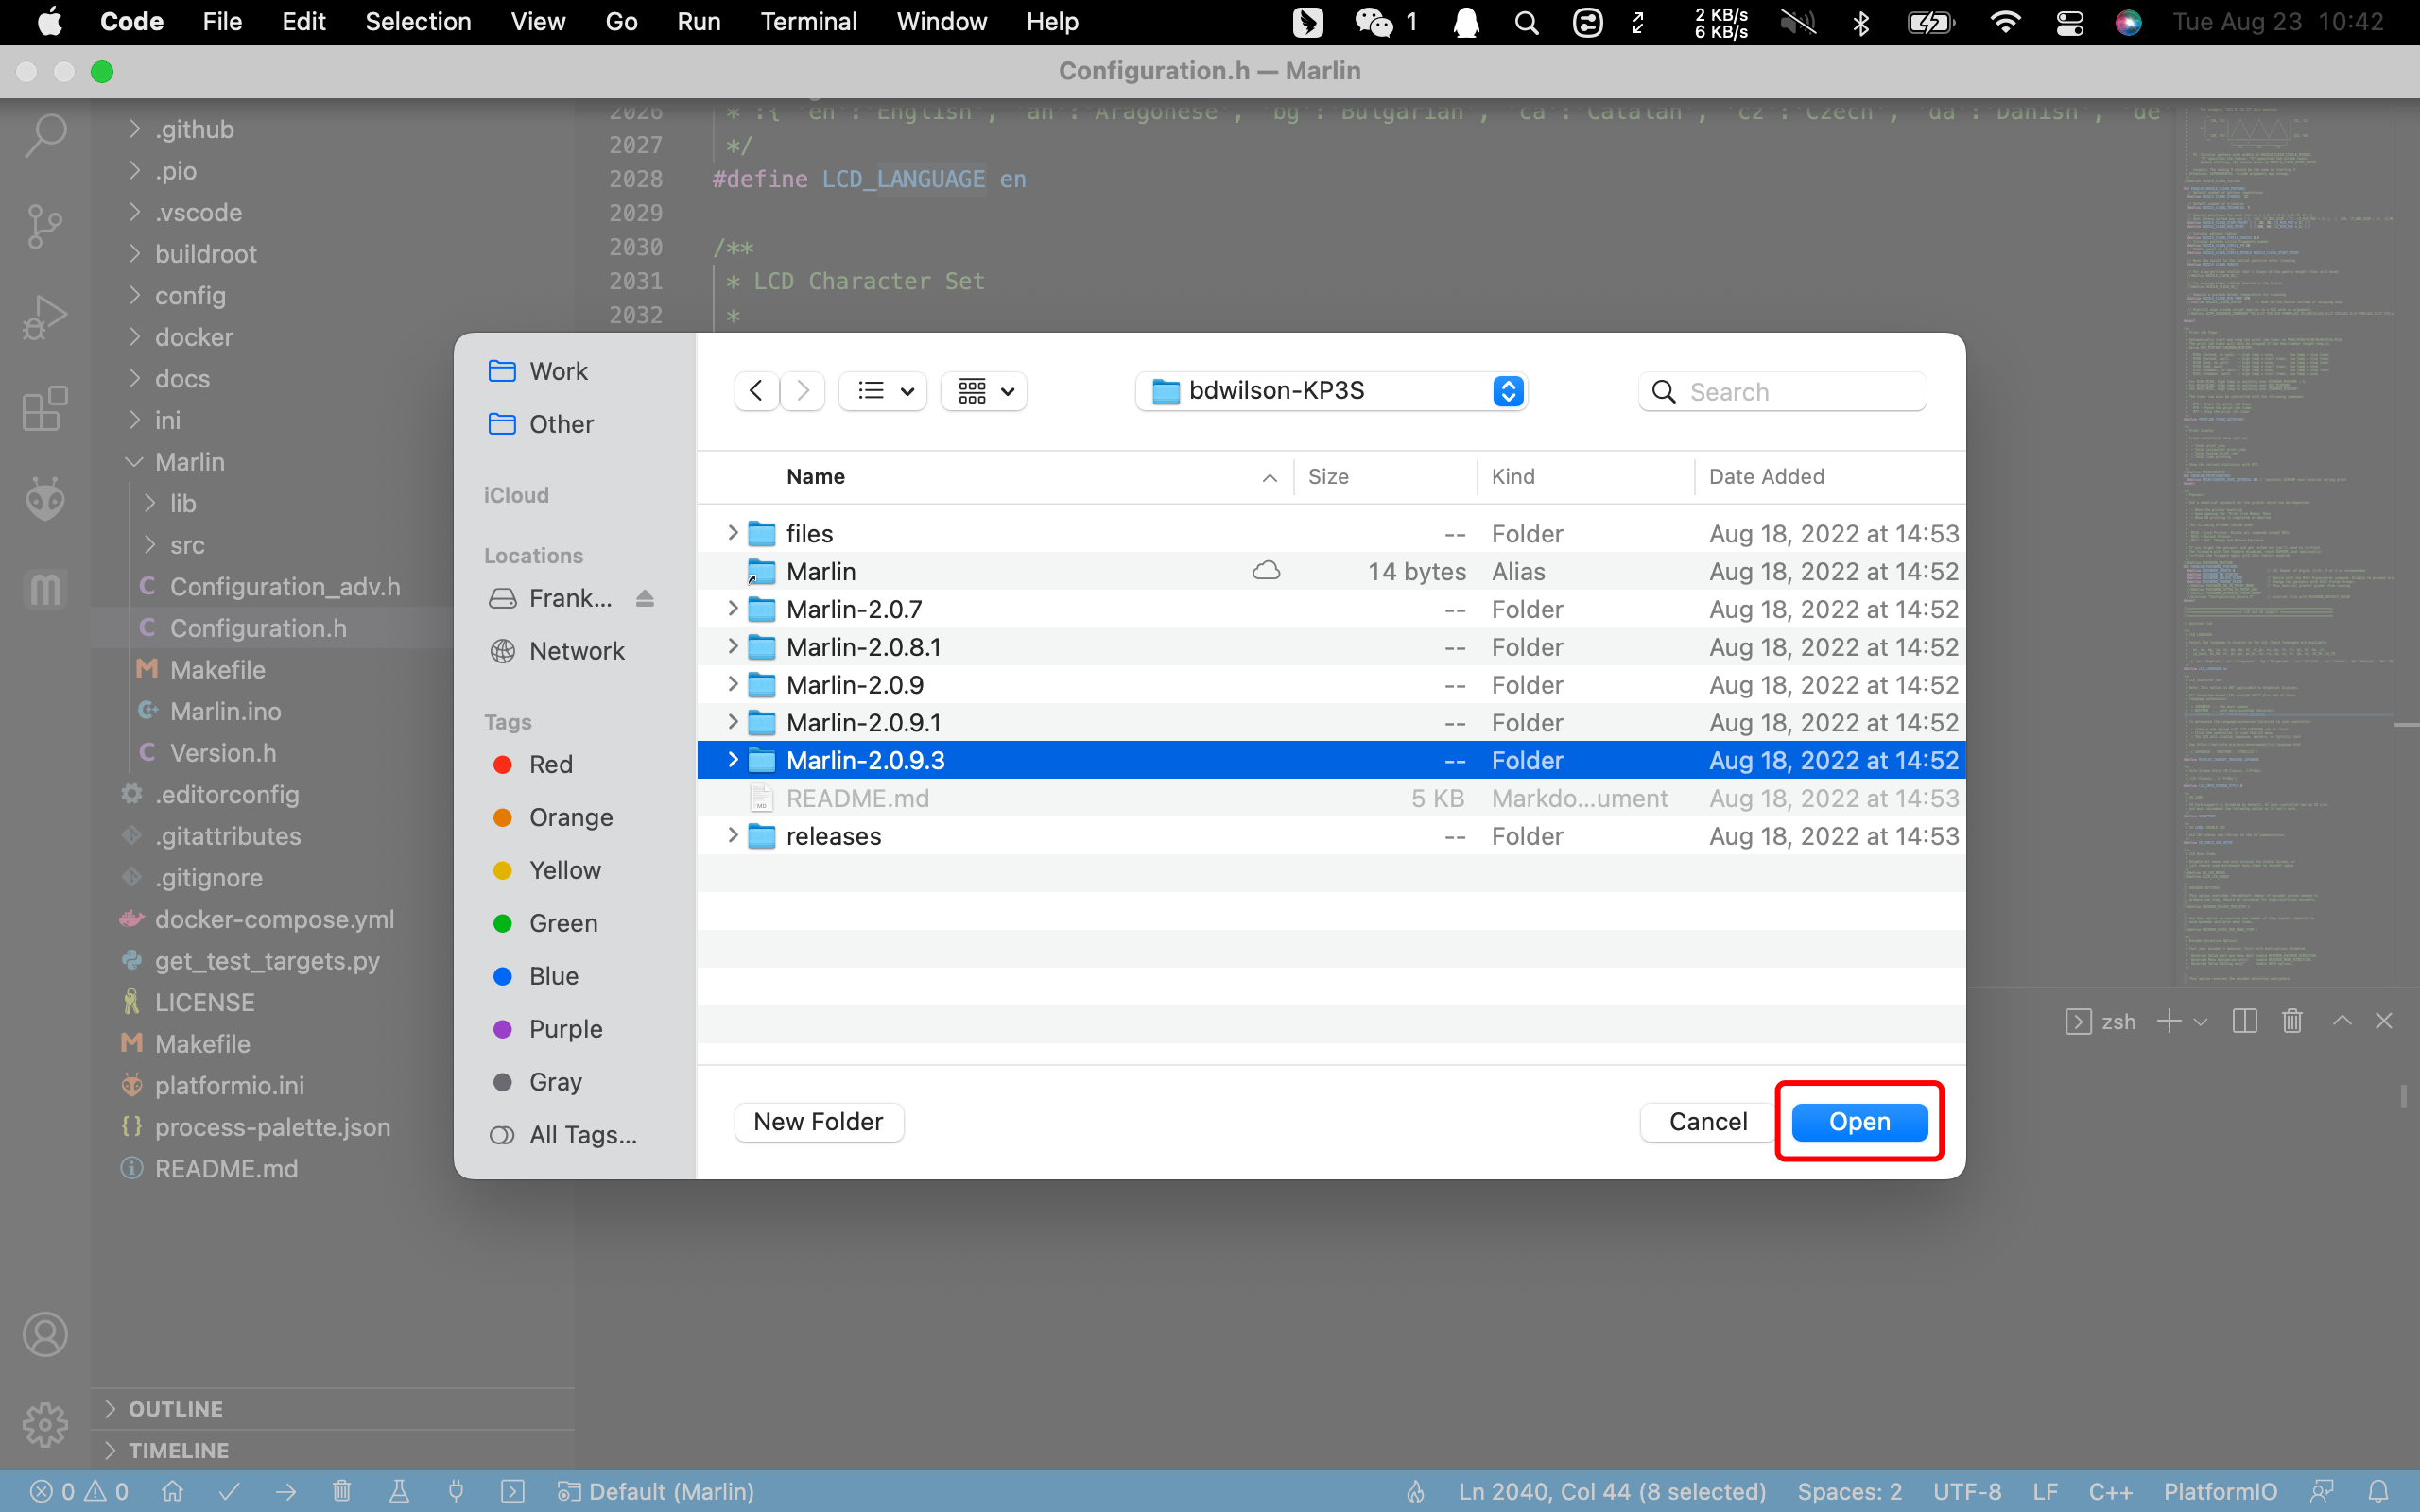
Next, click “open” in the “files” menu, and open the folder you just choose.
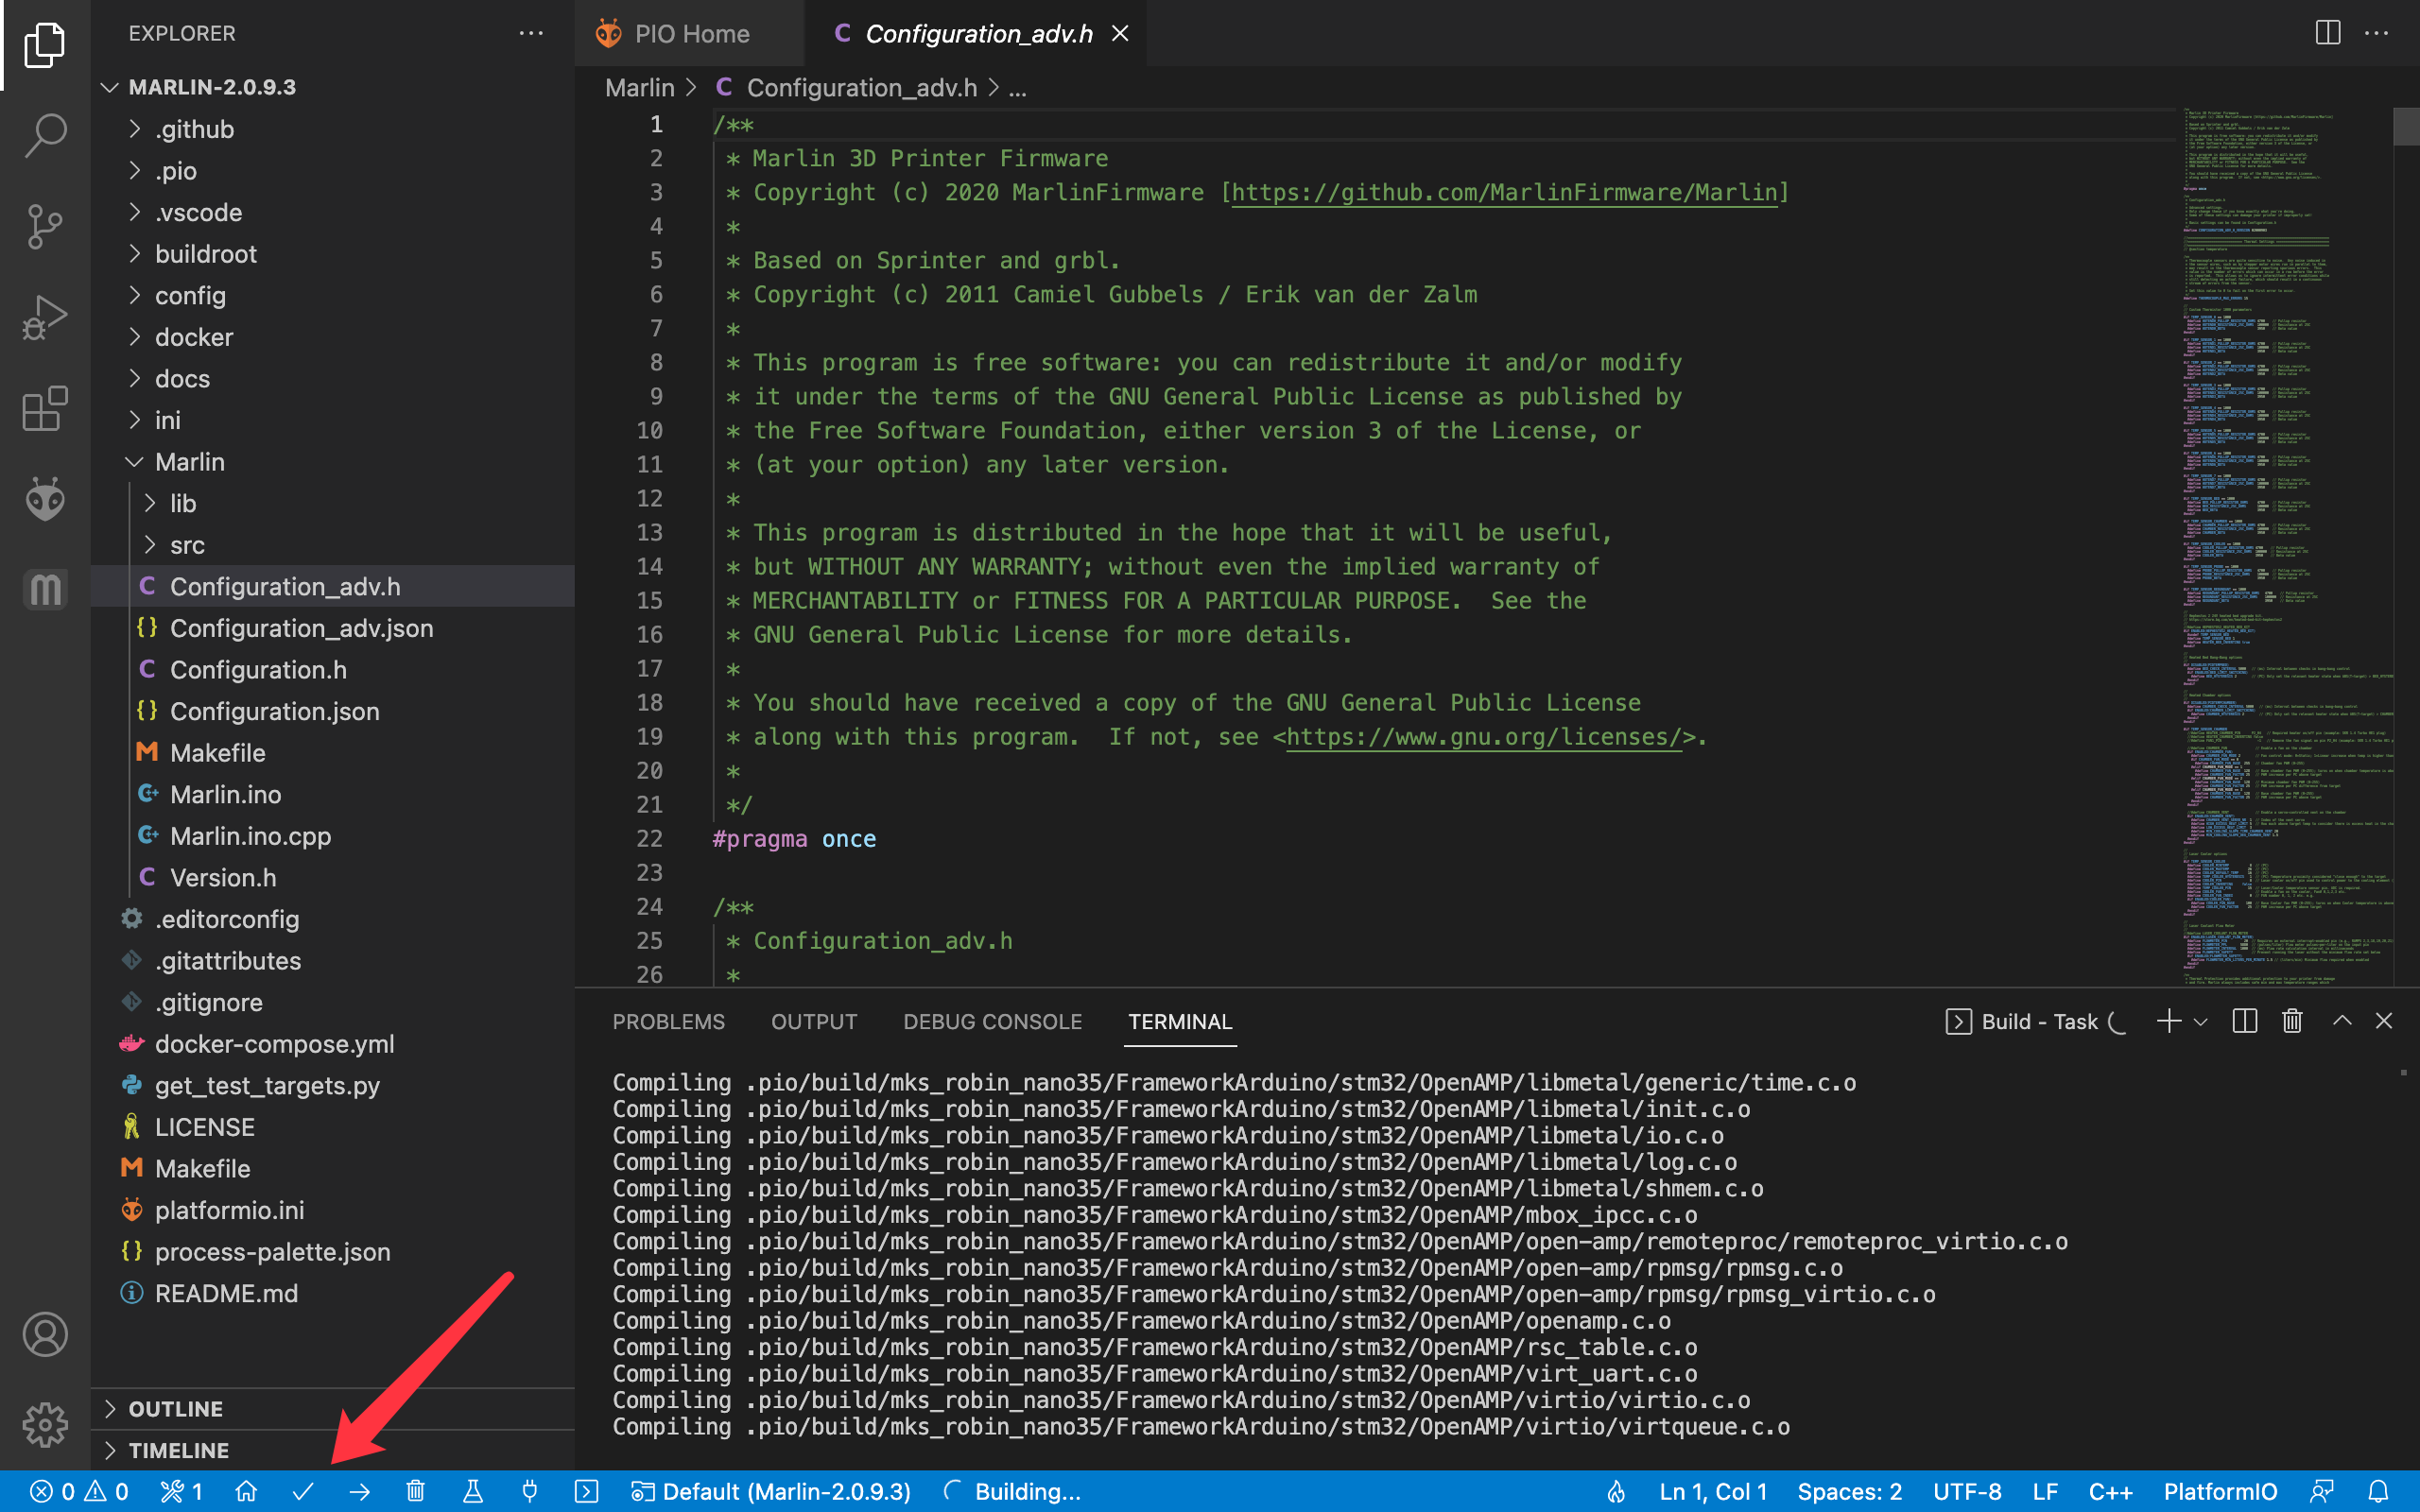
Then you are able to modify the Marlin configuration and customize your own Marlin based on your setup. It’s quite detailed. Just remove or add the “//” you can enable or disable the settings, remember to check the explanations before any modification.
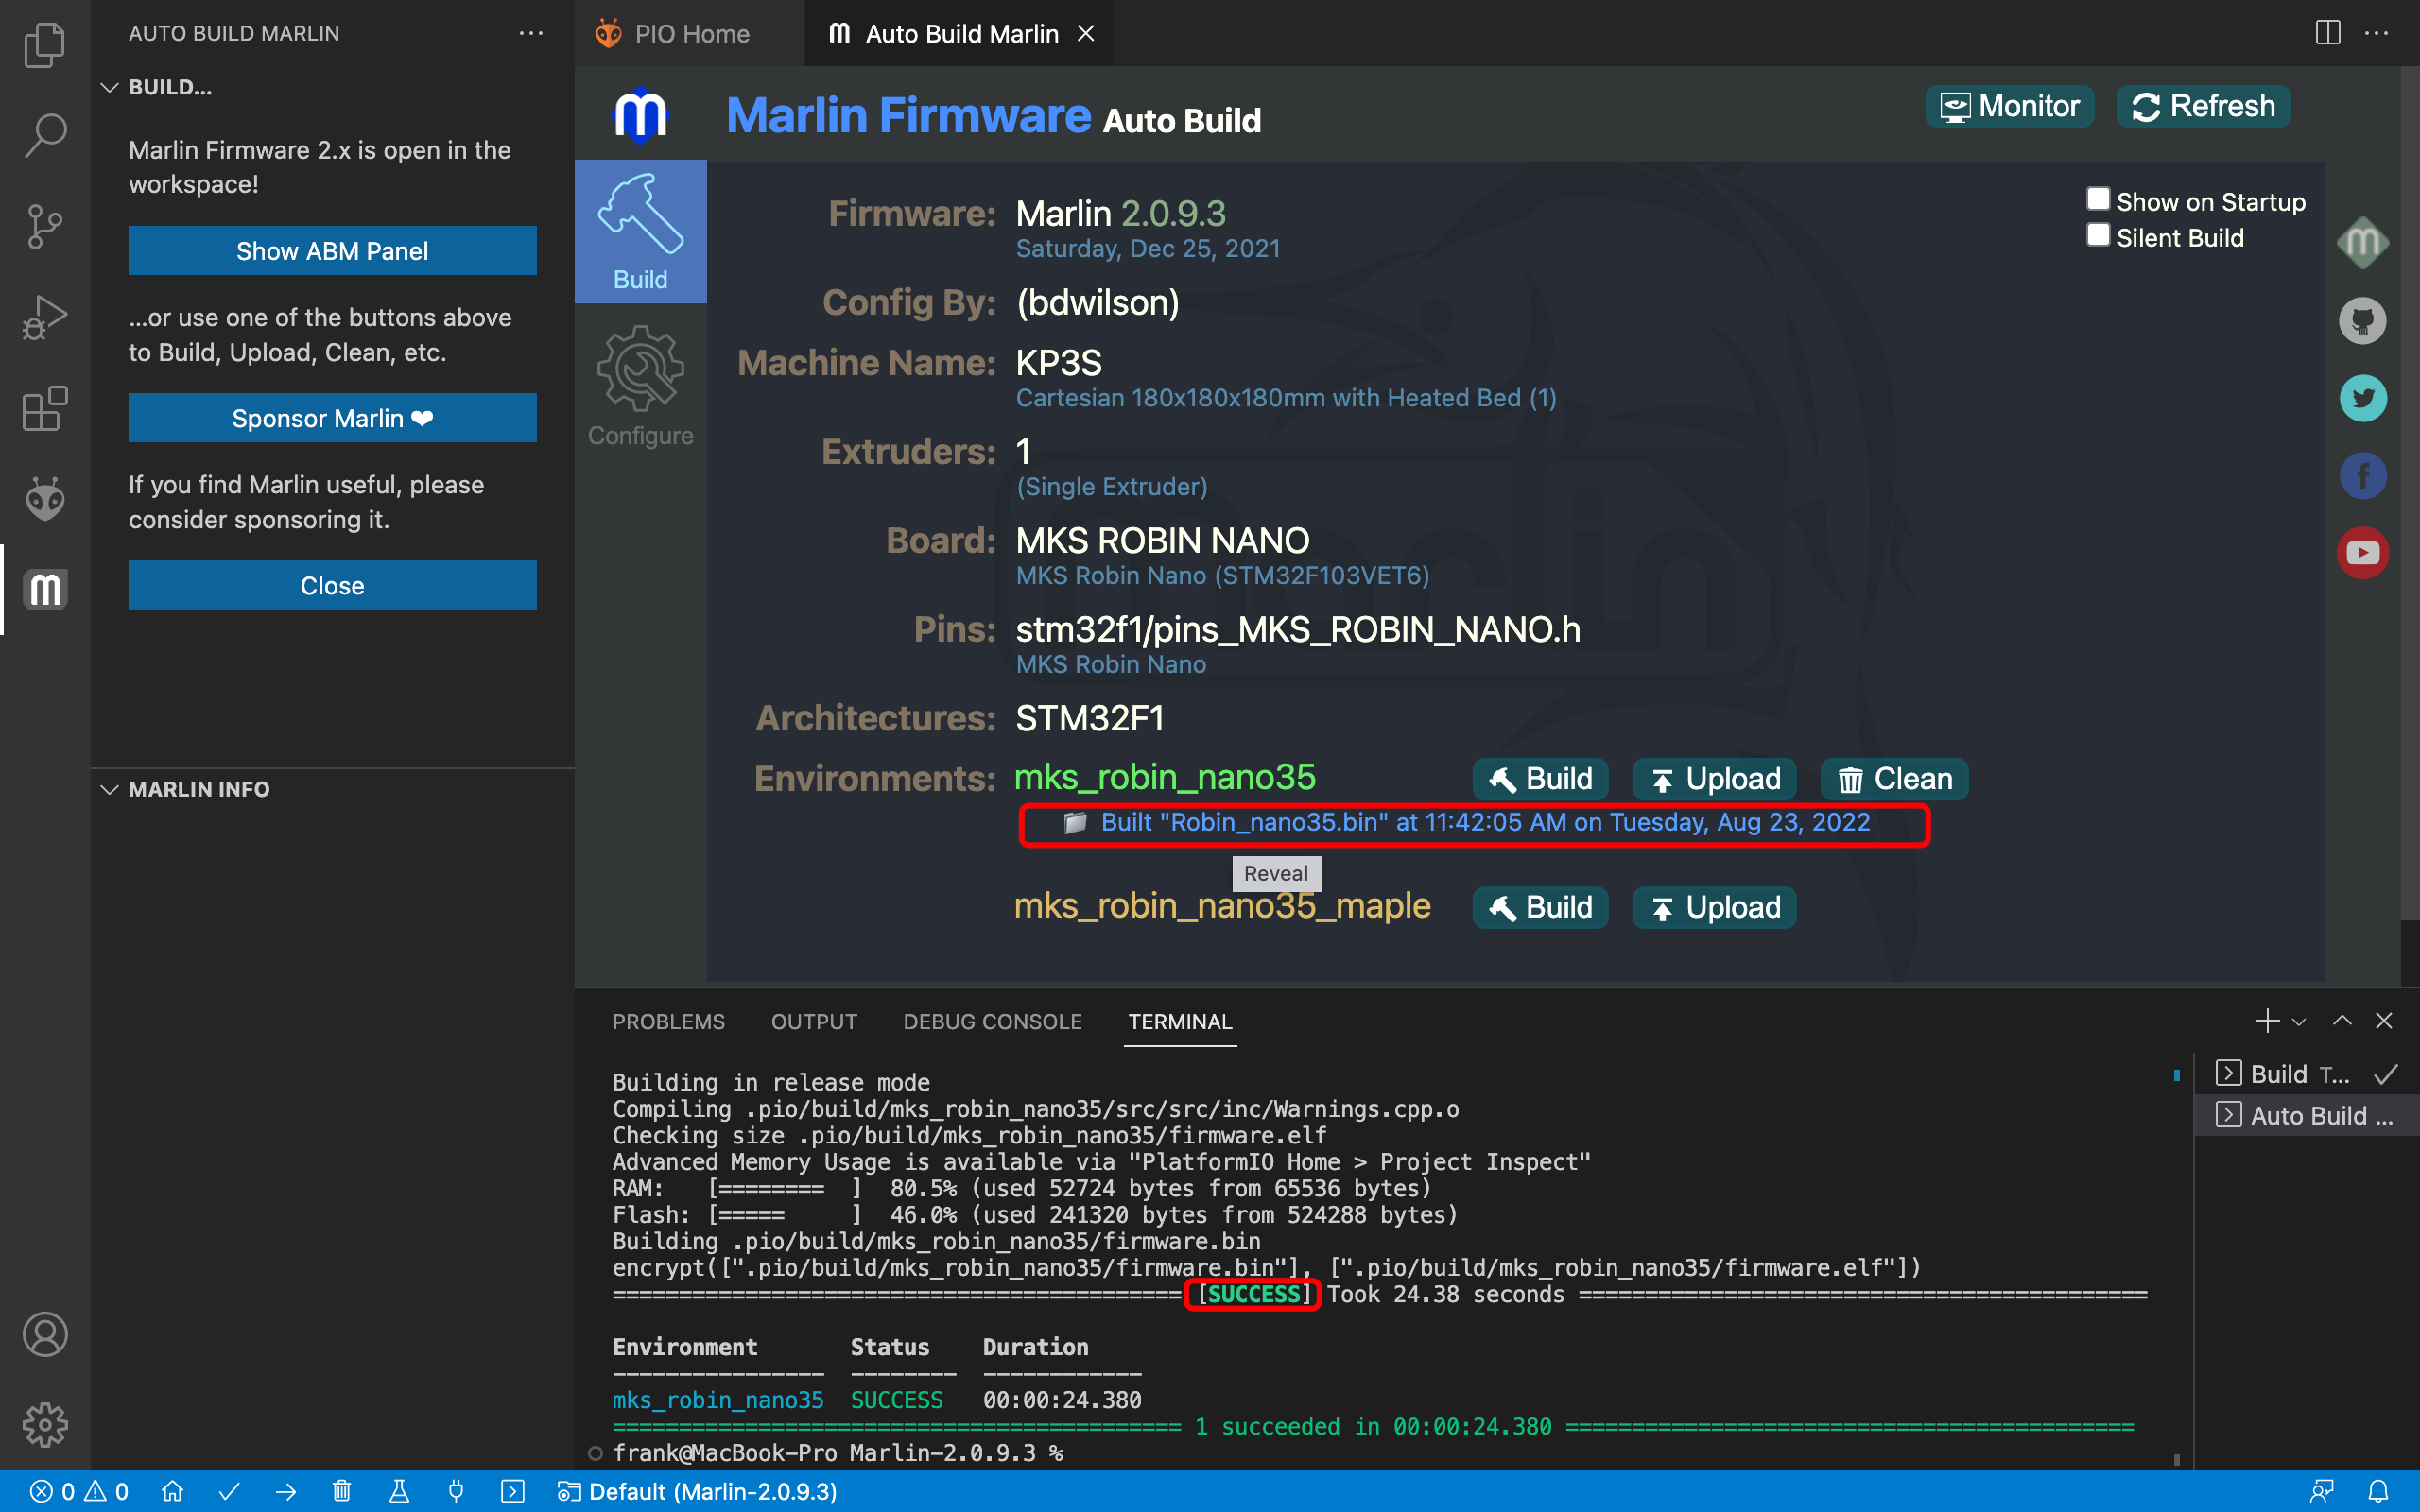
Once you finished, you have 2 ways to build the firmware file. First is clicking the hook on the down left corner. The program will run automatically, all you need to do is wait.
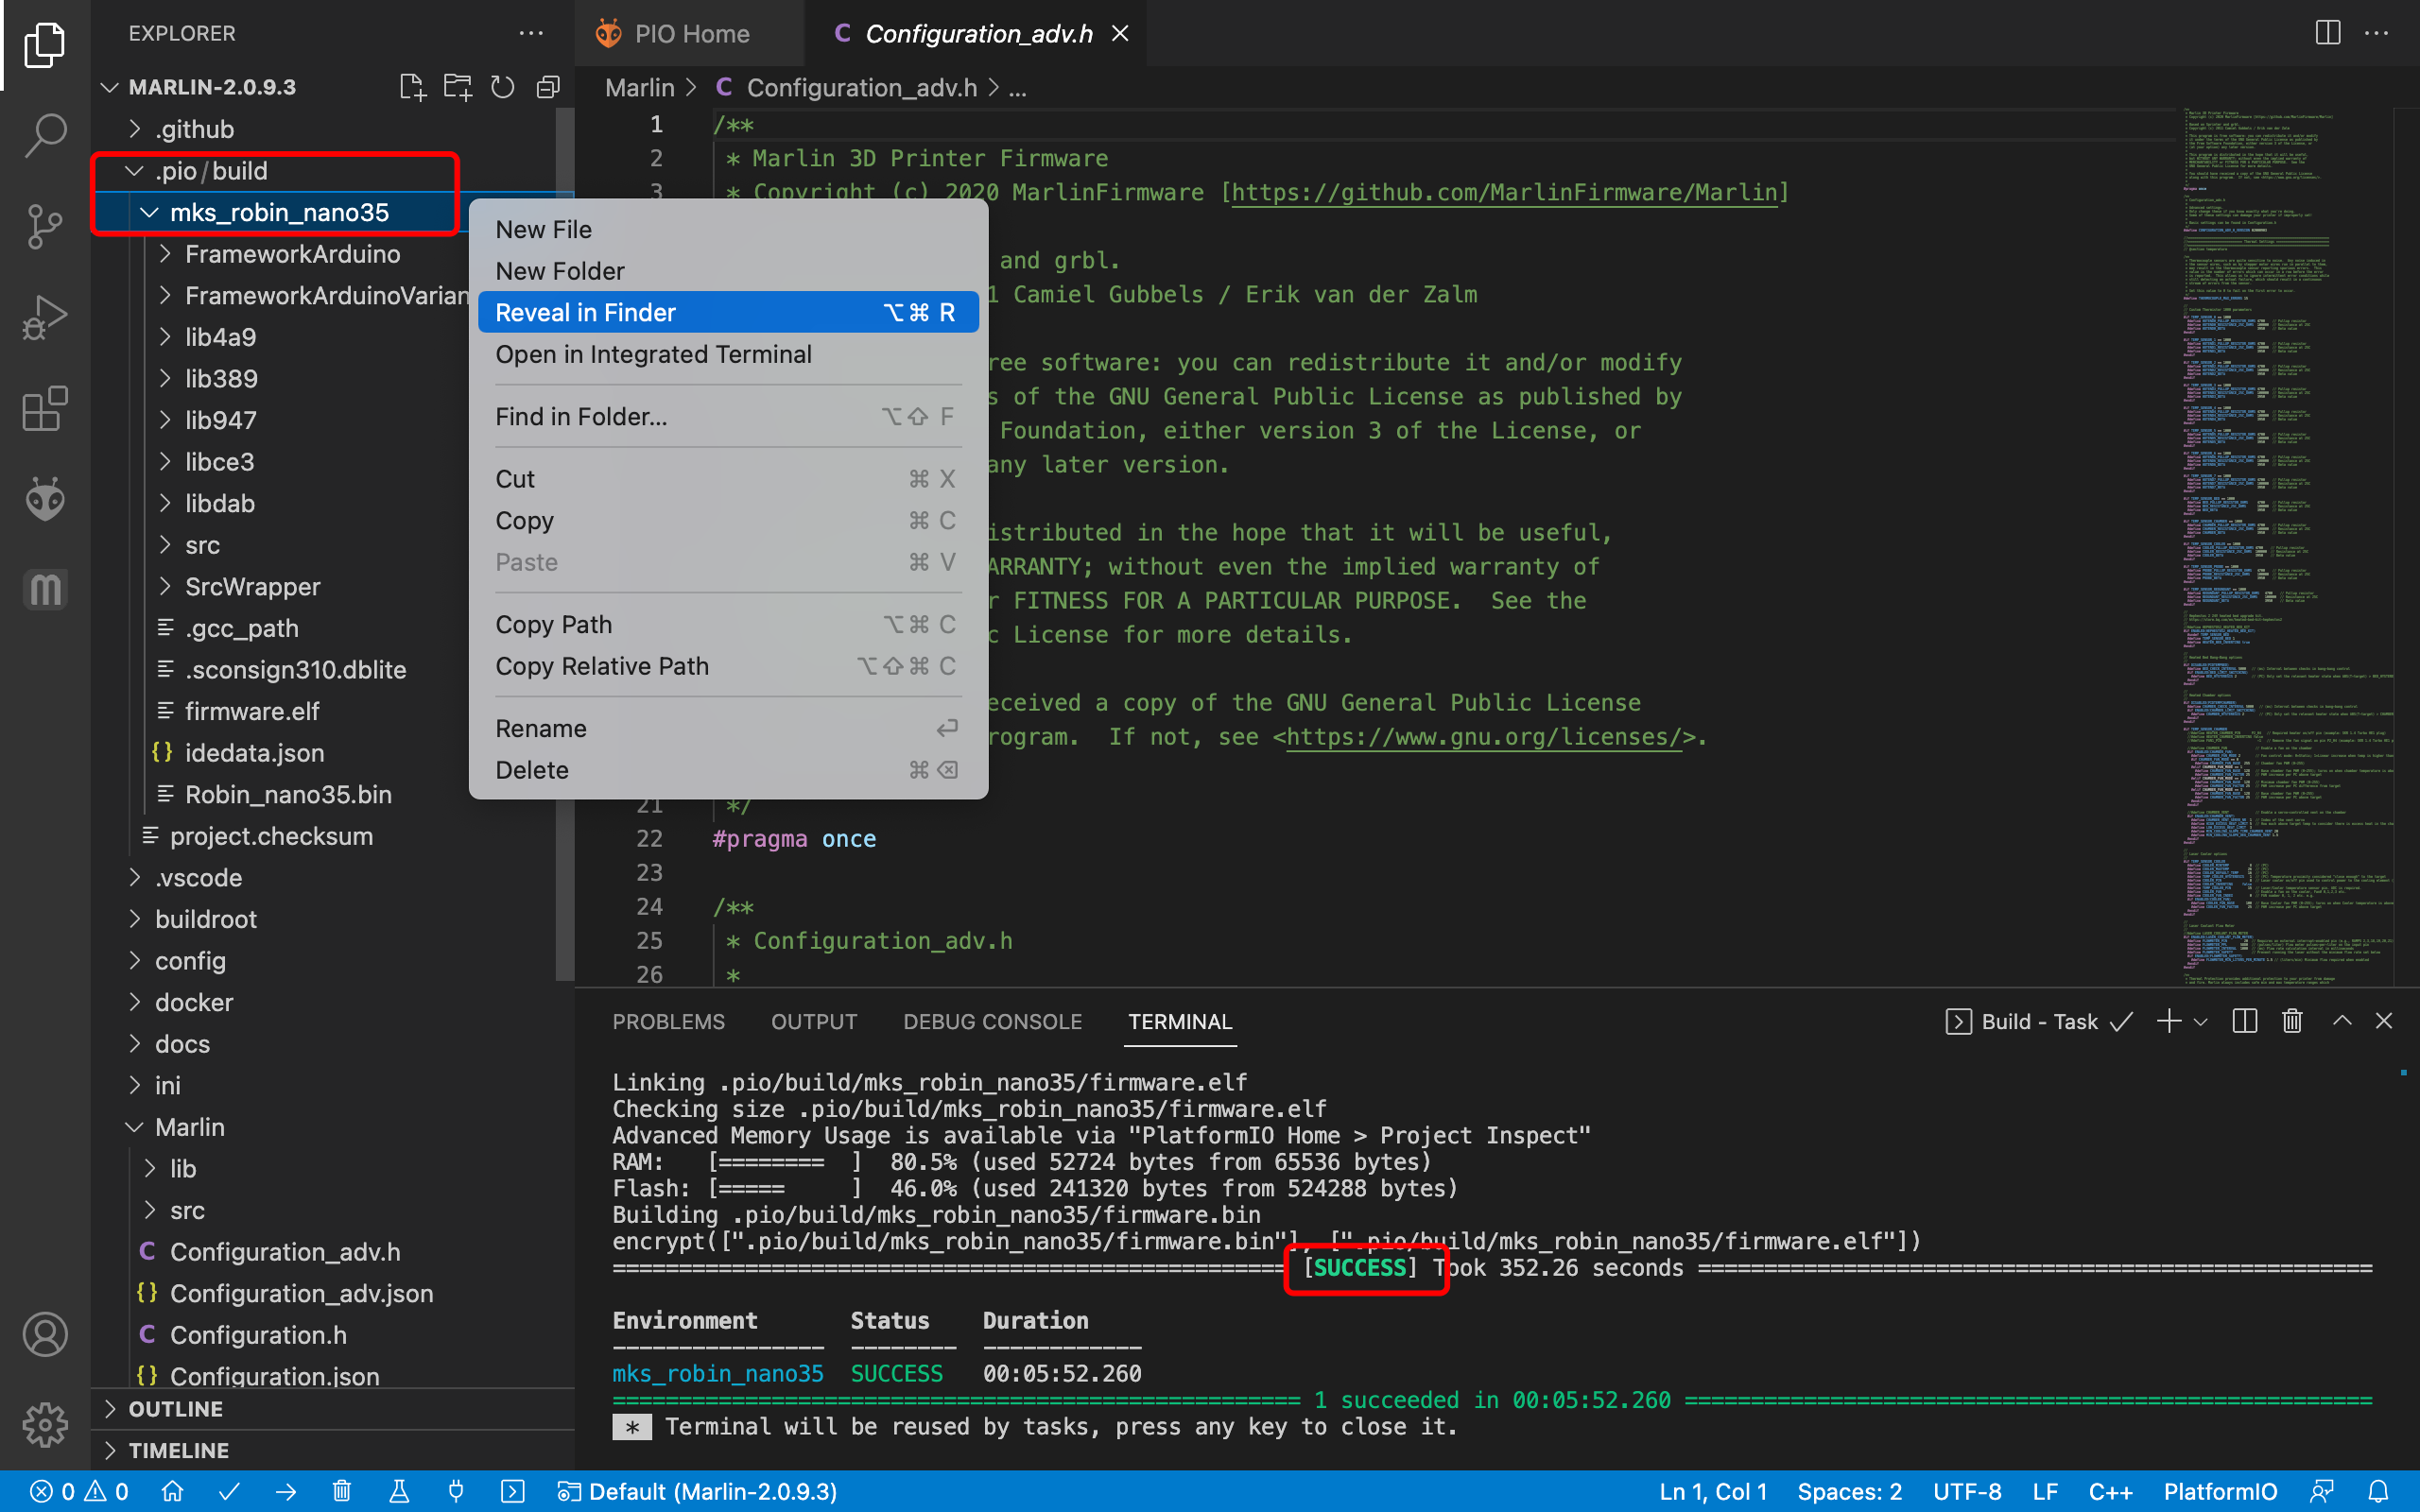
After a while, your firmware is done. You will see the “Seccess” notification. Then you can get the file in “.pio/build”, it’s named as “Robin_nano35.bin”. Rename it as “Robin_nano.bin” and flash it to your printer, you are all set with Marlin.
As for the second way, you will need the tool called “Auto Build Marlin”. Click the “M” Icon, then click “Show ABM Panel”, then Click “Build”.
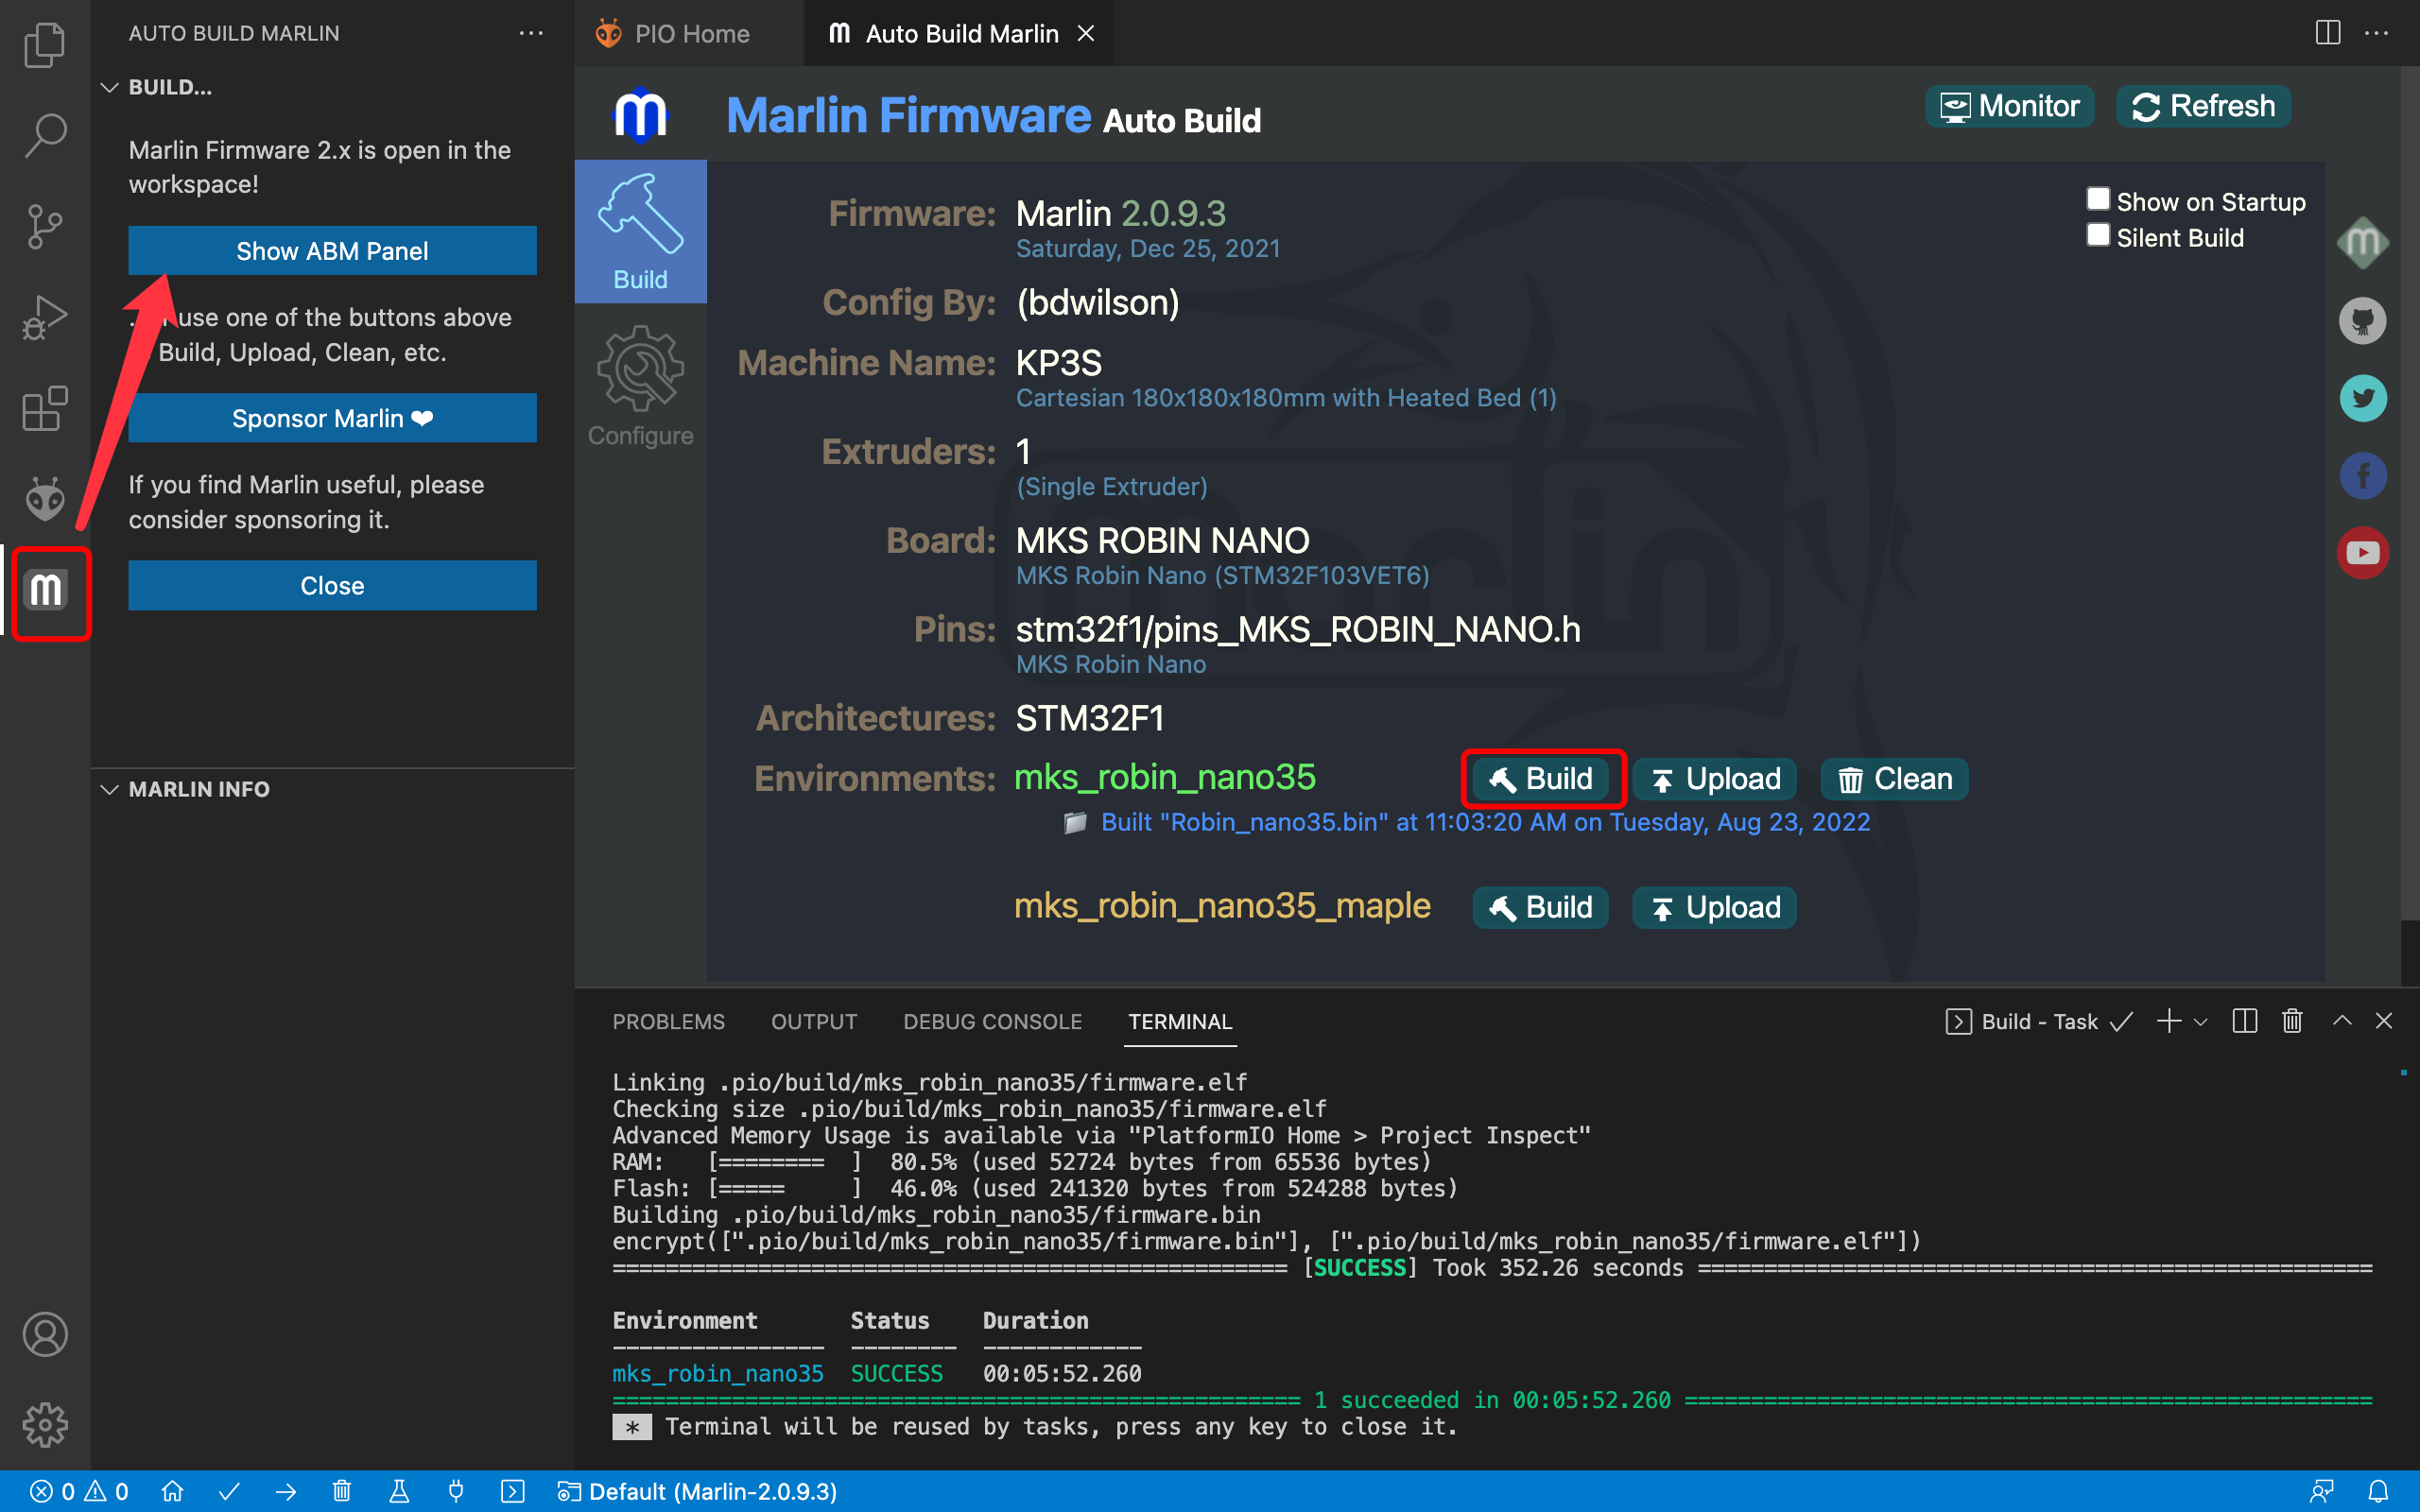
Everything similar happens next. You will see the success notification, too. Click the folder icon, you will be directed to the file. Then do the rest step as the first way.
So, you just got the file. Put it in your SD card, then flash it to your KP3S.
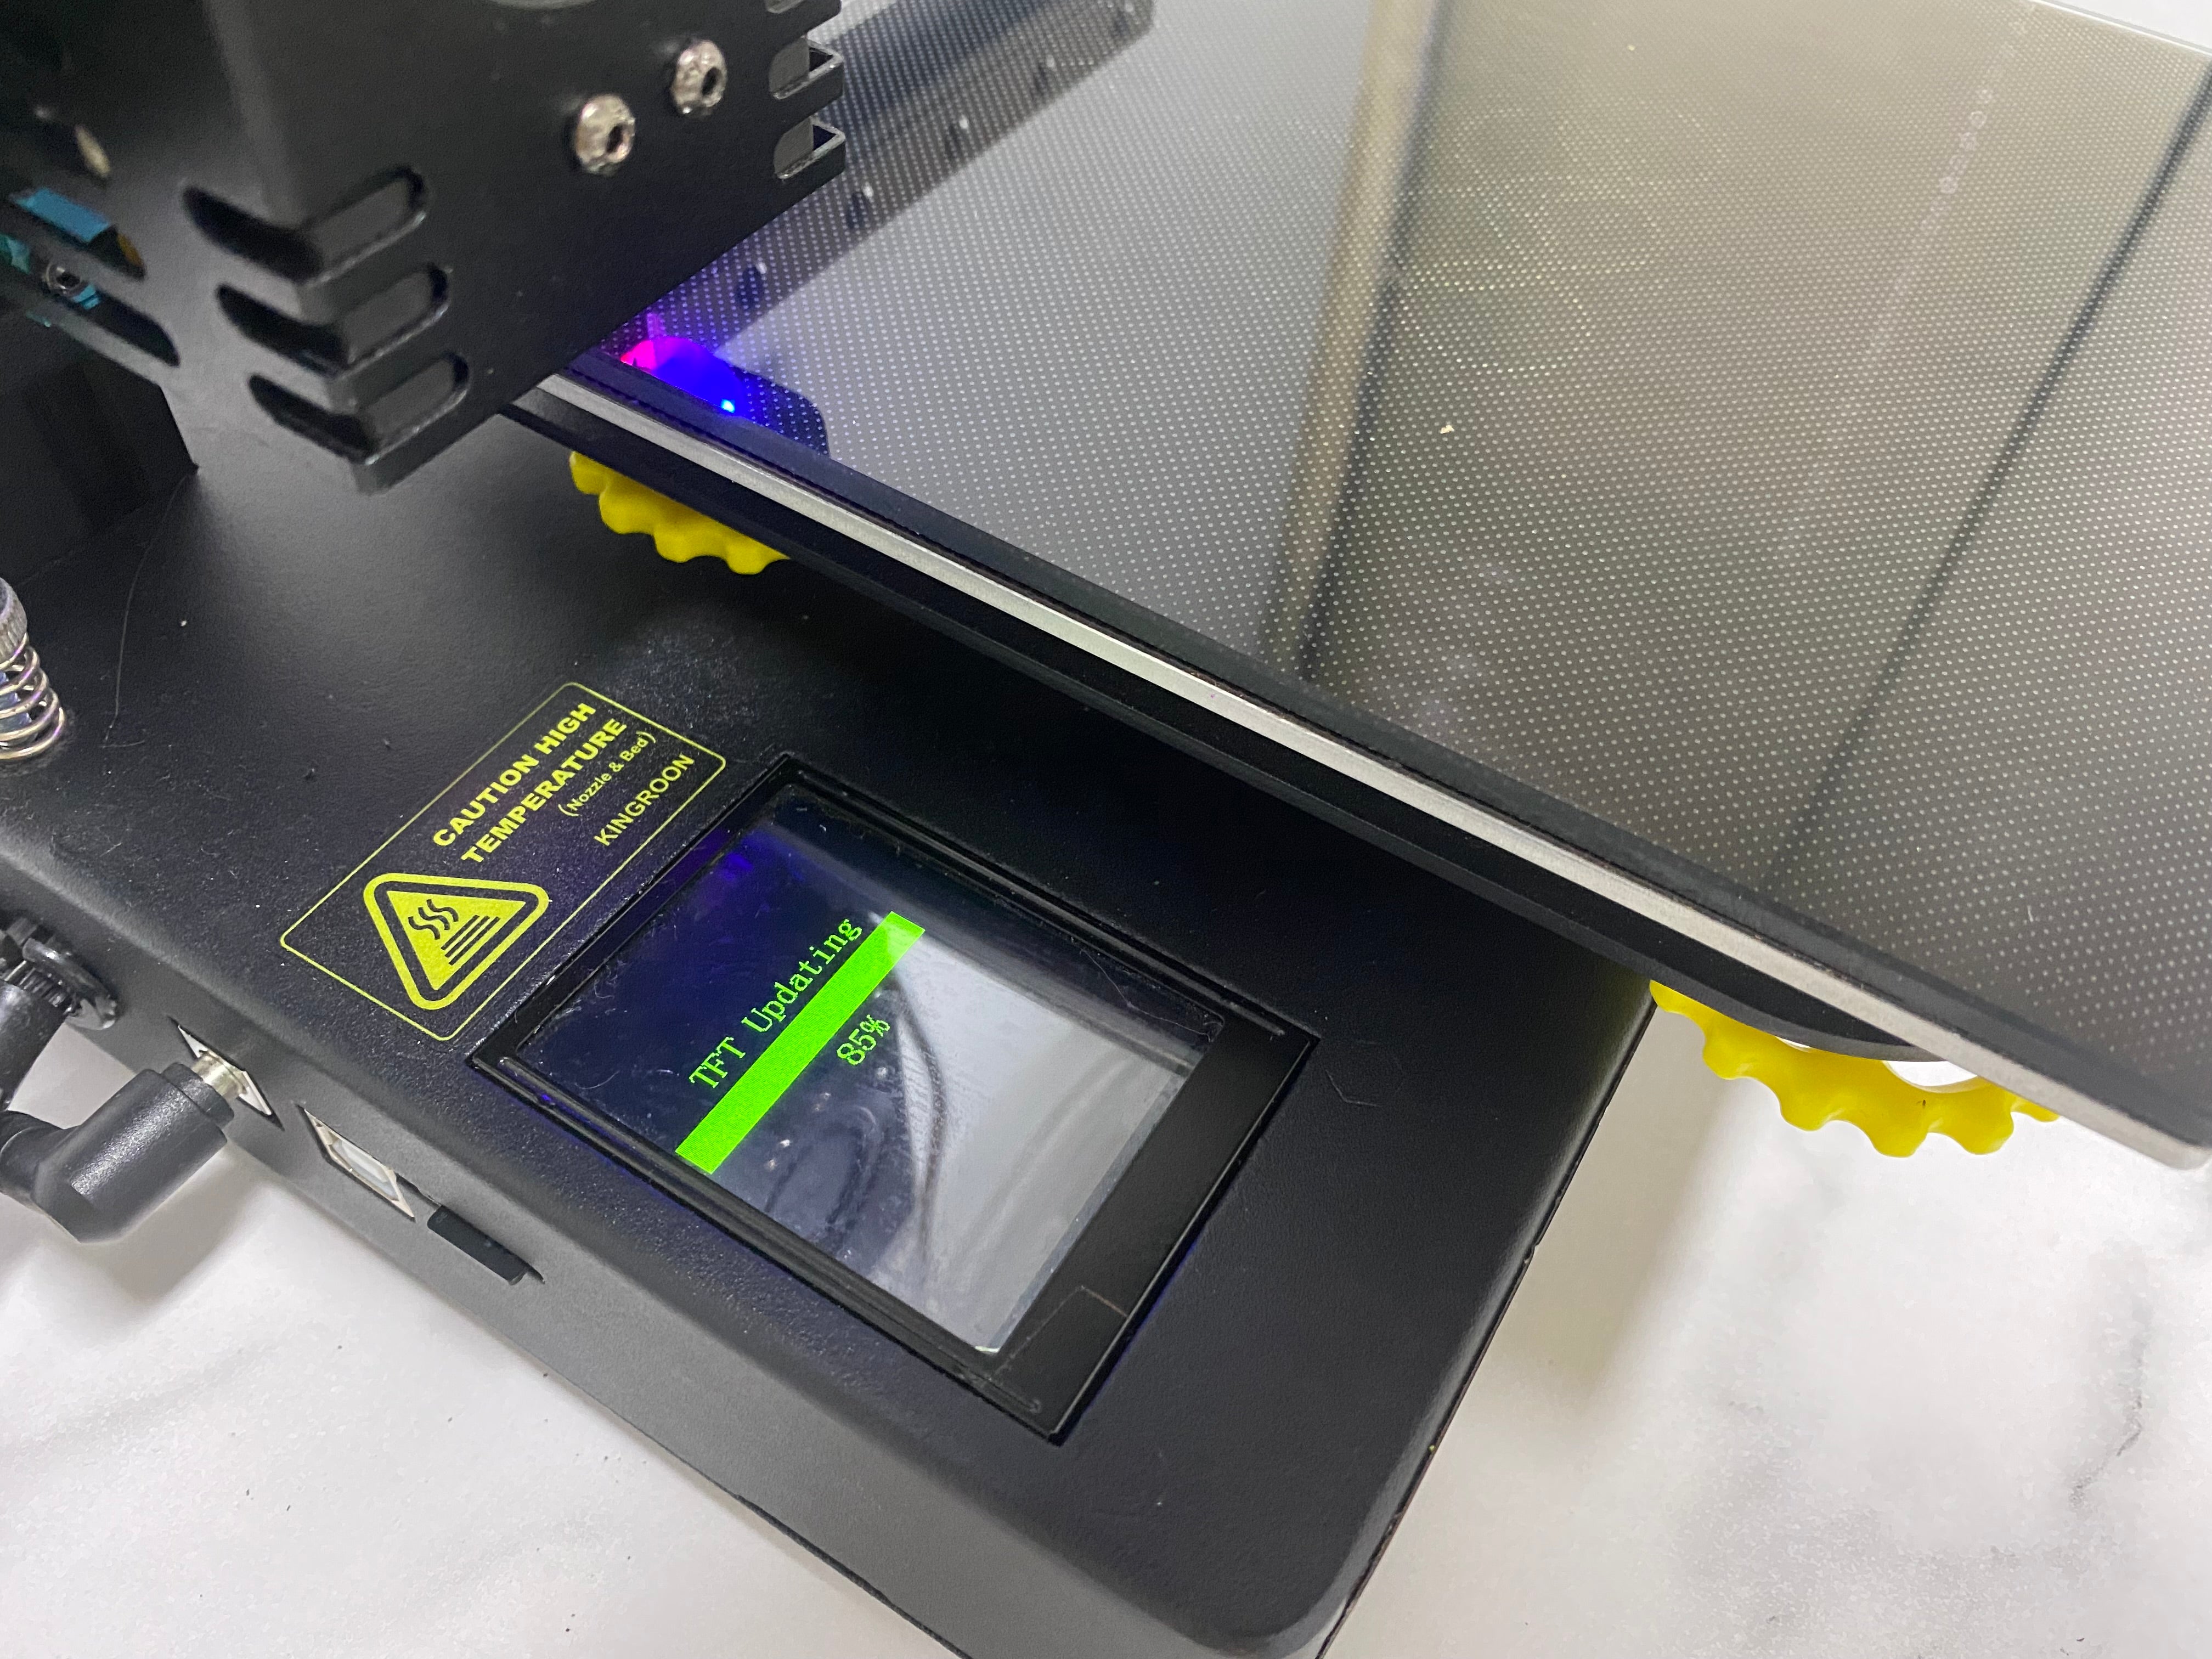
After a few seconds, the Marlin interface shows up. Remember its direction, you will need it later.
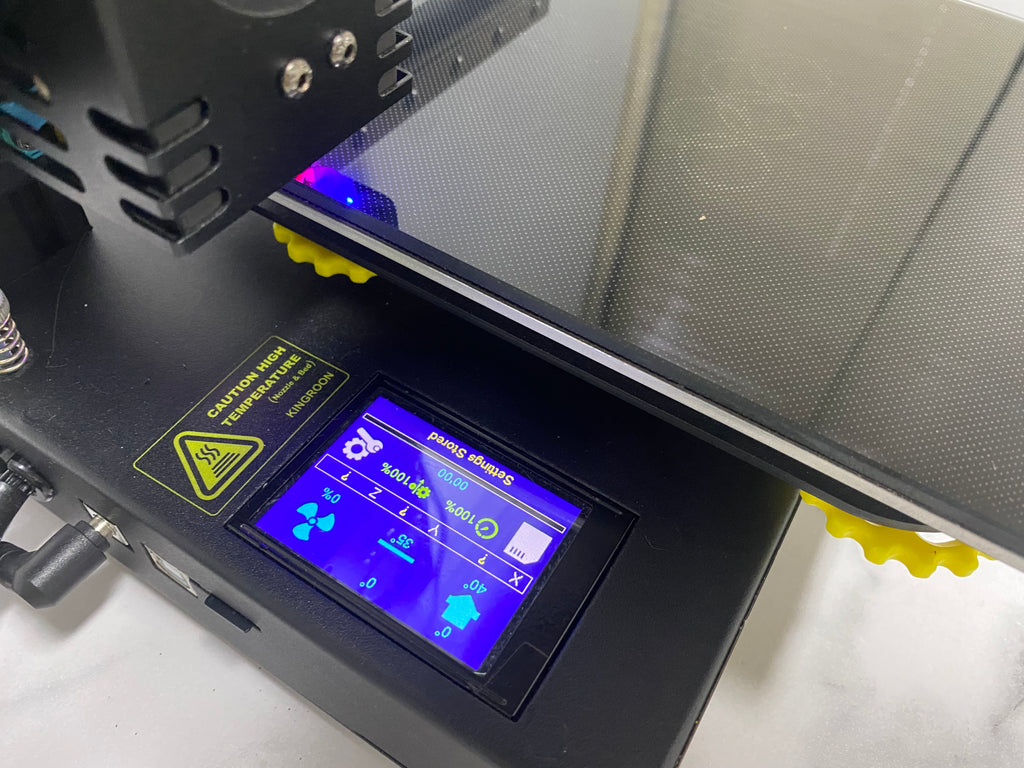
Next, go to set up the screen. Since Marlin displays horizontally, we have to turn the original screen 180 degrees. To do the adjustment, we need to open the printer and loose the mainboard.
Once you reach the screen, disconnect it from the ribbon cable. Just push the two clips, and it will be unlocked and removable.
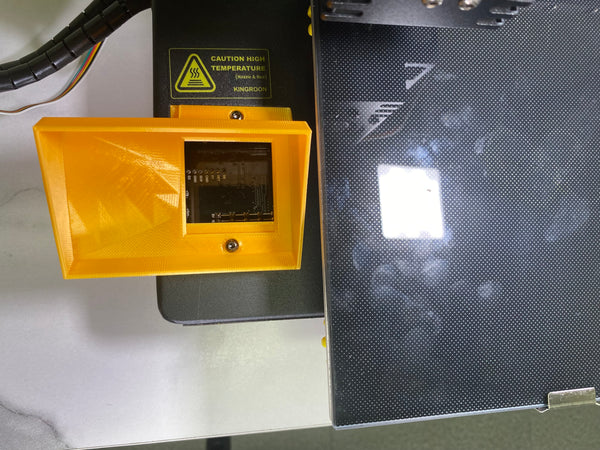
Then install the new screen base from the inside, it should fit the window perfectly.
Put 2 M3 nuts in the screw notches, then tighten them from the other side with the screen housing.
You will need 2 M3x10 screws to tight the two units.
After that, stretch the ribbon cable through the window, and connect it to the screen. Remember the blue side is on the top. And you will need 4 M3x6 screws to fix the screen with the lid.
Then you can install the mainboard back and put everything back.
Next, connect the printer to the power supply and turn it on. Just push the lid gently to fit the housing, you are all set.

Alright, that’s it. Just enjoy the new system and happy 3D printing. Video tutorials will be available soon and Marlin firmware with the stock setup will be released then.
PID Tuning for Kingroon KP3S Based on Marlin Firmware
For those who want to save some time, here is the Marlin 2.1.1 firmware file(with Mesh Bed Leveling): https://drive.google.com/drive/folders/1ZUdtlerjj9Aqzxg-vL69hOK-QapW7QNl?usp=sharing.
So, your Kingroon KP3S is now on Marlin, what is the next? Well, let’s do the first important step, the PID Tuning.
First, go to https://www.matterhackers.com/store/l/mattercontrol/sk/MKZGTDW6, download the “MatterControl” software and install it.
Once you done, add your printer.

Since it doesn’t have KP3S included, just click “Define New” and add the required settings.
Next, connect your printer to your computer, then click “Connect” to proceed. Just choose the automatic connection, it should be fine.

After that, go to the right-side corner, open the extra options. Click “Show Terminal”. We are going to use it for command lines.

Then enter the first command and send it. 「M303 E0 S200 C8」

You will see”PID Autotune Satrt”, then the status keep updating. Then the nozzle temperature starts to raise. The test last 8 cycles.

And you can which cycle it is from the screen.
Once you done, check the status, modify below command line and send it. 「M301 P24.56 12.1 D62.1」Just replacing the values after M301.
Then enter following command line for the next step. 「M303 E-1 S60 C8」
It is for the bed tuning. Remember to check the status, in case you missed it.
When it is finished, modify the command line based on the value you got. 「M304 P77.83 13.70 D294.74」
Next, enter 「M500」to save the settings.

You are all set then.
Problem of screen upside down solved.
From Pronterface send command m995 and the callibrate the screen.
Thanks
I downloaded and installed it, but the printer display is rotated upside down.
Could you please update the file?
For those who want to save some time, here is the Marlin 2.1.1 firmware file(with Mesh Bed Leveling): https://drive.google.com/drive/folders/1ZUdtlerjj9Aqzxg-vL69hOK-QapW7QNl?usp=sharing.
Thank you
I had flashed to marlin and used it without problem.. until I had a part with fairly big first layer that used most of the bed.. for some reason extruder stopped extruding… I tryed everything from new bed leveling differetn slicer settings(even turned down mesh reslotuion to 0.5), even changed the stepper motor on extruder… I could print large parts with max speeds and 10h prints without problem.. but when printing parts that used most of the bed it failed extruding almost instantly.. flashed back to stock firmware and works like charm, but I realy miss gcode commands that marlin utilizes.. like filament changes and pauses and all that….
I downloaded the Marlin 2.11 from the Google Drive and flashed my machine with that. Everything seems to be working fine, except that the x-homing is in the wrong direction. Is there a way to change that in the settings? Or perhaps using the Mater Control program.
-Thanks
Hi,
this is a great tutorials.
Is there a chance to also provide the Configuration.h and Configuration_adv.h used for the Marlin 2.1.1 firmware file?
Thanks