This tutorial will show you how to upgrade your KP3S 3D printer with All metal hotend and CHT nozzle. It works on all the KP series 3D printers and 3D printers with Titan Extruder. It will help your KP3S print more materials and have powerful performance when using Klipper firmware.
Part 1 things you need
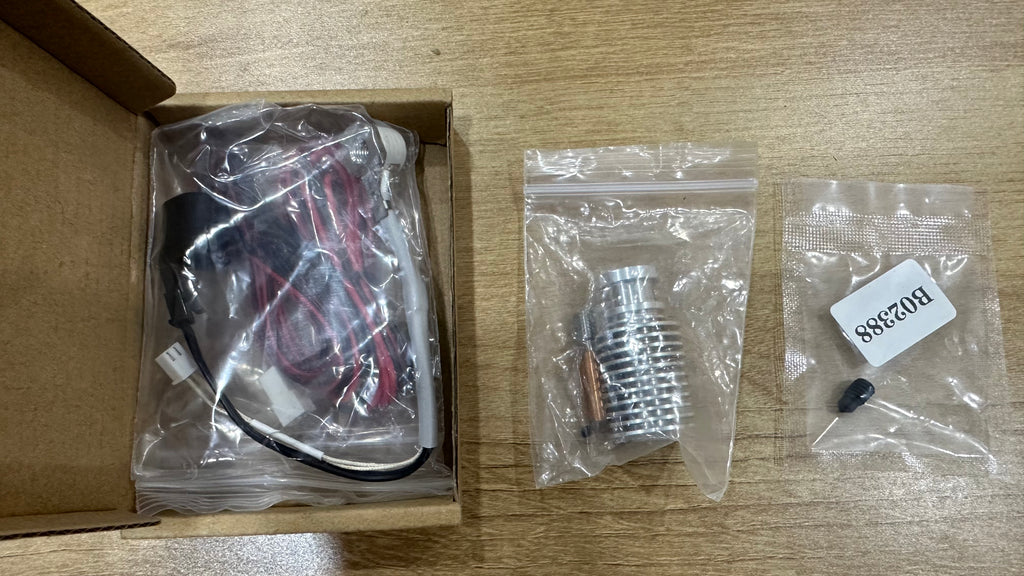
CHC (ceramic heating core) for V6 hotend
--The CHC heating core provides faster and more stable heating and can heat up to 340 ℃, which makes materials like ABS become possible. The max temperature of the original one is 260 ℃.
V6 Direct Drive titanium alloy Heatsink + Heatbreak for Kingroon KP3S, KP3S Pro S1, KP5L
--This kit fit your Titan Extruder perfectly and uses titanium or dual metal heatbreak for better heat insulation.
CHT Hardened Steel High Flow Extruder Nozzles for Upgraded Bambulab Hotend P1P X1C X1
--The high flow rate CHT nozzle will boost the extrusion of your printer and it is much more durable than the original nozzle.
Part 2 Installation
Before start we need to replace the original hotend.
Step 1 remove the bottom cover, connect the cable as the photo shows, then manage the cables with some zips.
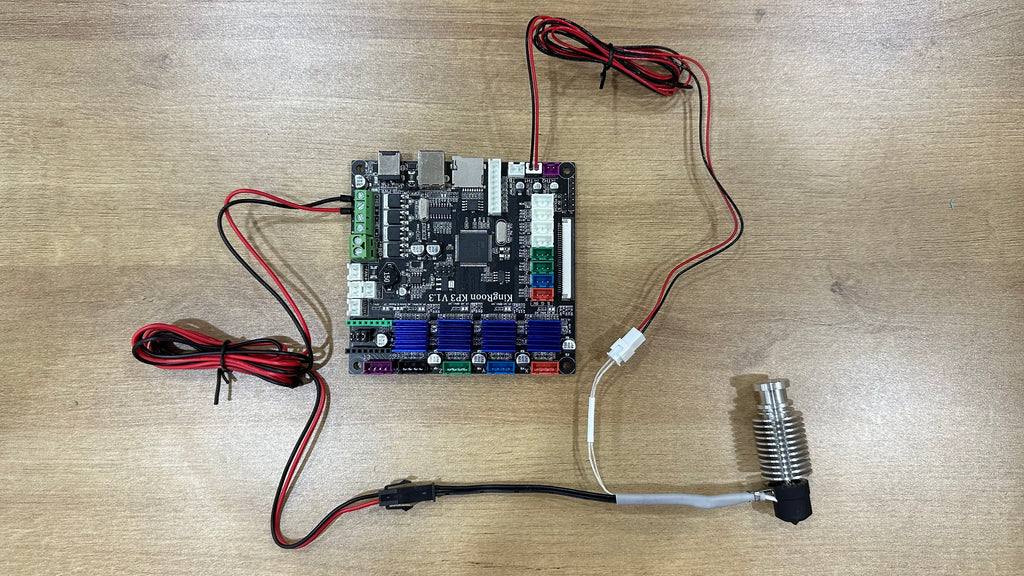
Step 2 Install the heatbreak tight in the heatsink. Remember to leave some room for the nozzle, otherwise it might cause filament leaking.
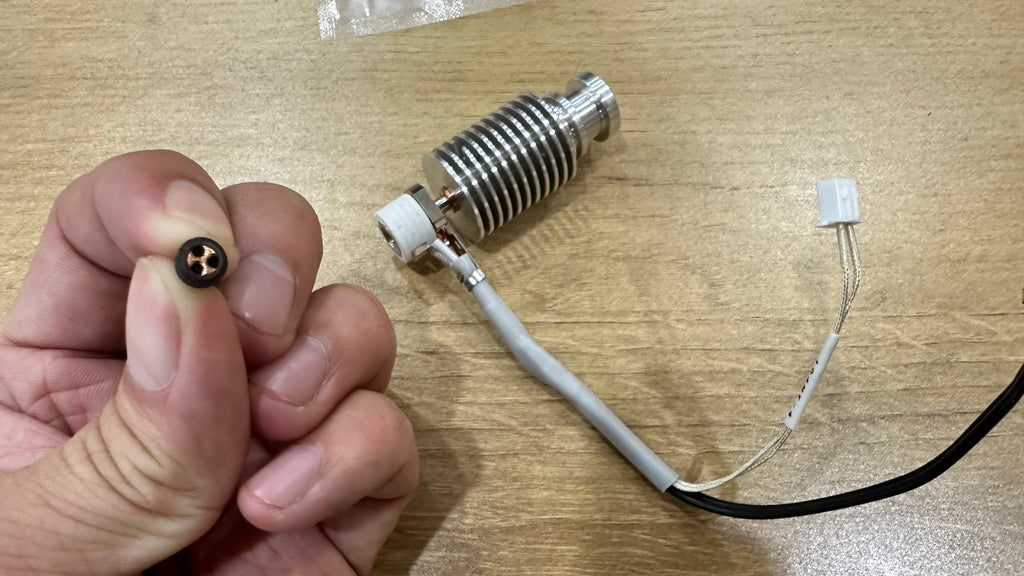
Step 3 connect the hotend cable, turn on the printer and preheat the nozzle to 220℃.
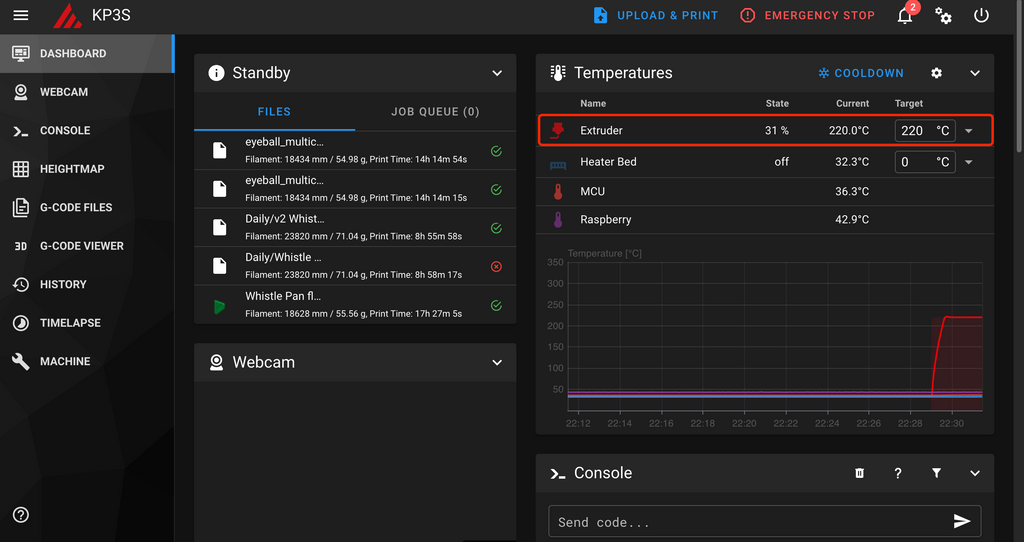
After that use the wrench and pliers to tight the nozzle and hotend. It must be done this way, or there might be a filament leaking issues.
Step 4 install the hotend, adjusts its position to fit the extruder cover, have the extruder kit assembled, then use some zips to manage the cables.
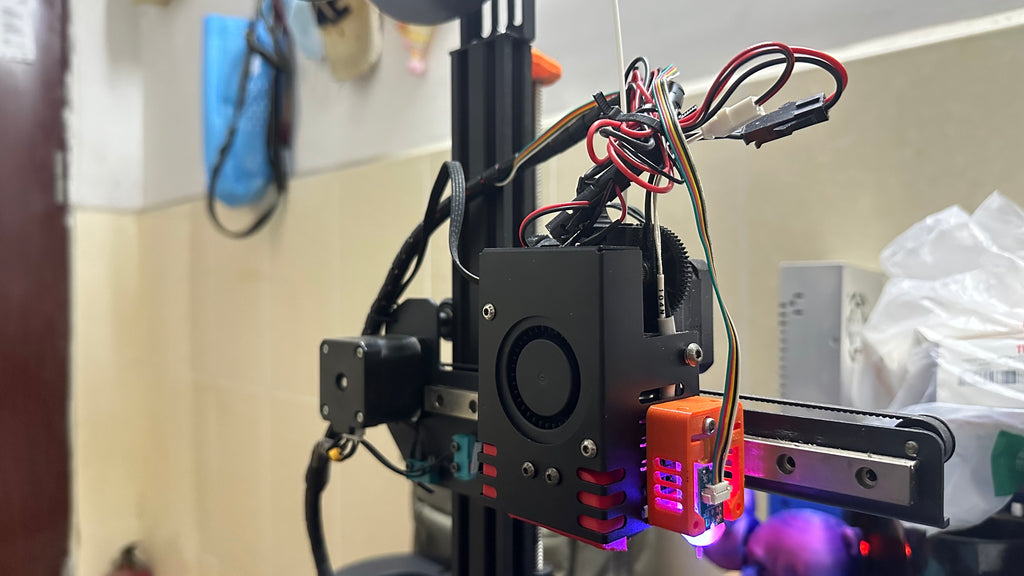
Then you finish its upgrade and be ready to the next part.
Part 3 Set up in Klipper
After that, you need to change your Klipper configuration to make the new hotend work.
Step 1 Go “printer.cfg”, “Extruder” field, change the “sensor_type” to “ATC Semitec 104NT-4-R025H42G”, the original one is “EPCOS 100K B57560G104F”. The marked “PID settings” you need to change them after the PID tuning.
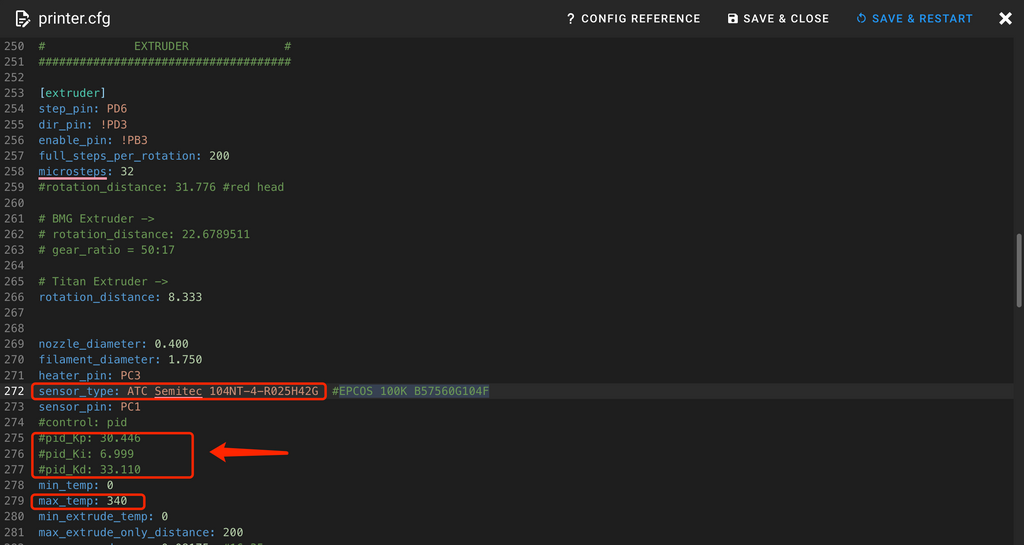
Change the “max_temp” to 340, then click “SAVE&RESTART”.
Step 2 Go to the Console field, enter the following commands for PID tuning
Enter “M206 S64” to set the part fan speed at 25%.
Enter “PID_CALIBRATE HEATER=extruder TARGET=245” to set the nozzle temperature at 245℃
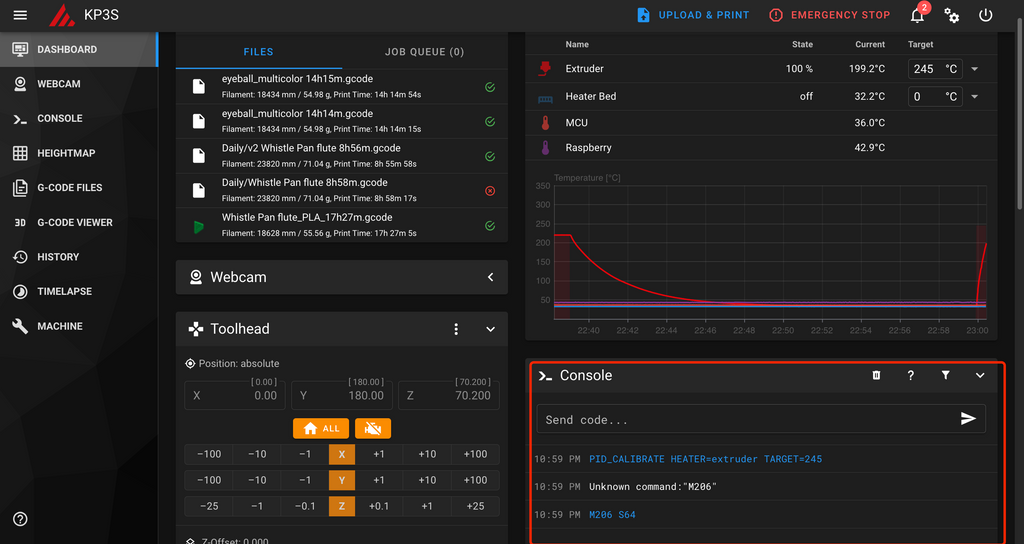
Step 3 Enter “SAVE_CONFIG” when you see the PID values come out. The printer will restart and have settings saved.
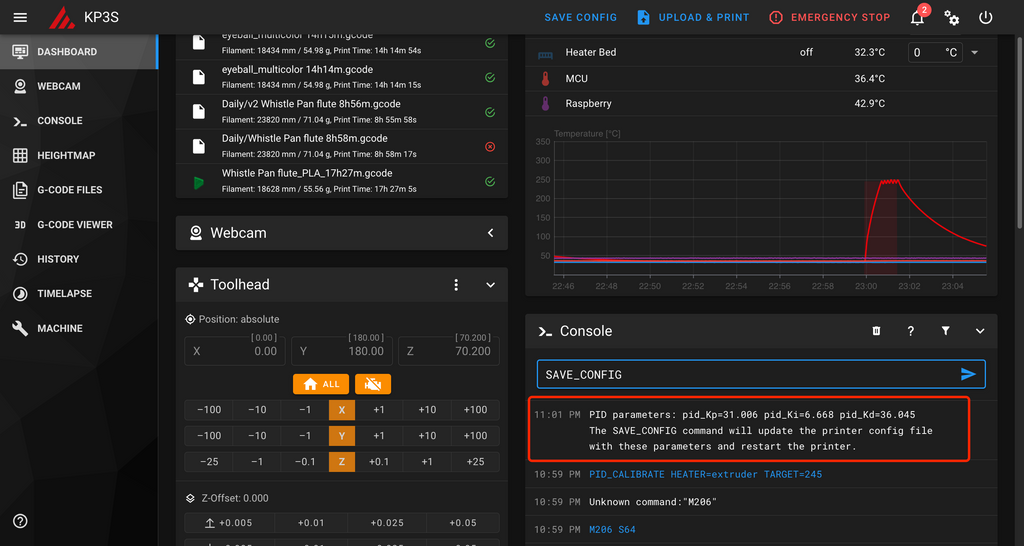
Since the “SAVE_CONFIG” commands only works for all in independent Klipper configuration, if you are still using the separate Klipper configurations, you need to check the following tutorials to get the latest Klipper configuration, or modify the pid settings in the “Extruder” field manually.
How to use 3D Touch on KINGROON KP3S Pro with the Klipper Firmware
After that, you are all set. Just remember to change your slicer settings to fit the upgrade.
 United States (USD $)
 Российская (RUB ₽)
 Global (USD $)


Quisiera saber si tambien funciona sin kliper tengo una kp3s y me gustaría actualizar
The fan sped command should be `M106 S64`
Me too !!!
Does this only work with Klipper?
Will it also work with the Creality Sonic Pad add-on?
The instructions for upgrading the hot end does not address KP3S printers without Klipper (e.g., my KP3S and KP3S Pro v1). I expected to see instructions for how to download and install updated Marlin firmware for the Robin boards installed in these printers to increase the max-temp and max-overshoot settings.