This tutorial will show you how to use 3D Touch on KINGROON KP3S Pro with the Klipper firmware.
It has been a long time since we released the Klipper configurations of all of our models, running Klipper on a 3D printer make our old friends become powerful and one step further on its printing. Meanwhile, we also released two Klipper models to help people get rid of Raspberry Pi and enjoy the pure, open, and updating Klipper.
Creation and exploration make us makers, we should never stop our steps. Now it’s time to move on auto bed leveling.
If you haven’t use Klipper on your KP3S, KP3S Pro, KP3S Pro S1, KP5M, KP5L, you can check the below link to take your new trip on Klipper.
Once you have the Klipper set up. You can go install the 3D Touch on your printer.
Part 1 Install the 3D Touch
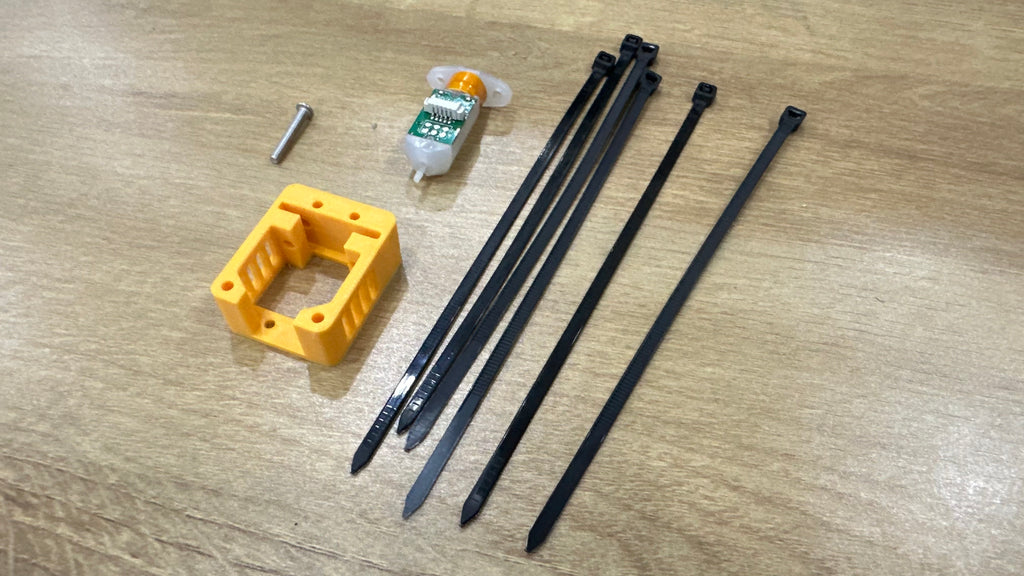
You will need some screws (m3*16x1, m3*12x2), a 3D Touch/BL Touch, a printed mounter (find it in the below page), some zips.
Use the same way to connect the 3D Touch as the follow link shows
Kingroon KP3S 3D Touch Installation
You will also find the 3D Touch mounter on the page, if you cannot config Klipper, please do not use a different mounter or a BL Touch.
If you haven’t got a 3D Touch, it is available on our site:
https://kingroon.com/products/3d-bltouch-leveling-sensor
Step 1 remove the bottom cover and connect the cables to the mainboard.
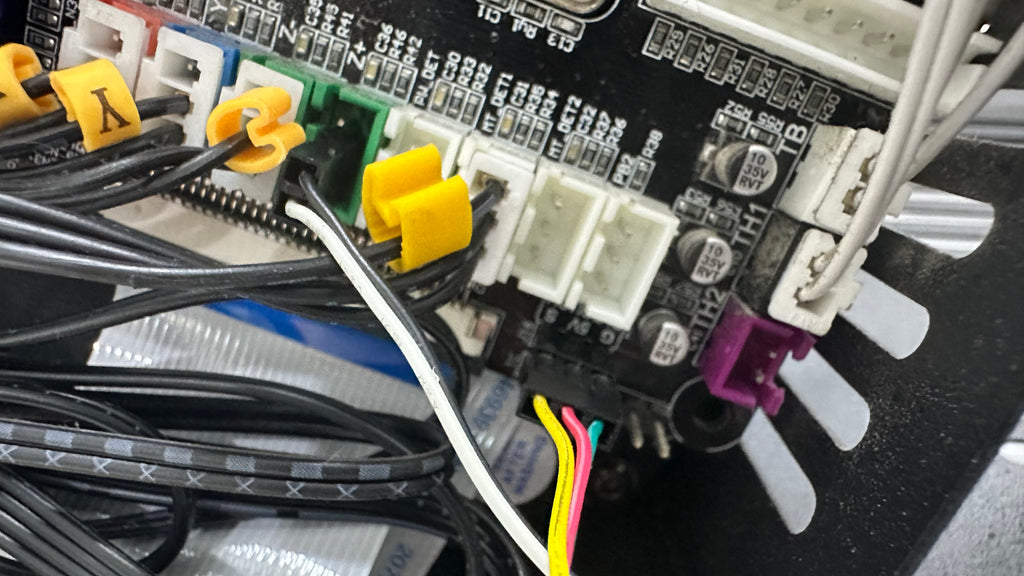
If you are using a BL Touch, please check the pins and diagrams for the BL Touch. It might be different.
Step 2 Arrange the 3D Touch cable and tie it.
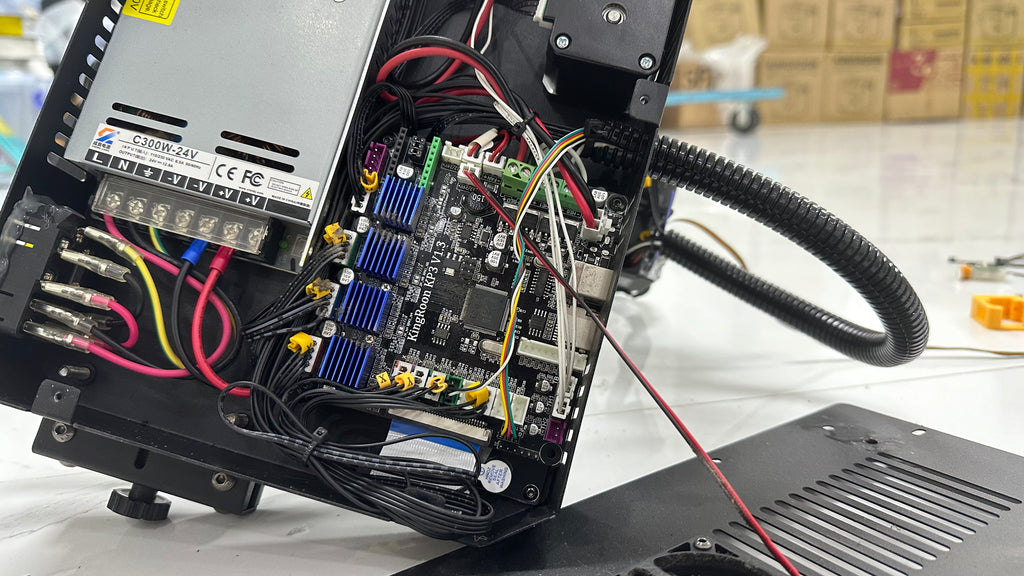
After that, put the bottom cover back and tie the cable with the extruder cable.
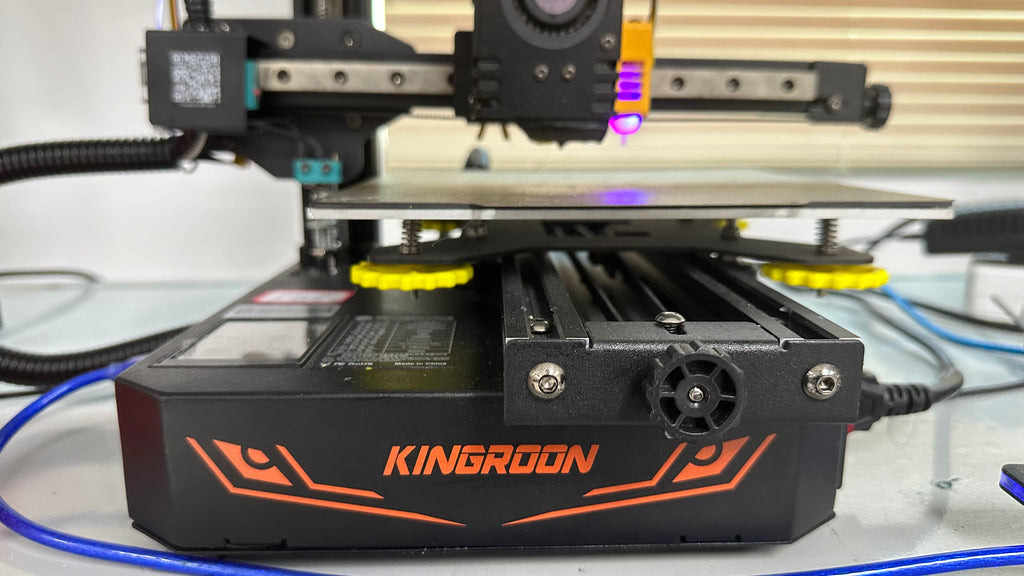
Step 3 Use the m3*16 screw to fix the mounter from the inside of the extruder cover, make sure the sensor pin is a little bit lower than the nozzle when it comes out. Then use the m3*12 screws to fix the 3D Touch.
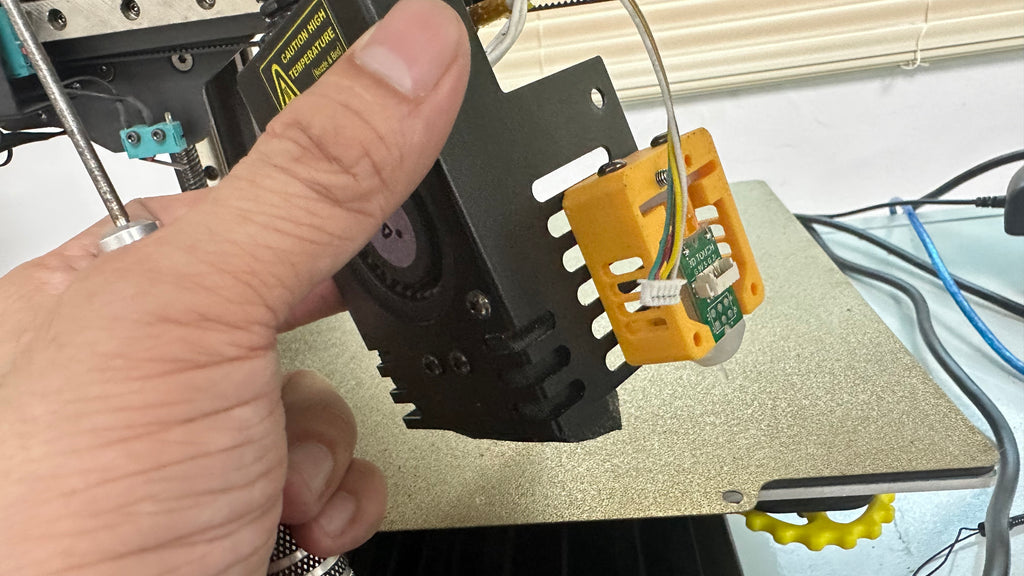
Step 4 install the extruder back and turn on the printer. The 3D touch should be on Purple light. If it is red, please check its connection.
Part 2 Set up the 3D Touch
After that, you can go set up the 3D Touch in Klipper. Before that, remember to upload the “printer.cfg” to the Klipper configuration and delete repeats. We combined all the settings, so the divided cfg files like “TMC.cfg” is no longer required.
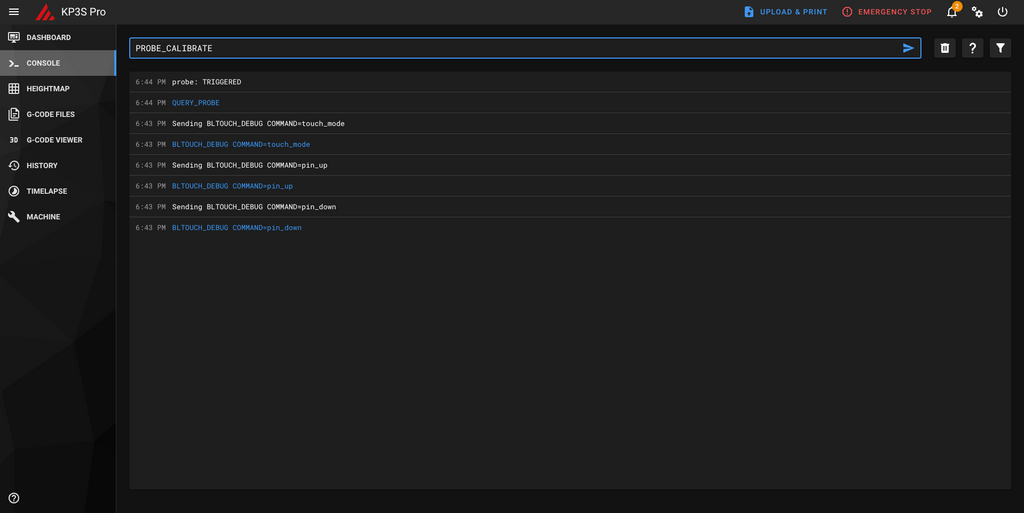
Step 1 Go to the Console field, enter the following commands to check the 3D Touch
Enter “BLTOUCH_DEBUG COMMAND=pin_down” the pin should go out
Enter “BLTOUCH_DEBUG COMMAND=pin_up” the pin should go back in
Then you can do a few more times to make sure it’s working with correct direction. For opposite directions, please replace the 3D Touch with a new one.
Then enter “BLTOUCH_DEBUG COMMAND=touch_mode” to enable “Touch Mode”
After that you can do some pin down and pin up, and check the status by enter “QUERY_PROBE”, seeing “triggered” means it works fine.
Step 2 Back to the home page, click “home all”, the printer will start to home all the axis. The printer head will stop on the middle of the heatbed. Then a chart will appear on your screen. To be easy, you can control it with your phone, too.
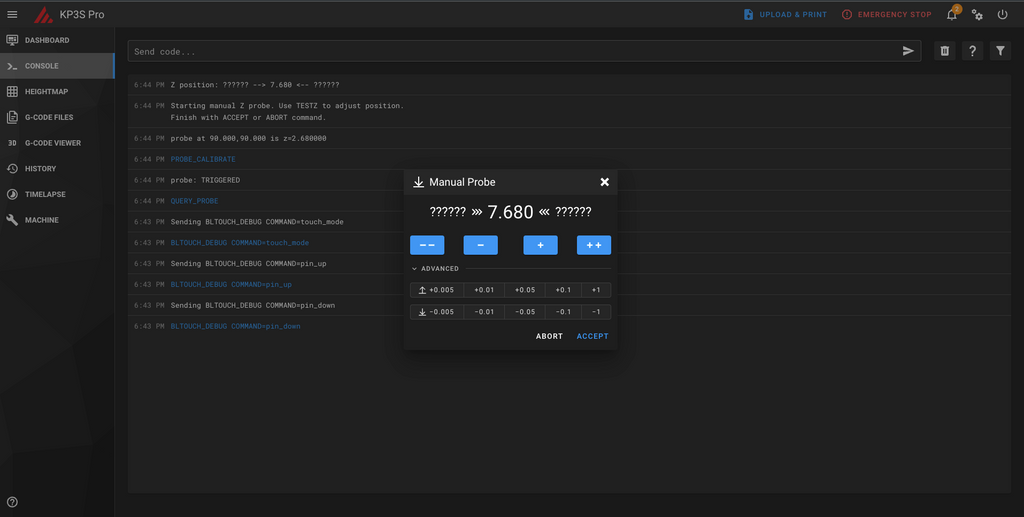
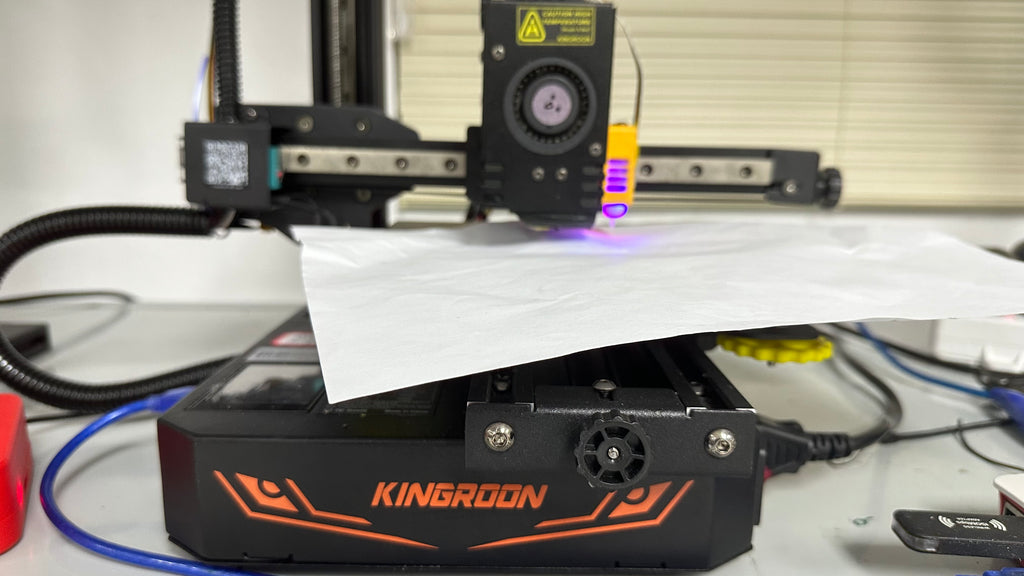
Step 3 Put a paper under the nozzle, then adjust the extruder up and down to find the correct Z Probe offset. Once you feel a friction when sliding the paper smoothly, click the “ACCEPT” button.
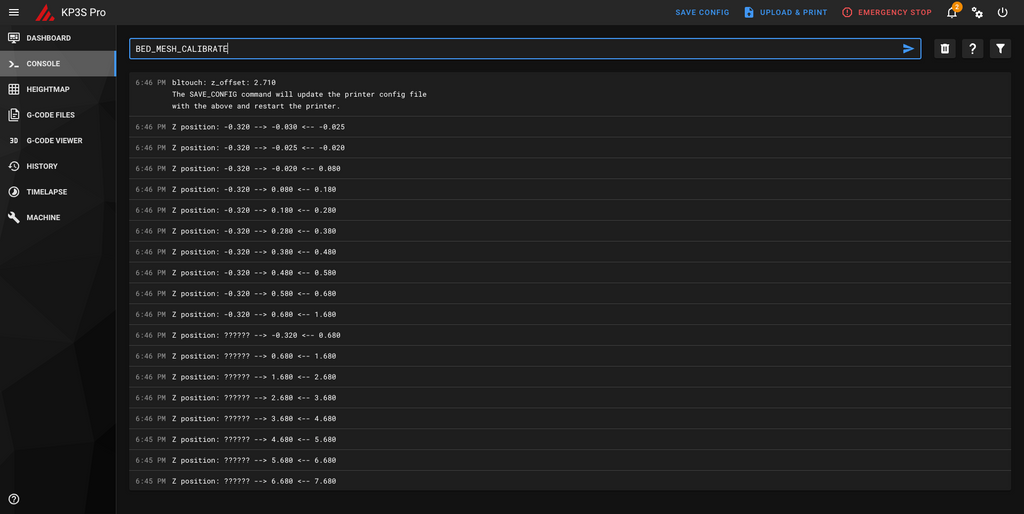
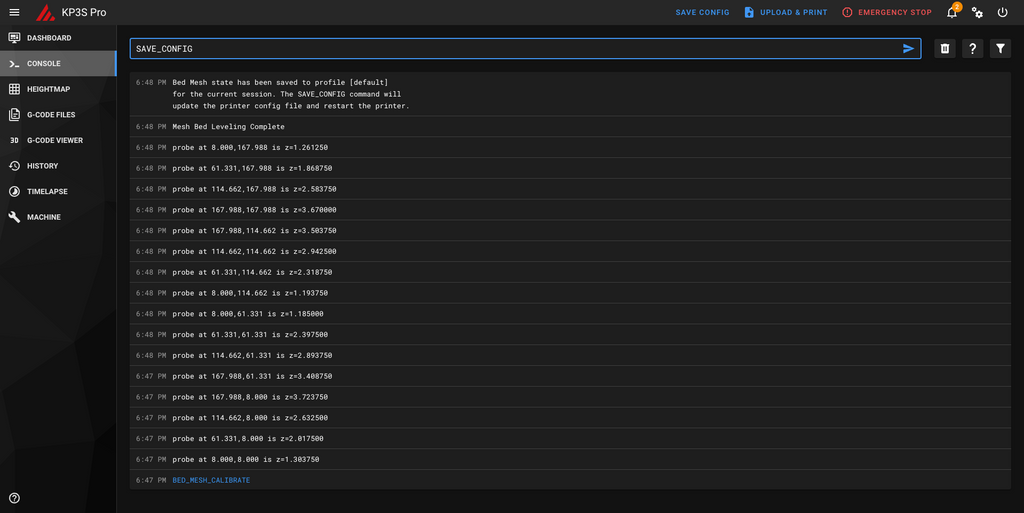
Step 4 Enter “BED_MESH_CALIBRATE”, the bed leveling process should start after that. It will detect 16 points of the bed, then stop at the last point.
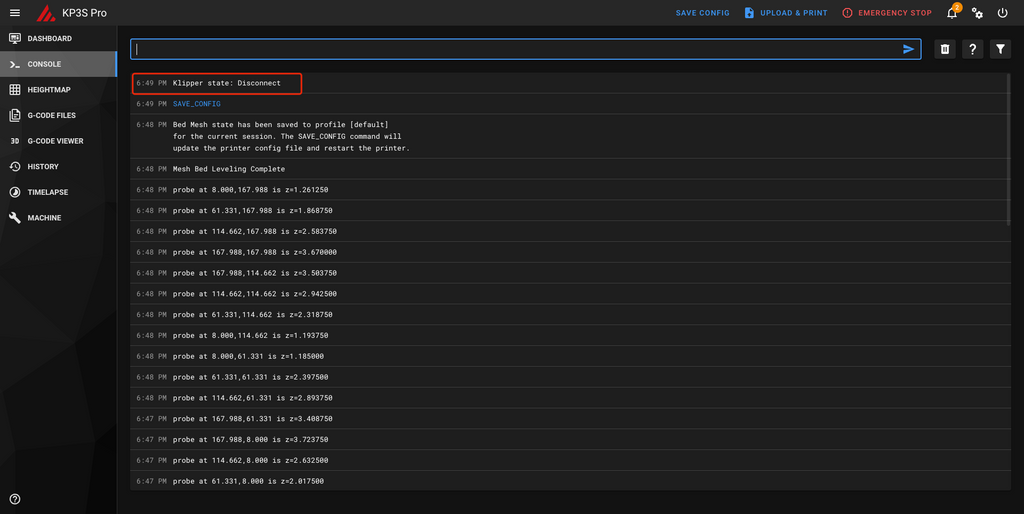
Step 5 Enter “SAVE_CONFIG” to save the bed leveling settings.
Once you see the marked status and Klipper reboots, you are all set.
Now you can do the printing like normal. Just enjoy the good time of Klipper. More tutorials will come.
I check the printer.cfg,endstop_pin: !PA11, which means the z-axis is not home by the 3D touch ?