It is simple to use the full Klipper Screen feature on your KINGROON KP3S Pro V2 and KLP1, this article will show you how to choose a screen for it.
Since Klipper Screen has been installed in all versions of the KP3S Pro V2 and KLP1, all you need to do is to find an HDMI screen.
Hardware Check:
If you are looking for the most compatible screens or check the possibility to use the current screen you current own, the below link will help you.
Hard Ware check For Klipper Screen: https://klipperscreen.readthedocs.io/en/latest/Hardware/
The HDMI screen seems to be the most compatible one among the list, just plug in and use, no extra set up.
Key Features for HDMI Screen:
To use an HDMI screen on the KINGROON KP3S Pro V2 and KLP1, you should look for some key features.
A) touchable
It means you can control the printer directly with Klipper Screen interface
B) capacitive
It is similar with the one on your smartphone, provides better experiences than a resistive screen
C) external power supply
Getting power from the mainboard may interfere its working and lead to a print failure. Even I didn’t meet the case in my test, still recommend that though.
And of course, you should be looking for a screen that is in 5V voltage, unless you can bear a huge external power box.
How to get
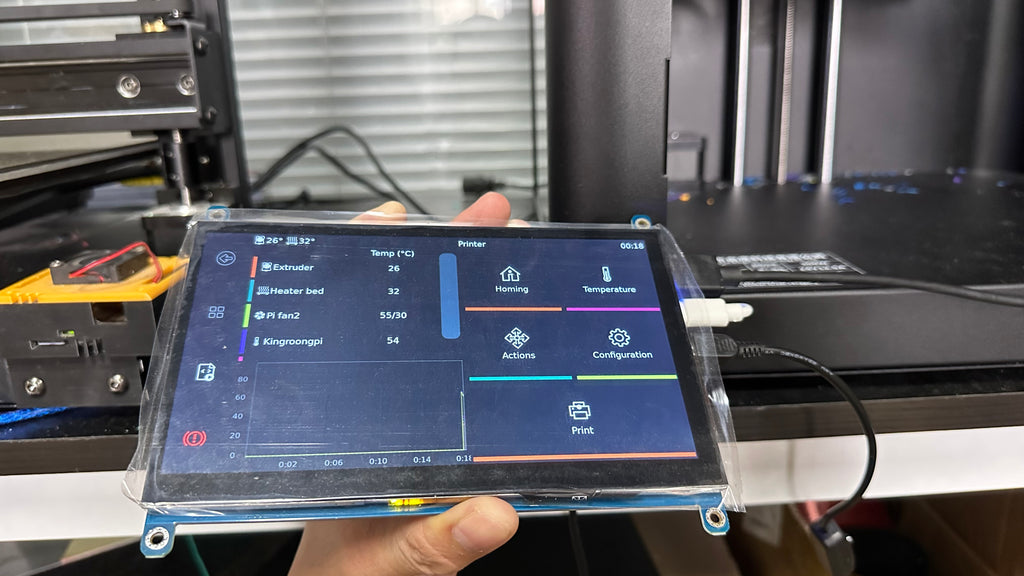
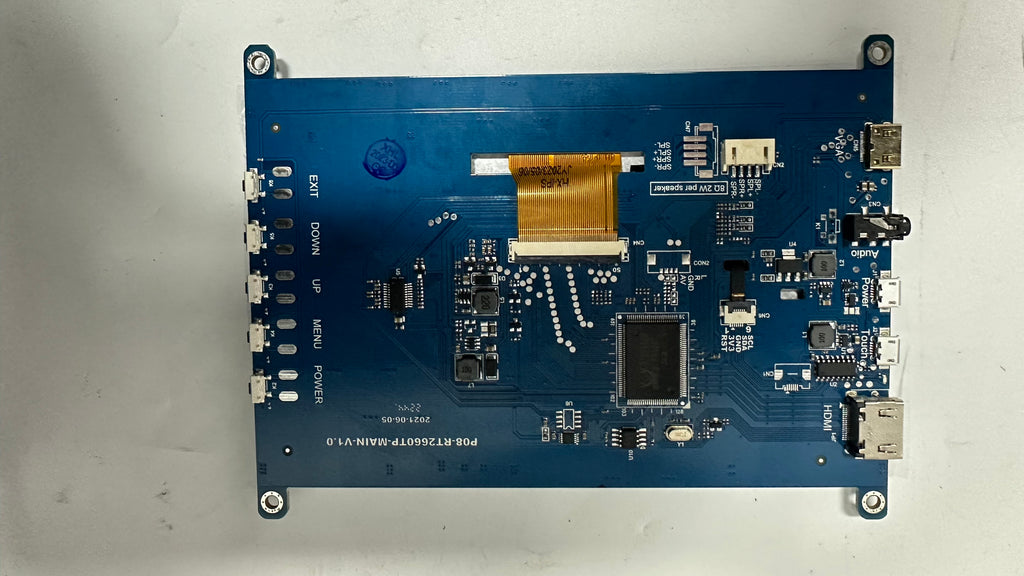
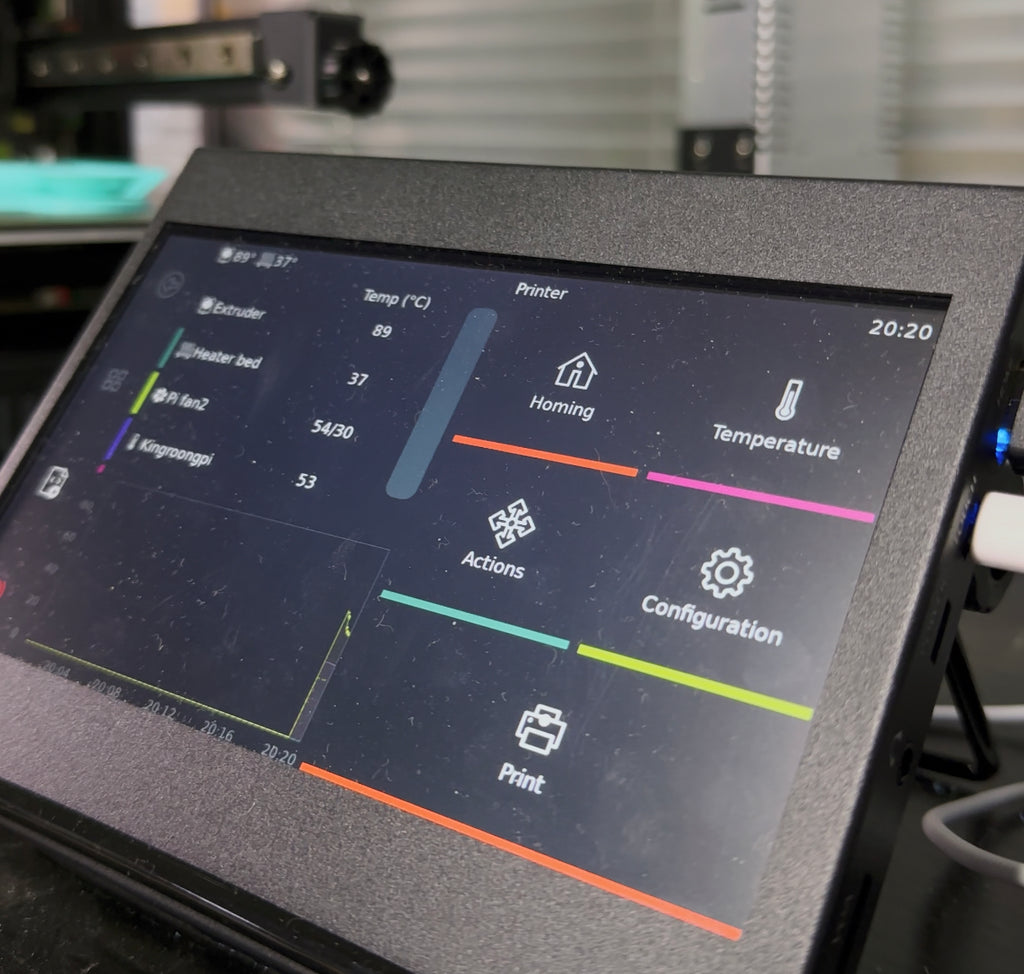
So we are using a 7 inch touchable capacitive HDMI screen with external power supply, it even has a port for the touch feature. But we let it get power from the mainboard directly, it works perfectly on both KLP1(screen less version) and the KP3S Pro V2(both versions). And we get a protect box for it, too.
If you want to get a similar one, you can search for “Raspberry Pi Screen HDMI” on Amazon or Ali Express, just make sue it has the above key features. Its cost is about 40USD(Screen), 11USD(Metal box).
Set up
Once you get the screen, it is very easy to set everything up, especially on the KINGROON KP3S Pro V2 and KLP1.
Just connect the screen to the printer, turn the printer on. Then you are ready to enjoy the full Klipper Screen feature.
How is the screen connected to the printer?
Where can I buy the 7-inch display? KP3S pro v2, can you give me a link?