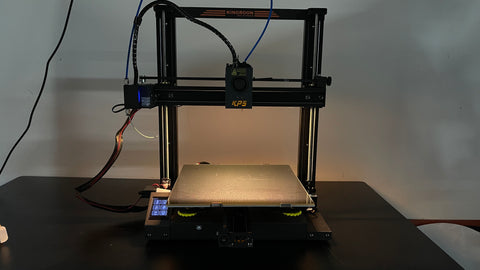
The KINGROON KP5L 3D printer is a high-performance 3D printer that uses Linear guides on all axis. You can also upgrade it easily, we do have a lot of tutorials and articles for that such as ABL, Laser, Klipper firmware, Marlin, and so on. Today let’s talk about LED lights on KP5L.
It’s a universal LED light bar. KP3S can use it, too. We will make a tutorial for it soon.
So, once you get the LED light bar, let’s prepare the printer and get started.
First, open the 3D printer, then insert the power cable through the hole beside the right Z motor.
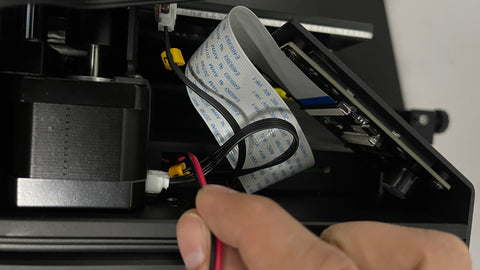
After that, take the cable in, and get some length for connecting. You need to connect it directly to the power supply
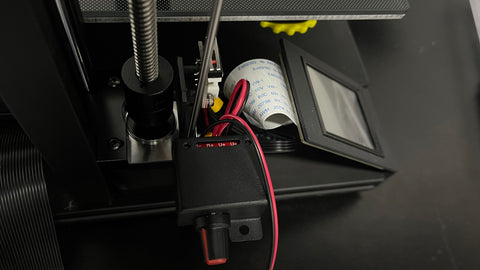
Open the protective cover, there are the ports on the power supply. You need to connect the wires to the blank ports.
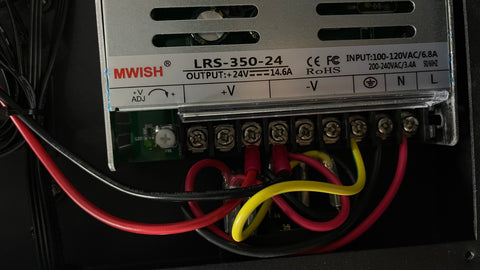
Red means positive, and black means negative. Just loose the screws, put the wires in then tight them back. Remember to unplug the power cable before doing that.
That’s it. We just set up all two wires of the LED light bar. Next, we are going to get it tested and see if the light works.
Connect the power cable and turn on the printer, then scroll the switch of the LED light bar. It should light up normally.
Then you can turn off the printer, unplug the power cable, then install the bottom cover back.
After that, put some double-sided tape on the back of the LED light bar. You better find the transparent one on Amazon, it is super sticky.
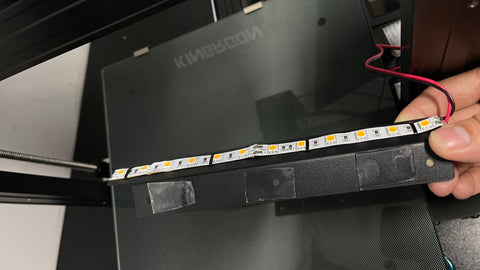
You can also get more tape on it. But actually, it’s quite stable.
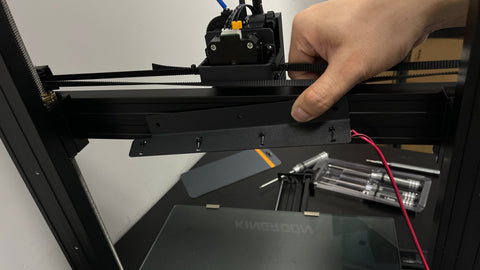
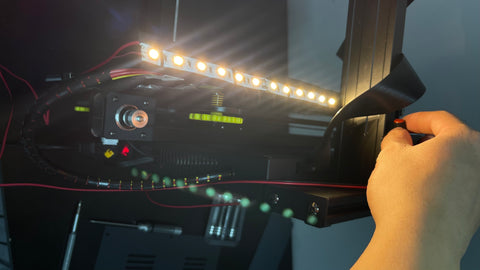
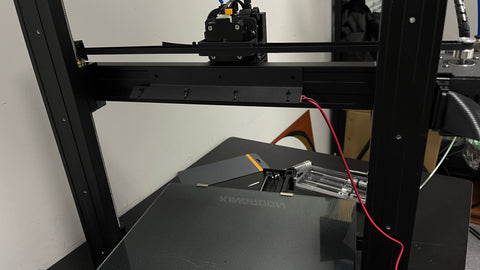
Then you can put it on the back of the X gantry, set it tight and you are all set. Remember not to put it too low, or it will make your printing fail.
Next, find the Z limit switch, unscrew the right screw on it, then you can install the LED light bar switch there, no extra screw is needed, just put the original one back, and set it tight.
After that, you are all set. You can also use some black tape to stick the new cables on the flat cable, it looks better. Then you are free to enjoy the LED lights on your KP5L.
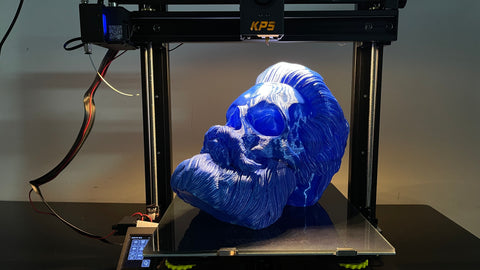
It helps a lot with videos and photos. With the help of it, you can take great photos and videos easily. Also, you can think about Time Lapse Video now. That’s all for today. Happy 3D printing!

Hi, I have one of the KP5M and it will not read SD cards. How do i fix this or is there a method to read files via USB. I have not sucessfully done that with this machine. I have been trying to get help since the fits day of delivery 2 months ago. what are my options to get a 3D printer that functions.
Regards
John