Recently we released a new EMMC module for our KP3S Pro V2 and KLP1, people can expend the system storage to 32GB, which is much larger than its original 8GB size. This tutorial will tell you more the EMMC and show you how to use it.
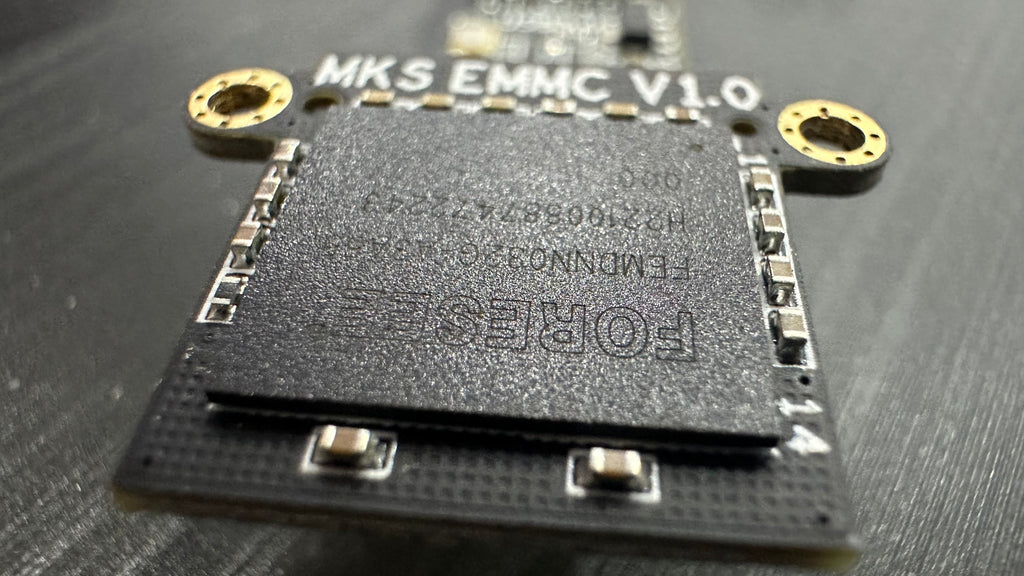
Upgrade 32GB EMMC Module for KP3S Pro V2 and KLP1
Part 1 What is EMMC
An embedded MultiMediaCard (eMMC) is a small storage device made up of NAND flash memory and a simple storage controller. The eMMC standard for embedded flash memory applications was developed in 2006 by JEDEC and the MultiMediaCard Association.
Compare to the attached SD card, it has 52Mbytes/s read and write speed which is way much faster than a SD card we usually use to flash Klipper system in.
Part 2 Why do we need EMMC
Usually, there are two ways of running Klipper system on a 3D Printer:
- Use something like a raspberry pi to take over the control of the original mainboard.
- Use an all-in-one Klipper mainboard like KP3S Pro V2 and KLP1
For the first way, we store and run Klipper system with an SD card. It may have issues or system failures when its speed is not qualified for the system.
For this case, please chose a high-speed SD card. In case you may have a lot of files or do time lapse video via Klipper, the storage is also better to be at least 32GB.
The EMMC module is used on the Mainboard of KP3S Pro V2 and KLP1, it provides enough speed and stability for Klipper running.
If do not like printing via USB drive or having plan on making time lapse video, a larger EMMC module is also necessary.
Part 3 How to use it
If don’t know how to flash system to your EMMC module, the below tutorial will help you and provide updating system image files for your KP3S Pro V2 or KLP1.
How to Falsh the EMMC Chip on Kingroon KP3S Pro V2 and KLP1
https://kingroon.com/blogs/3d-print-101/how-to-falsh-the-emmc-chip-on-kingroon-kp3s-pro-v2-klp1-klipper-3d-printers
Just put the EMMC module on the adapter, then connect the adapter to a high speed SD card reader, you are ready to flash it.
If it cannot be read and the connection is correct, or the flashing stops in the middle with the EMMC disconnected, you need a new and better SD card reader.
Or you can take one of the below one:
MKS EMMC-ADAPTER V2 for KINGROON KP3S Pro V2 and KLP1
https://kingroon.com/products/mks-emmc-adapter-v2-for-kingroon-kp3s-pro-v2-and-klp1
Part 4 Copy the old system image
Flashing a new system means to erase all the contents or settings in it and you need to start over on everything of the printer. So, people may want to move everything to the new EMMC module. It is actually easy to do.
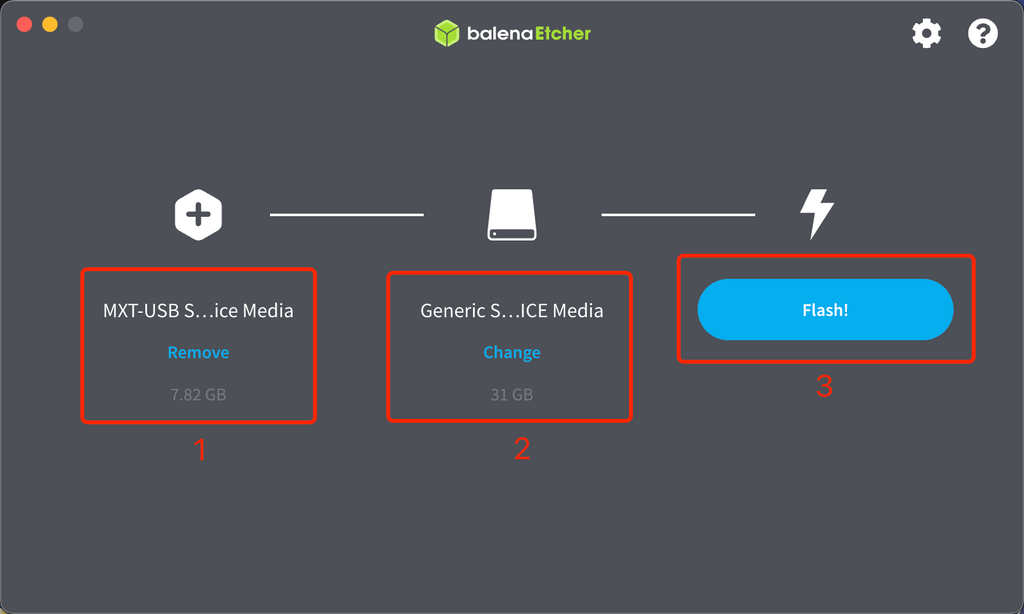
Just mount both EMMC moudles on your PC and use balenaEtcher then use the clone drive function.
That also means you need 2 adpaters + 2 SD card Readers, or 2 MKS EMMC-ADAPTER V2.
Once you connect the both module on your PC, open the balenaEtcher, secelect clone drive, then select the 8GB original EMMC module as flashing source. Then choose the 32GB new EMMC module as target. Click flash and wait for its finish.
After that you are all set.
Install the new 32GB EMMC Module to your printer and turn it on, it will act like the original one.
And this new EMMC Module will help you store more files on your printer and make time lapse video on Klipper become possible.
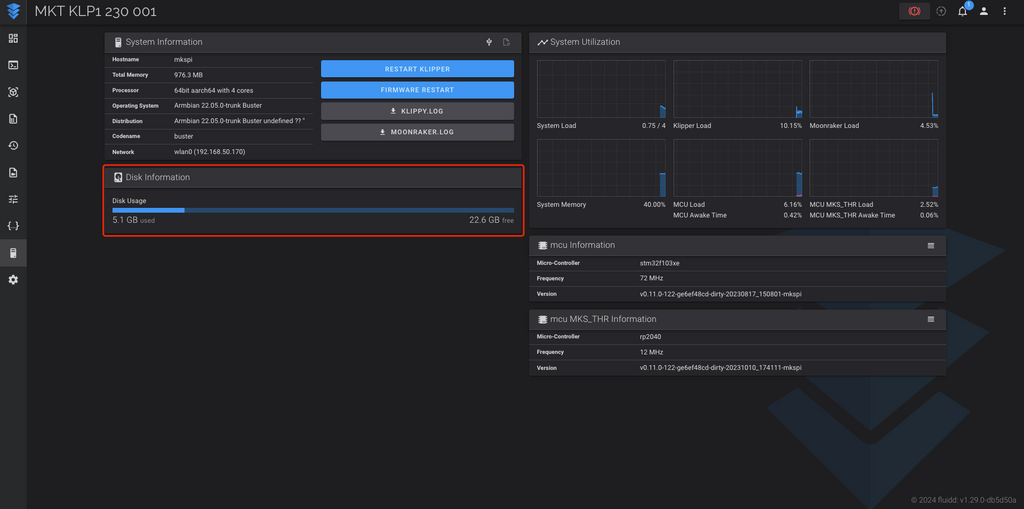
Part 5 Expend to use all the Storage
Turn the printer on, open the terminal then enter the ssh with the following information.
mks/makerbase
Two commands need to be entered.
Enter the following two commands.
sudo systemctl --no-reload enable armbian-resize-filesystem.service
sudo shutdown -h now
After that, reboot the printer (must power off), the storage should have been expended to all.
Alright, you are ready for the time lapse on Klipper, check Klipper Timelapse - Installation and Configuration for more information. Happy 3D printing!