As a maker you may have heard about the Raspberry Pi. If you want to control your printers remotely with Octopi or Klipper, a Raspberry Pi would be the first option comes to your eyes.
But since the COVID-19, its prices have been raised so much, which make it unacceptable. So, a replacement would be great.
Normally, you will have 3 options: Android phone or tablet, old PC, Orange pi or Banana Pi.
They are way better affordable than the Raspberry Pi.
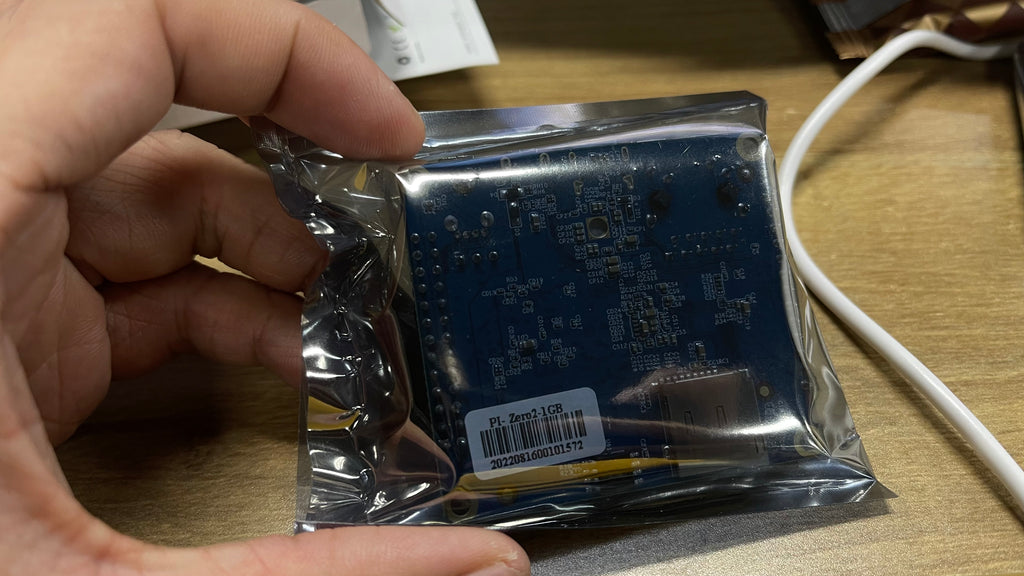
Today we are going to talk about the Orange Pi Zero 2, its price is only 1/4 of a Raspberry Pi. You can get one from the Amazon or Ali Express.
After two weeks testing, the Orange Pi Zero 2 works great with the KP5L printers on the Klipper firmware.
Next, let’s show you how to make it happen.
Step 1, Get the Klipper Bundle
First, you can get Klipper Bundles from this article. You must have the Orange Pi Zero 2 Klipper Bundles, Kilpper firmware, test prints, exclusive image for Orange Pi Zero 2, and the printable box. Then download the second bundles according to your printer model.
The Klipper bundles help you get the Klipper system works on your Orange pi, the Orange Pi bundle contains a customized system image that you can restore it to your SD card. If you are using it with KP5L or KP5M, you can also mount the orange pi zero 2 on your printer with the print in the bundle.
Step 2, Flash the system image
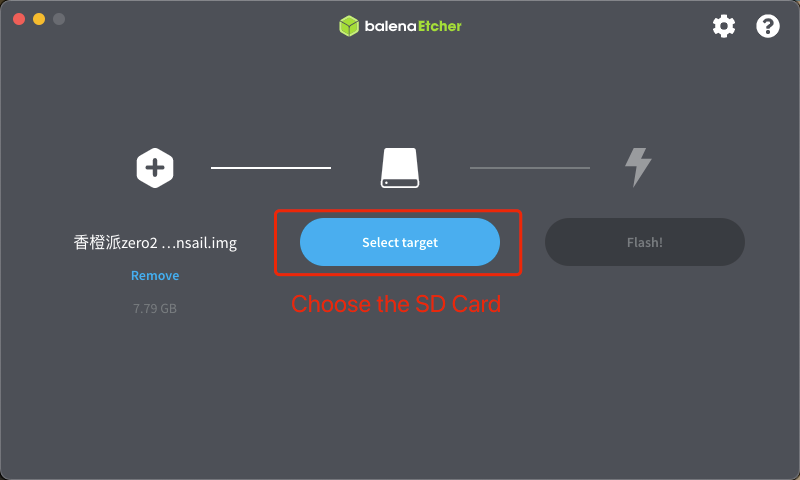
You will find a file named with “mainsail” in the Orange Pi Bundle. Unzip the file, you will get a “img” file. Then use “balenaEtcher”, “Raspberry Pi Imager” or “Win32 Disk Imager” to flash it.
As for the SD card, you need to find a high speed one with at least 8GB memory. The system itself takes about 8GB, and high speed will avoid issues like system failure. That’s why we use EMMC chip on our KP3S Pro V2 and KLP1.
Just choose the img file and the SD card, then flash it. Once the process finished, put the SD card into the Orange pi Zero 2. You are ready for the next step.
Step 3, Find out the IP
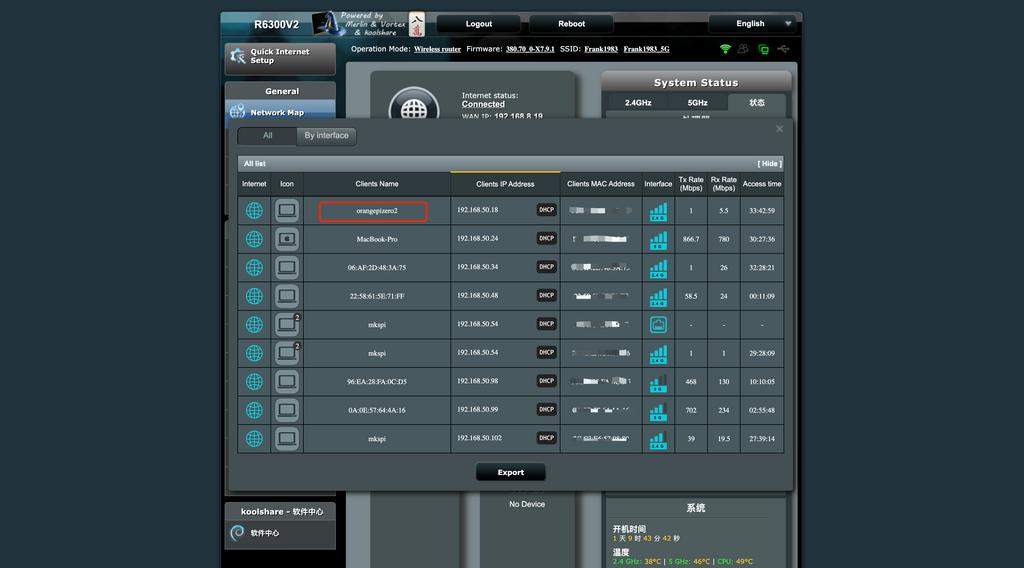
The Orange Pi Zero 2 has a build-in wifi, but before using it you need to comigrate it in the system. Connect the pi to ether net and power supply, then you should be able to find the device in the router’s dashboard. It usually named as “Orangepi Zero 2” or “mainsail”. Then You can use the IP address to enter the SSH.
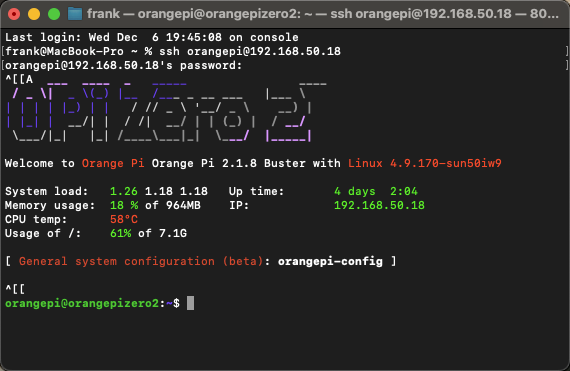
Use the terminal, then enter “orangepi@YOURIP”
Then enter “orangepi” as password. You are in.
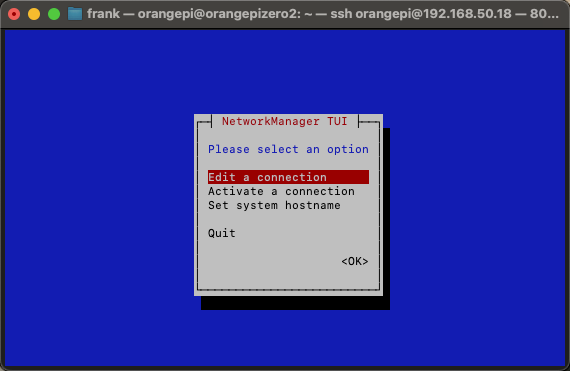
Step 4 config WIFI
Then enter “nmtui”, you will enter the Orange Pi config. Enable the wifi connection, then connect the Orange Pi Zero 2 to your wifi. After that, you are all set. You can unplug the ether net and connect the pi to your printer.
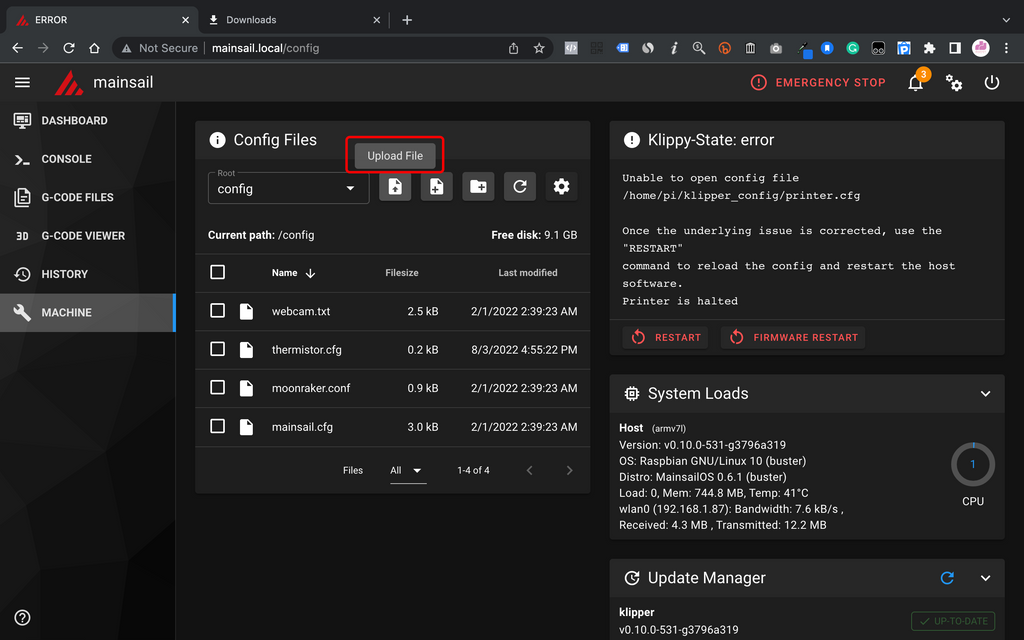
You will find the new IP address from the router’s dashboard, too. Enter the IP address, you will see the Klipper dashboard.
Step 5 Config Klipper
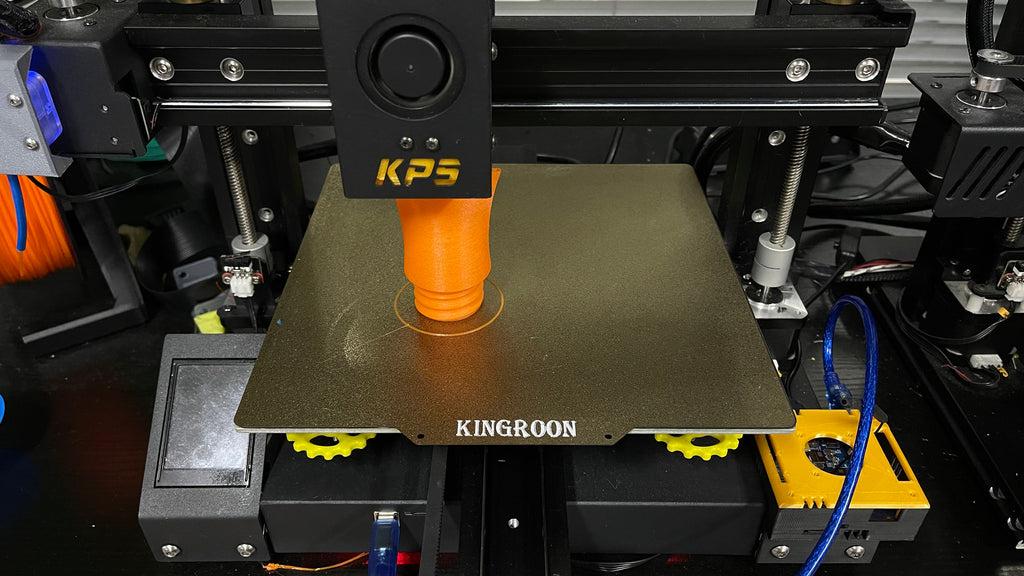
So, the Pi is ready now, it’s time to use the Klipper bundle. For KP5L user, you can install the Orange Pi Zero 2 on your printer now. Then you will find the “Kliiper firmware” from the “KP5L Klipper Bundle”, flash it to your KP5L, the Orange Pi Zero 2 will be able to recognize the printer.
After that, upload the Klipper configuration to the config files, then reboot the system. You should be able to control the printer with Klipper now.
If you installed the 3D Touch on your printer, use the latest all-in-on configuration, then check this tutorial to set up:
How to use 3D Touch on KINGROON KP3S Pro with the Klipper Firmware
If not, use the old version.
For those who are new to Klipper, the following two videos will show you more details.
How to Prepare Klipper Firmware for Kingroon KP3S Using Fluiddpi
Set up Klipper Configuration for the KINGROON KP3S 3D Printers and print
OK, you are all ready to enjoy the high speed printing with Klipper now.
Viertel vom Preis? Bei 30€?
Viertel vom Preis? Bei 30€?