Do you know that we can print collapsing swords with KP3S Pro V2 and KLP1 3D printers after a few tunings? And you don’t even need to lower down its speed or use any special filaments. Today we are going to show you that.
Part 1, Printer Set Up
Once you have the printer, some basic check and tunings are necessary to make sure it works fine, especially you see some obvious damages on the package box. Every printer has been checked when producing with a few print tests. But its shipping may cause some damages.
1.1 Belt tension
The belt is the first thing you need to check. It should be in the proper tension, which is not too loose either too tight.
KP3S pro V2 users can use the belt tension kit to adjust it easily. KLP1 users can see this video to adjust it. https://youtu.be/KTIaxn7dI8A?si=6reFEXpmBvDawWmN
1.2 Leveling sensor
A perfect bed leveling is very important to get a great first layer and reduce the tolerance of the prints. The sensor itself has been calibrated and tested, all you need to do is check its distance to the nozzle. It should be about 1mm above the nozzle.
If you got any error messages or failed on bed leveling, please:
- a) Make sure the PEI sheet is on
- b) Make sure the desk is not shaking
- c) Check this tutorial to adjust it: https://kingroon.com/blogs/3d-print-101/leveling-sensor-adjustment-on-kingroon-klp1-3d-printer
1.3 The CHC heating ring and Thermistor sensor
Make sure they are connected well and not loose, or it might give you an error message.
1.4 The Part Fan
If the part fan on your printer is not adjustable in speed, you can replace it to fit more uses of ranges. If you are the sites customer, please contact us with shop@kingroon.com, we will send you the new fan. Or you can also get it from this link: https://kingroon.com/blogs/3d-print-101/leveling-sensor-adjustment-on-kingroon-klp1-3d-printer
Part 2, Printer tunings and settings
Bed leveling, Input shaper, Pressure advance are three basic settings that you need to follow the user manual to proceed. They are important for improving the printing quality.
If you are using a screen version of KP3S Pro V2 or recently upgrade your screen-less KP3S Pro V2 with the latest extruder kit, you need to check the “Rotation distance” in the “printer.cfg”, make sure it is 53.2. Or it will give you extrusion issues.
Part 3, Slice Settings
The OrcaSlicer really is a powerful tool that improves the printing quality of the KP3S Pro V2 and KLP1 badly. So, we use it mostly. To get the best print quality, please click this link and get the profiles to use. https://kingroon.com/blogs/3d-print-101/orcaslicer-using-on-kingroon-kp3s-pro-v2-and-klp1-3d-printer
We will keep it updated. And we use the same settings to print those Collapsing Swords. As long as you use the same printer, and have it tuned well, you should be able to get the same results with our settings.
For PLA printing, we use 220/65 and 195/60 on KLP1; 220/65 and 205/60 on KP3S Pro V2. For retraction distance, we use 0.75mm. If you decide to get your own settings, the above things can be your reference.
Part 4, Collapsing Swords
There are a few swords you can try with the KINGROON KP3S Pro V2 and KLP1 easily. We scale the down a little bit and print them without any issues.
1.Collapsing Drill Sword Print-in-Place by 3dprintingworld
https://thangs.com/designer/3dprintingworld/3d-model/Collapsing%20Drill%20Sword%20Print-in-Place-907290
(Videos comes later on https://www.youtube.com/c/Kingroon3DOfficial)
2.COLLAPSING KATANA - TANJIRO – DEMONSLAYER By PLAYART3D
https://cults3d.com/en/3d-model/game/collapsing-katana-tanjiro-demonslayer-easy-to-print-no-supports
On KP3S Pro V2: https://youtube.com/shorts/MAT11zCDEqU?si=HmOUumM7tbbnBEe5
On KLP1: https://cults3d.com/en/3d-model/game/collapsing-katana-tanjiro-demonslayer-easy-to-print-no-supports
3.Collapsing Lightsaber(PNP) by 3dprintingworld
https://thangs.com/designer/3dprintingworld/3d-model/Collapsing%20Lightsaber%28PNP%29-23596
(Videos comes later on https://www.youtube.com/c/Kingroon3DOfficial)
And of course, many other print in place 3D models:
Print In Place FIDGET GRENADE by thelightspd
https://thangs.com/designer/thelightspd/3d-model/Print%20In%20Place%20FIDGET%20GRENADE-920630
On KP3S Pro V2: https://www.instagram.com/reel/CwRFO9vNBPp/?igshid=MzRlODBiNWFlZA==
Part 5, Printing and checking
After that, you should be able to print those swords easily. Here is something you need to take care.
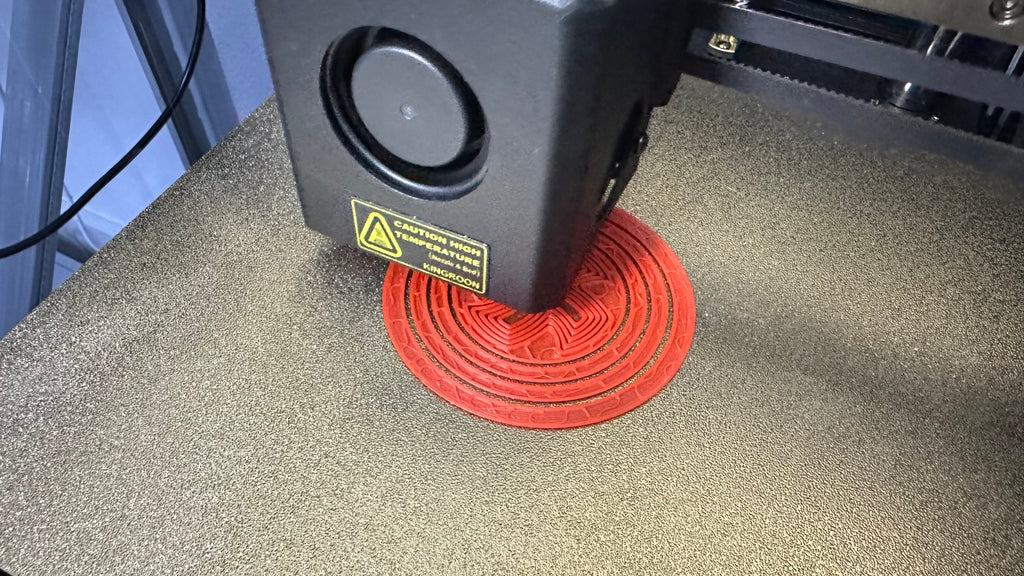
1.Do not leave the printer unless the first few layers stick well, otherwise the fallen prints will stick on the hotend and get it damaged. It is not a design flaw.
2.Use some glue stick on the PEI sheet, it will help the prints stick. And you need to add it after every few times.
The first few layers can decide if the print can succeed. Once you find it is sticking, just stop the printing and check the above things.
Alright, that’s all for today. You can find more tutorials on https://kingroon.com/blogs/3d-print-101 and video tutorials on https://www.youtube.com/c/Kingroon3DOfficial
Please send me a slide cooler with adjustable rotation. #8740 – 06 Jul, 2023
I have written several times, but they do not reply.