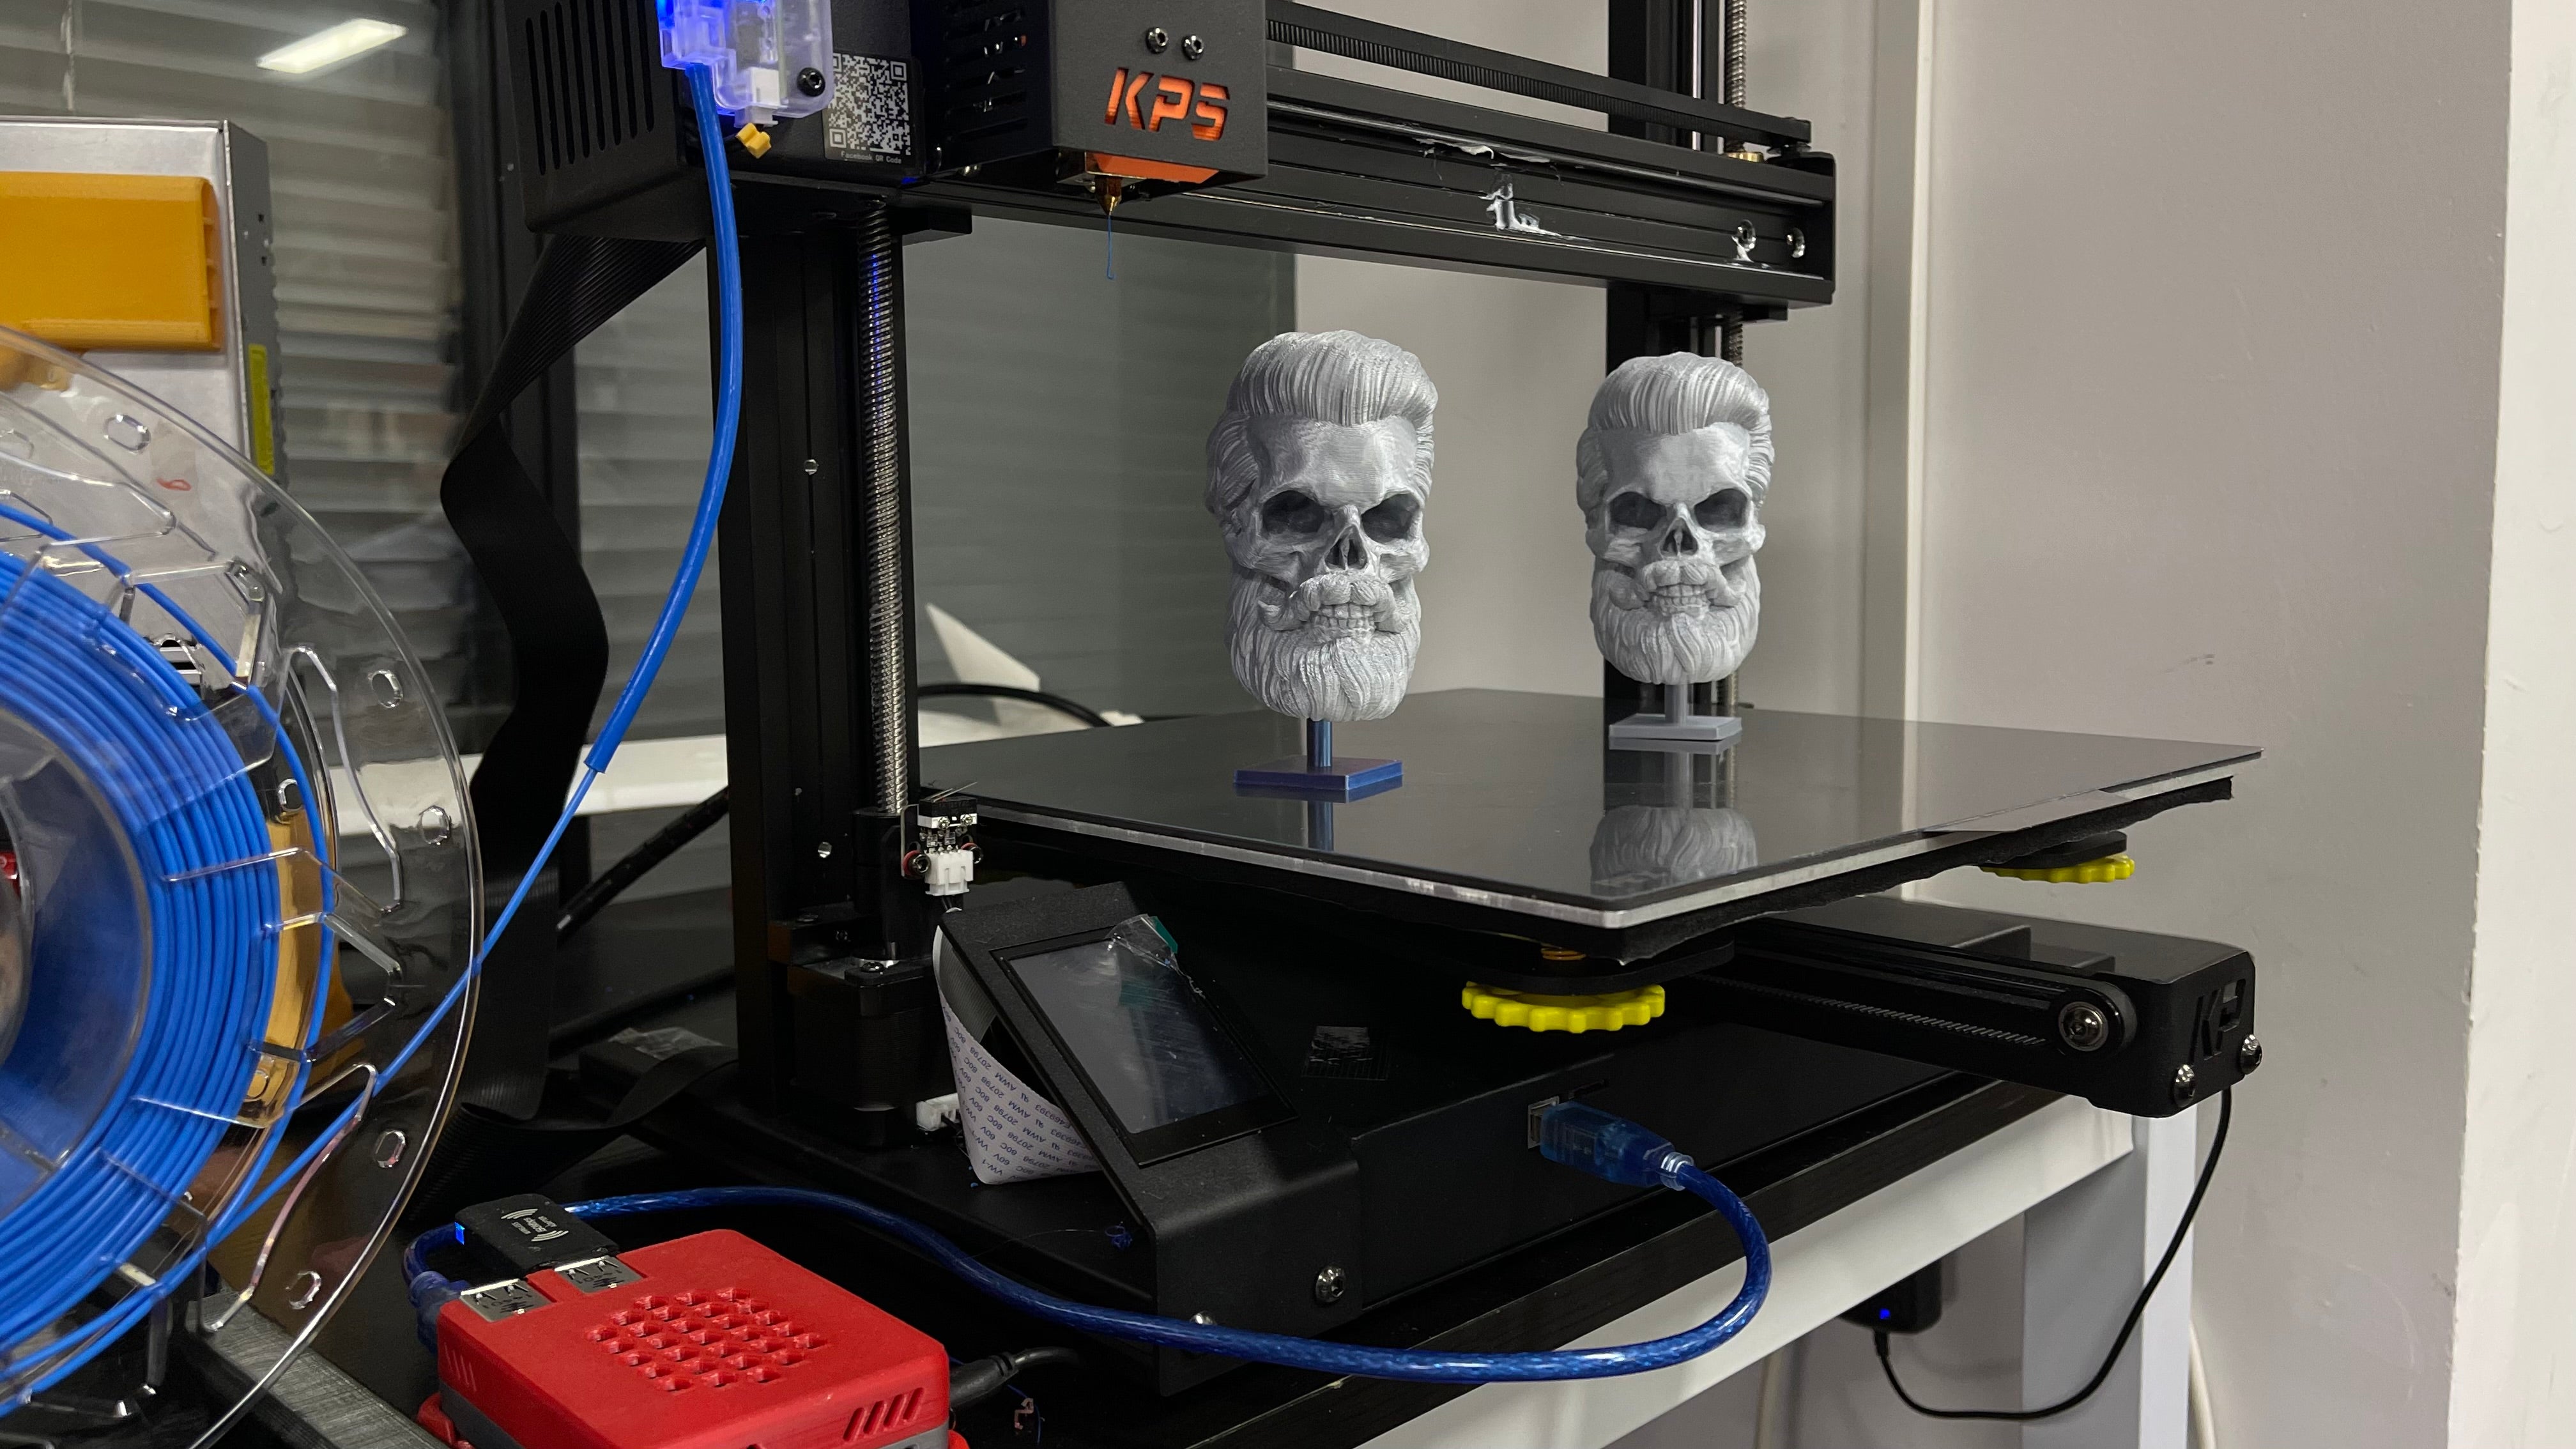
In the earlier article, we showed how to prepare Klipper firmware for Kingroon KP3S, today we are going to show you how to set up Klipper for Kingroon KP5L 3D printer and use.
If you have no idea how to set up the PI and get the firmware, please check the above article.
So, after setting up the Pi and flashing Klipper firmware to your KP5L, we are now able to do the next step.
1. Prepare Klipper Firmware Configuration Files.
Go to here, it’s a great project, you can get the firmware files and configuration files in it. Click “Code”, then “Download ZIP” to get all the files.

Unzip the file, then the “KP5L_Configuration” file is what you need.
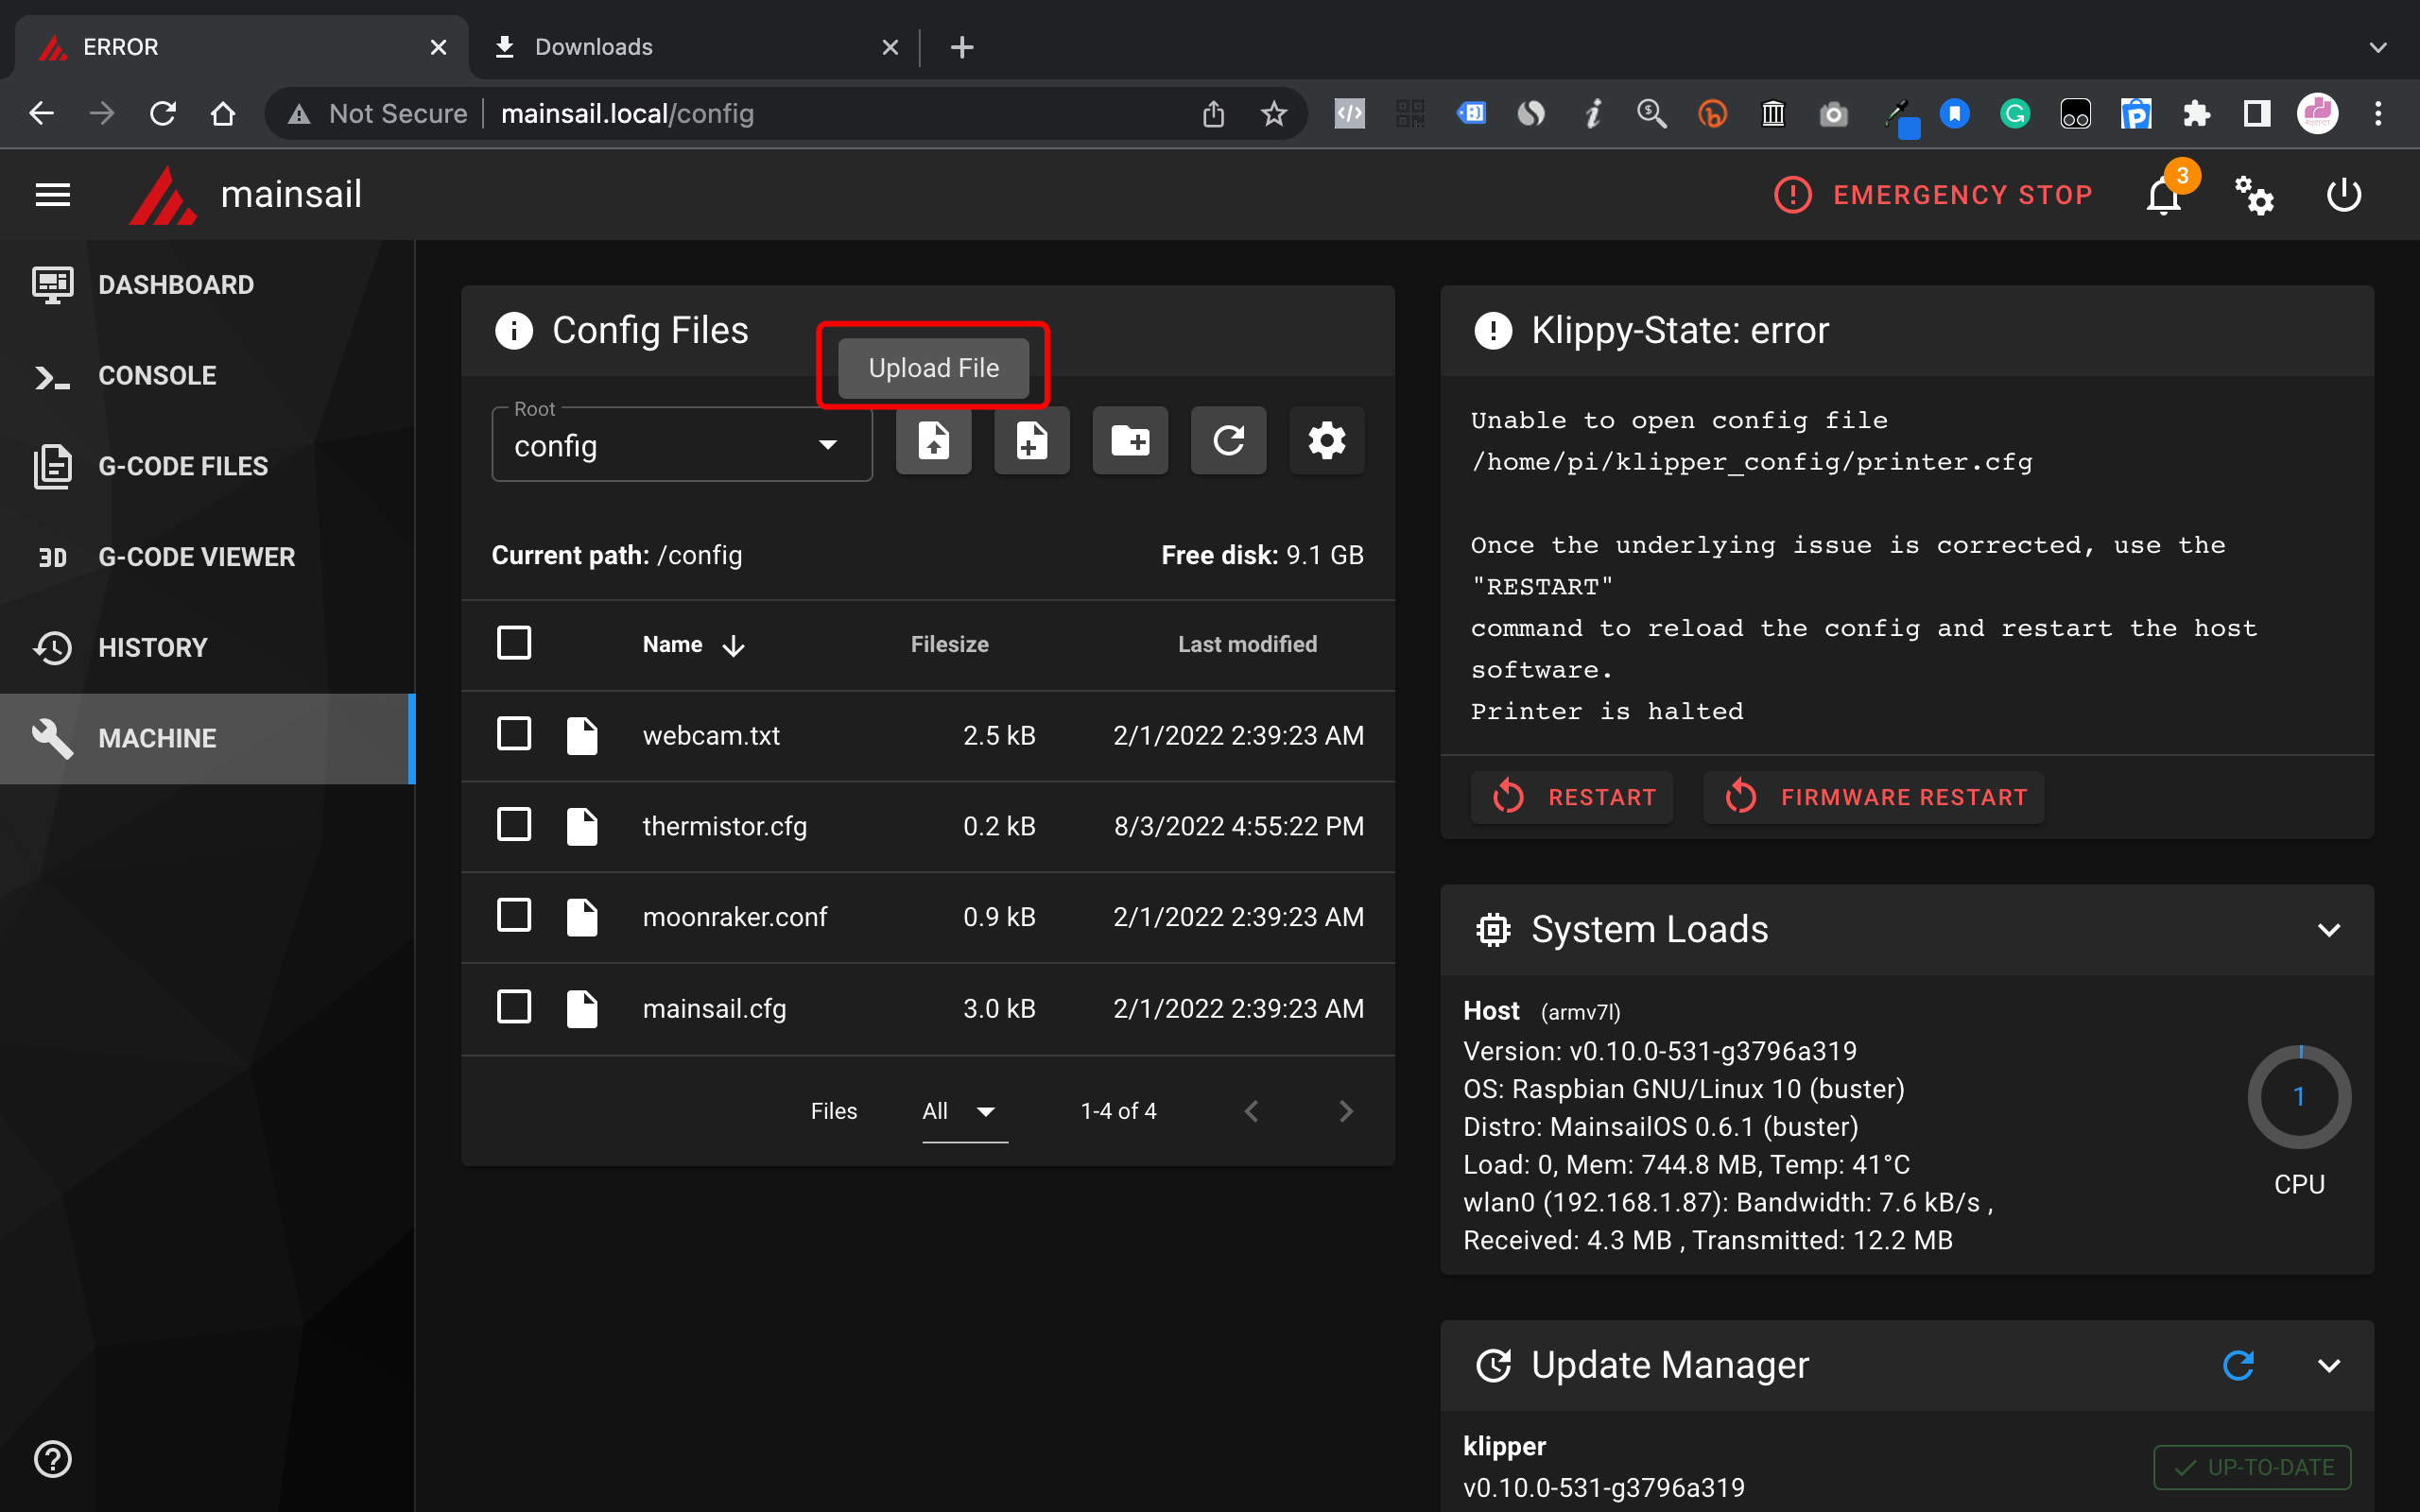
Go to http://mainsail.local/config, then upload all the files in it. After that, Klipper firmware should work.

Then connect your KP5L to the Pi and click “Home all” Icon and see if everything is right.

You also need to modify the files based on the setup on your printer, for example, using BL Touch or not. Please go to https://www.klipper3d.org/Config_Reference.html for help. Everything is quite clear in it. If you want to save some time, you can also scroll down to the bottom, and download the whole bundle that we prepared for you.
2. Print to modify the Pressure Advance
The Pressure Advance is an important setting that affects the print quality. In order to get the best value for it, a test is necessary.

It’s quite simple, just print the test object and measure it. To save you some time, the bundle includes the required file, you can print it right away.
Before printing it, copy the two command lines to the console area, then click send.

The third line is not for KP5L, please don’t use it. After that, you can start the print.

So its setting will be changed by layers, all you need to do is to wait for the finish.

After that, use a caliper to measure the print, as the photo shows, from the bottom to the end of the sharpest corner. Then use the equation to get the value.
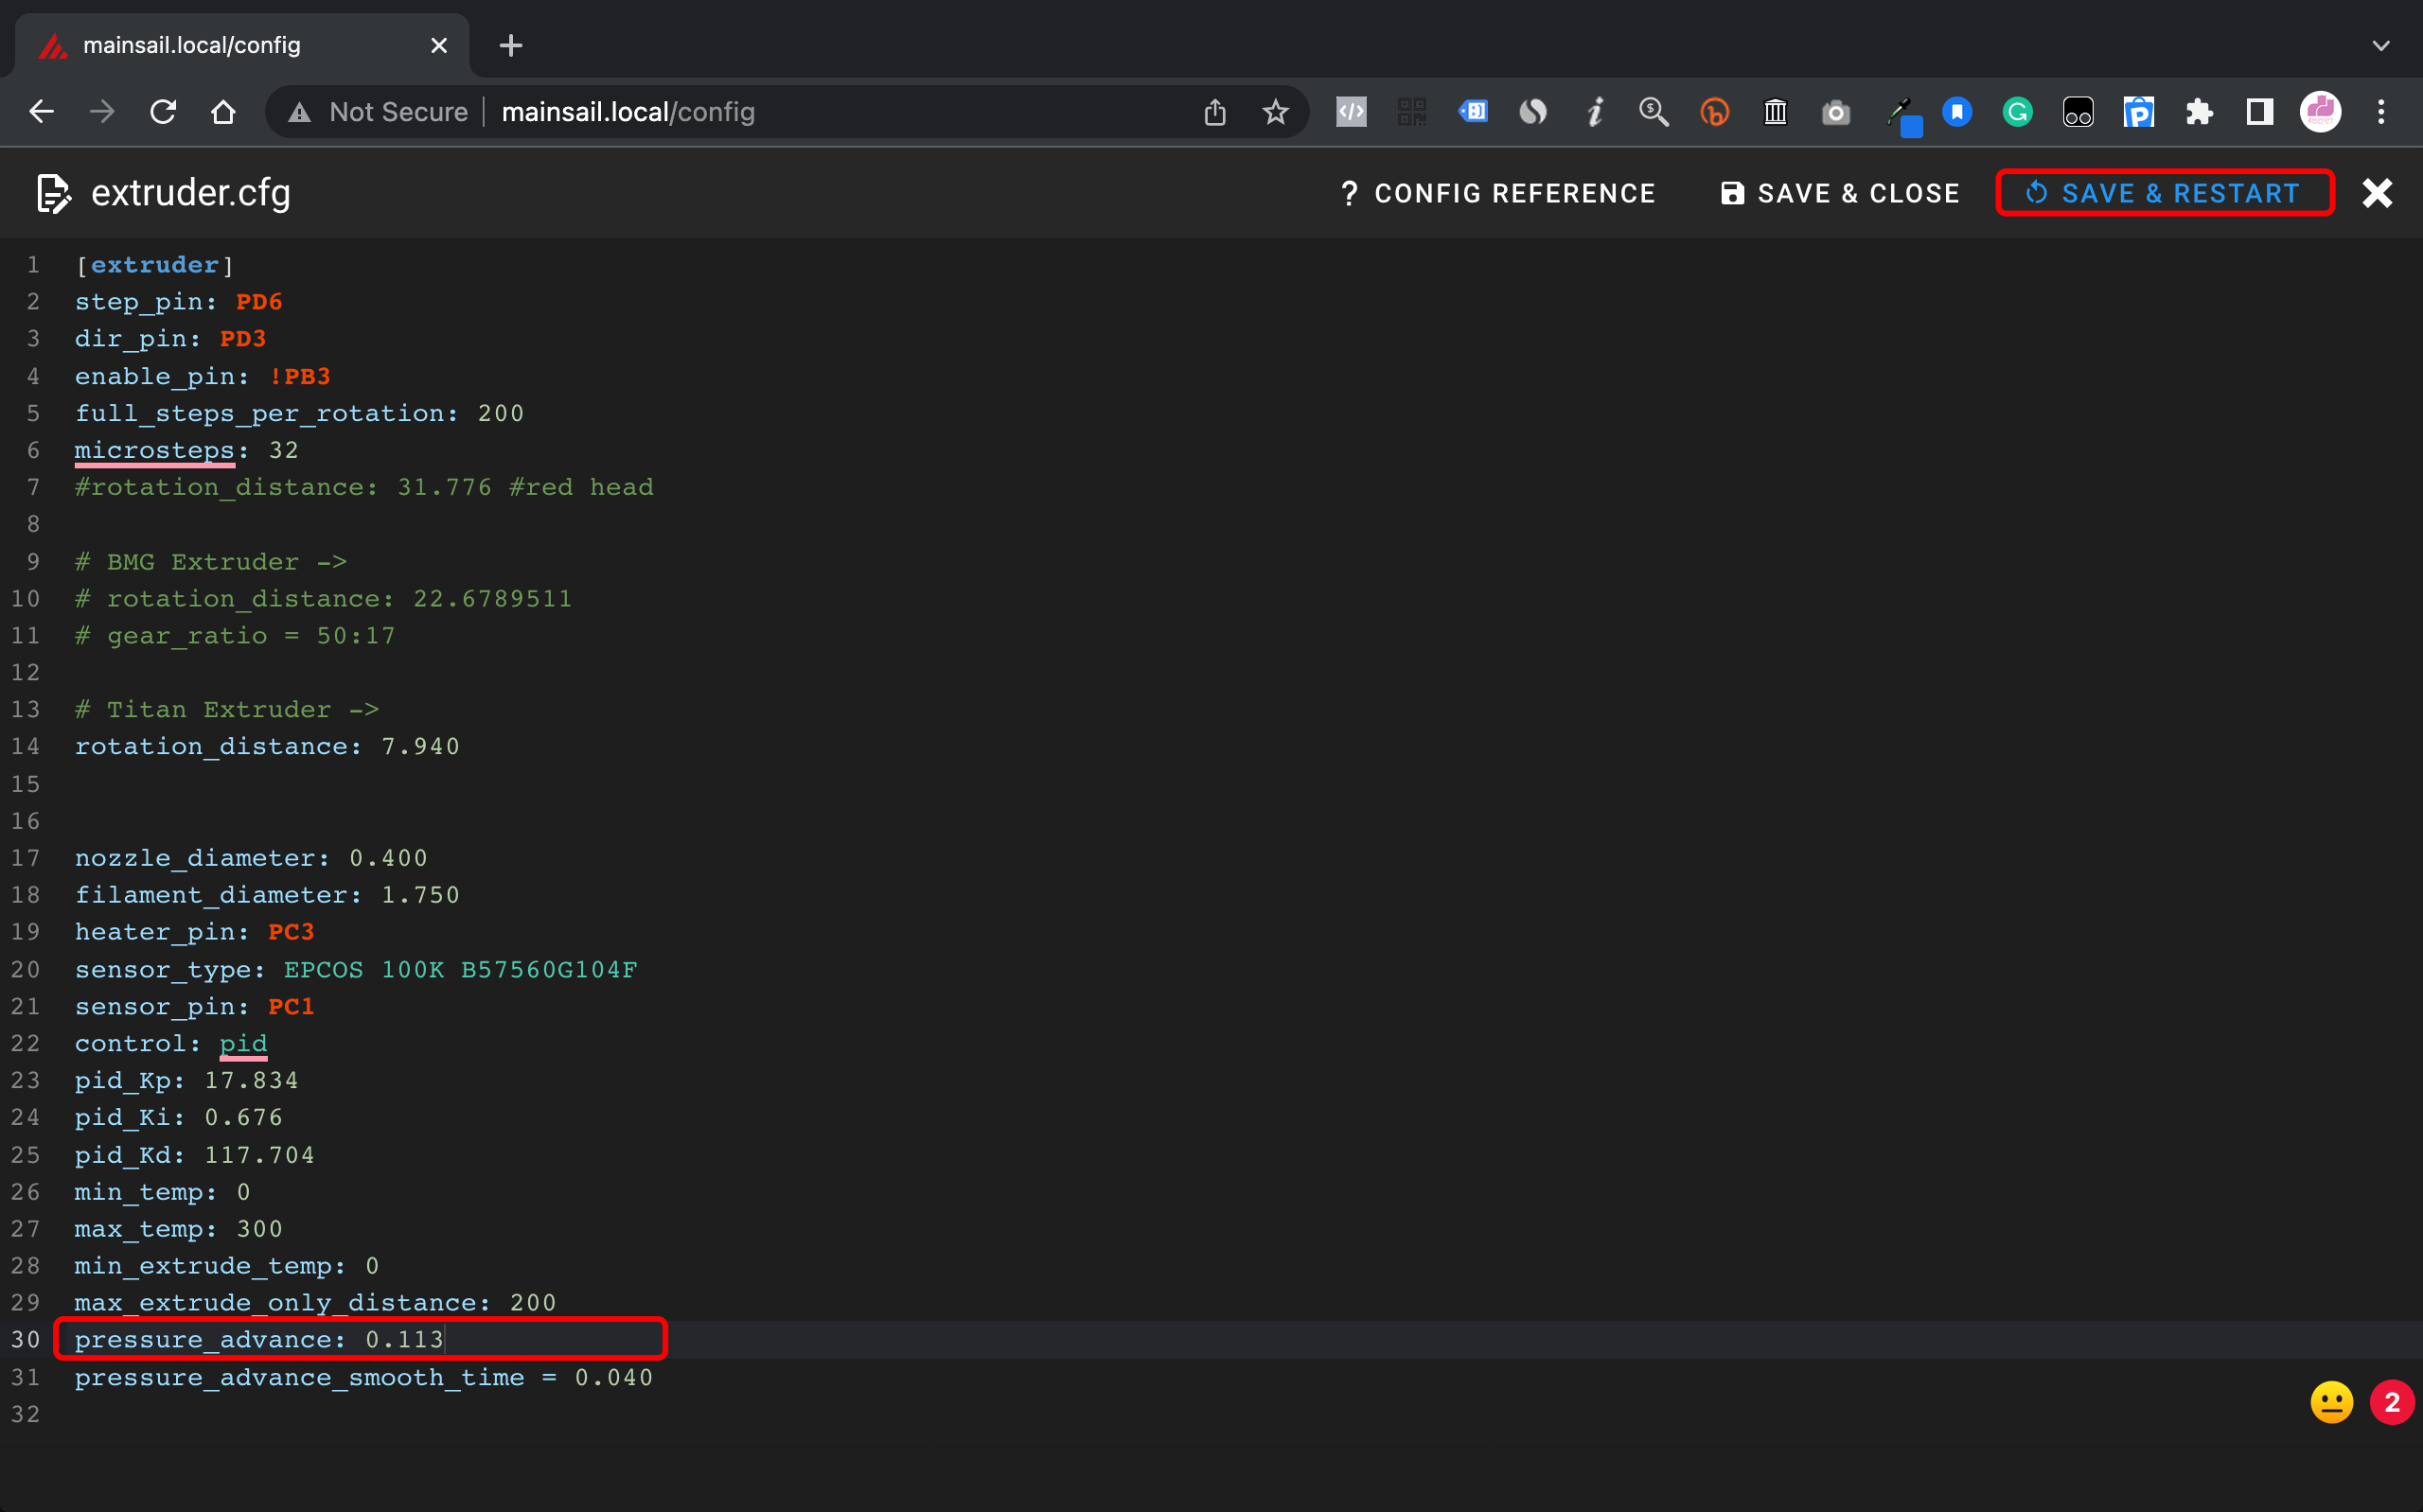
Then go to the “Machine” field, and open the extruder.cfg, find the “Pressure Advance”, then modify it.

After saving and rebooting, your new settings should work.
3. Print
You are all set, just enjoy the printing with KP5L. If you decide to print the fast benchy, some modifications may need to do to it, for example, upgrading the cooling system. Also, a PEX sheet could be another key to help. It is flexible and lighter than the original glass build plate.
Here are the Klipper Bundles for KP5L, including Klipper configurations, test prints, SuperSlicer profile, and Klipper firmware. We will also keep them updated. OK, that’s all for today.

Happy 3D printing!


need help, because my printer KP5L cannot recognize file from micro SD card
https://drive.google.com/file/d/1M_RvqaghOiNlnDFUv46j-2ep1iZmWMT4/view?usp=share_link
i fix the problem every thing work good . link for printer.cfg
I am having the same issue , “Unable to read tmc uart ‘stepper_x’ register IFCNT” ,
and i just disable the following code in printer.cfg ,
now work fine but not sure have any side effect.
I’m new in 3D printer.
#####################################
TMC ######################################
#[include tmc.cfg]
My .cfg files for the printer Kingroon KP5S
https://1drv.ms/u/s!At_2Ef8_p7D8iIdJ2z9UinCHYBx0Tg
My .cfg files for the printer Kingroon KP5S