Klipper mainboard means mainboards designed for 3D printers who runs Klipper system. It is powerful enough to handle everything without things like raspberry pi or orangepi, so manufactures can make Klipper 3D printers more compact in structure.
MCU (Micro Control Unit)
MCU, the Micro Control Unit or Single Chip Microcomputer, is a kind of chip that combines everything a device need. It is compact, powerful and is used widely among smart phones, computers, controllers or even on your car.
One of the most popular Single Chip Microcomputer is the Raspberry Pi, it is so powerful and used for many areas. For 3D makers who use marlin models, it is the first challenge for using Klipper because it gets way too expensive during the COVID-19 due to the supply shortage.
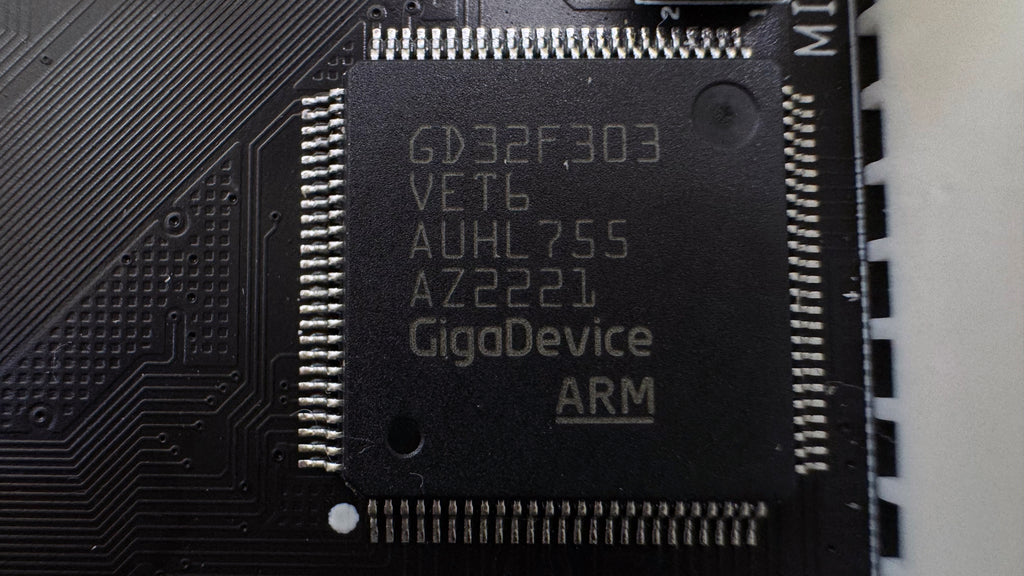
For KINGROON users, especially owners for KP3S, KP3S Pro, KP3S Pro S1, KP5M, and KP5L, might already be familiar with the GD32F303, STM32F103 or even the STM32F407. People find them on the KINGROON KP3 mainboard for checking the firmware type.

It is no strange to use them on 3D printer mainboards. But as people may have noticed, these mainboards are quite simple on structures, which makes them no longer qualified for fast printing with the Klipper firmware.
Host Computer
When it comes to Klipper, fast 3D printing, a host computer is required. It handles all the Klipper processing. The original mainboard becomes a Programmable Logic Controller, it excutes all the commands.

For marlin models, the host computer can be a Raspberry Pi, an orangepi, a smartphone or even an old laptop. As long as you can find the related tutorials and bundles, you can take a try on the old devices around you.
KINGROON usesers can find them in this artcle.
MCU Firmware
But the Host computer and the Programmable Logic Controller don’t commucate directly, a special firmware needs to be generated according to the MCU and you have need flash it to the mainboard.
For KINGROON users, you can find the tutorial in How to Prepare Klipper Firmware for Kingroon KP3S Using Fluiddpi and get many Klipper bundles.
If you are using a different mainboard, you may find the tutorials or MCU firmware from the Community or the manufacture directly.
Since there are two different boards, the way to flash the firmware could be also different. 32 bit mainboard, like the KINGROON KP3 mainboard, the firmware flashed with an SD card. But a 64bit mainboard requires tools like ST-LINK and some certain process to flash a firmware.
Since most screens on the Marlin models are not supported by Klipper, the screen is most likely to be black after flashing the firmware. But luckily, the host computer has controls to the original mainboard now, you can control the printer with internet.
Klipper Mainboard
Klipper mainboard combines everything in a single mainboard, it is powerful enough to handle all the Klipper process requires and compact enough to make Klipper models clean and beautiful. No more external box, Pi or anything, just all-in-one, that’s it, your next generation of 3D printer.
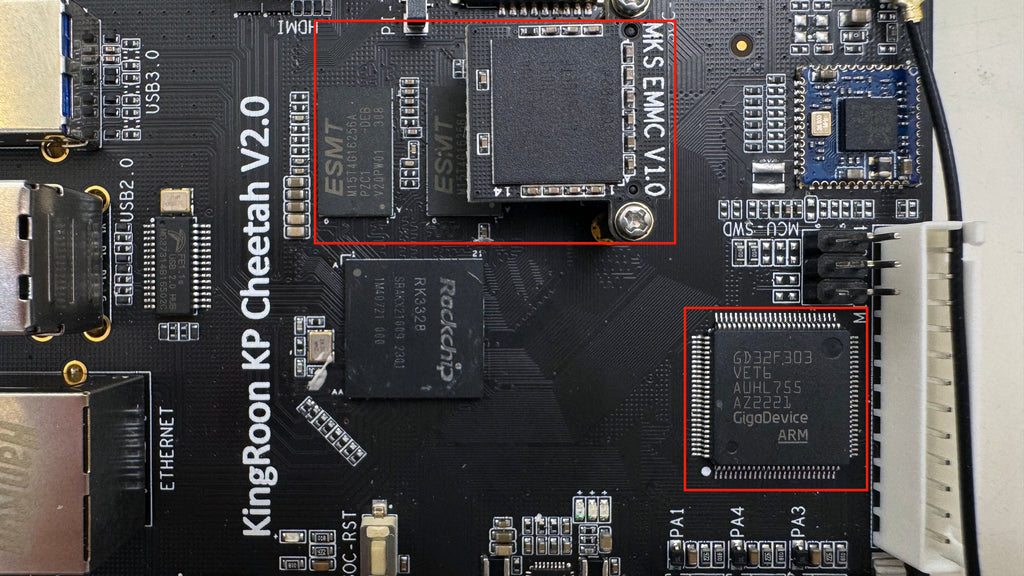
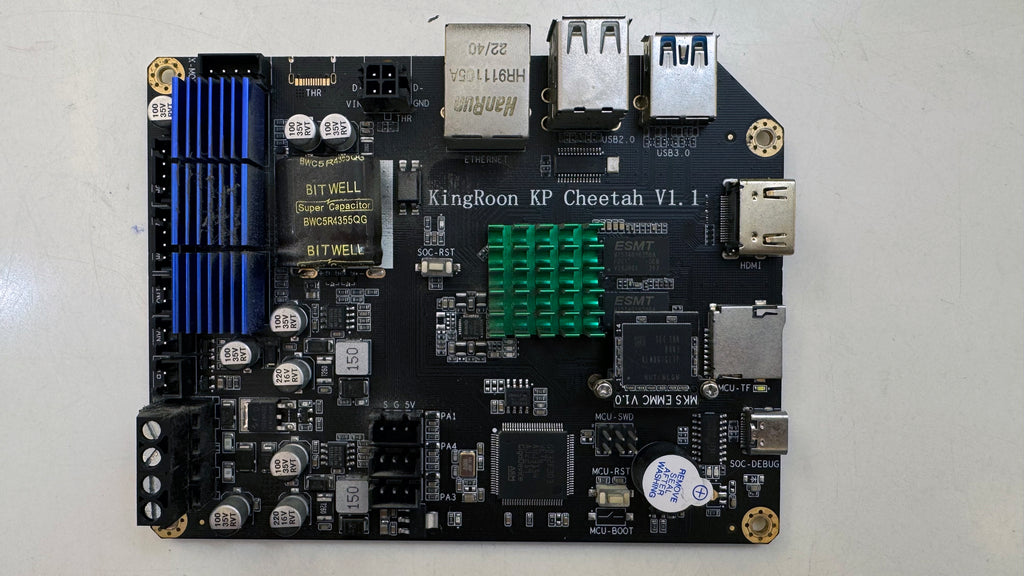
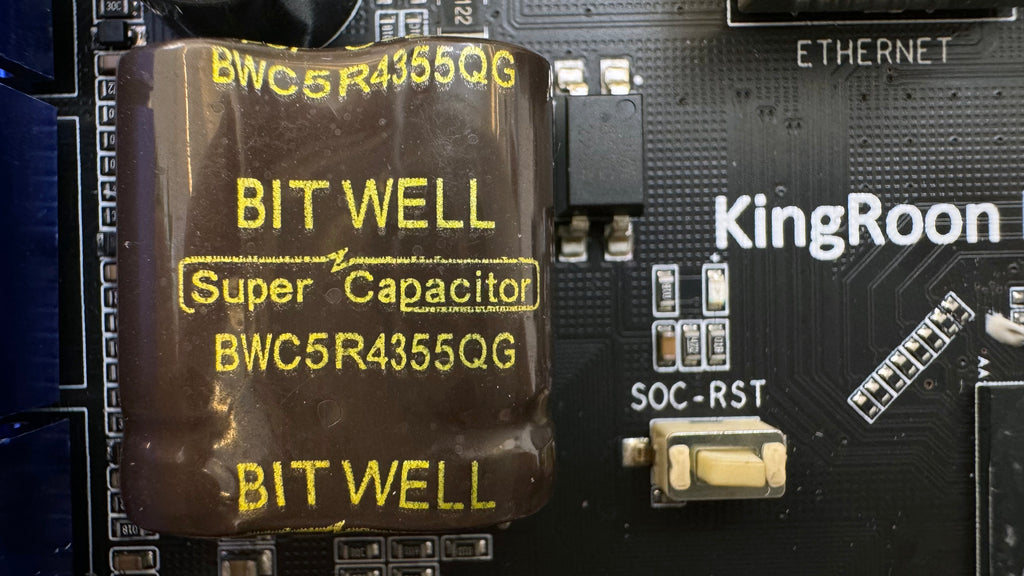
So, you can actually see the full Programmable Logic Controller structure on the KINGROON KP Cheetah V2.0 Mainboard, which is an EMMC module (system image), two memory chips (1GB RAM in total), and an GD32F303 MCU Chip.
The Klipper mainboard usually has an EMMC module for the system image, which is a place we run Klipper system, we used to install that on an SD card then powered by the host computer. But EMMC directly communicates to the host computer and has way more fast read and write speed than the SD cards. It becomes one key feature that makes Klipper mainboard stable. A low-quality SD card could not only ruin your prints but also a whole Klipper system.
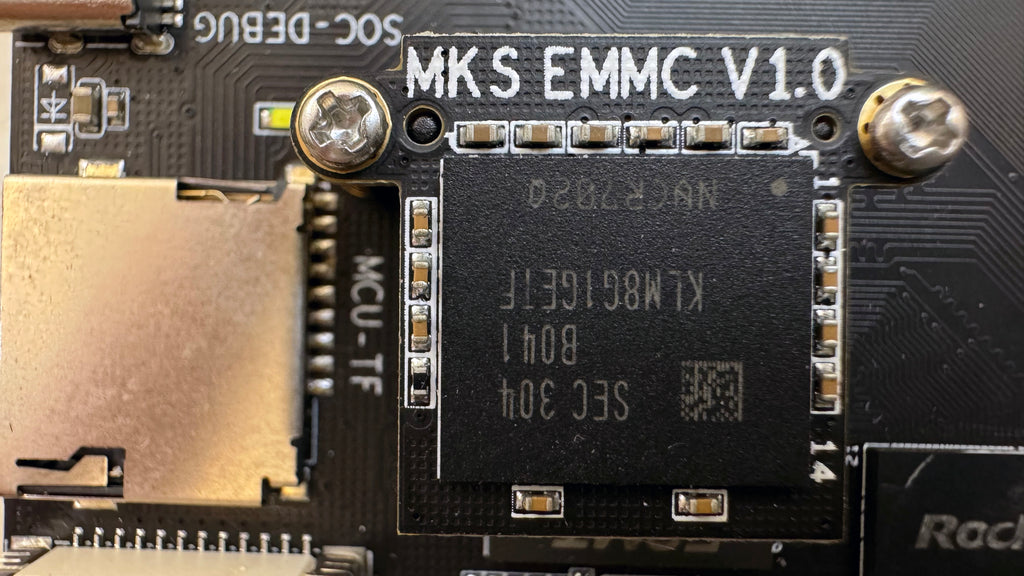
For those who wants to take time lapse videos with Klipper Timelapse, or who need to store a lot of files, getting an 32GB EMMC module is a necessary option.
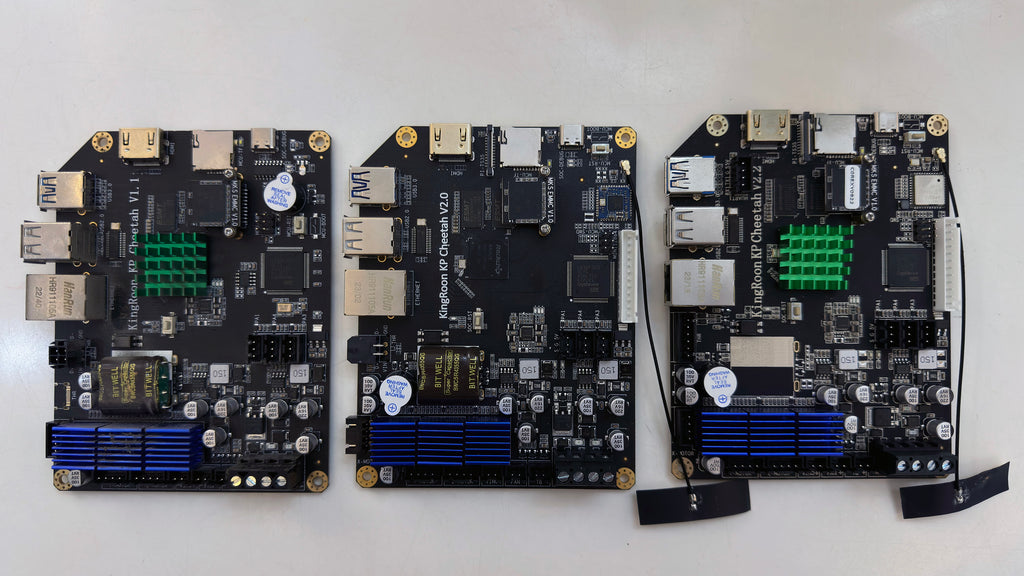
The KINGROON KP Cheetah Mainboard
The KINGROON KP Cheetah Mainboard is a Klipper mainboard used on KP3S Pro V2 and KLP1, it is designed for Klipper firmware and originated form the MKS SKIPR mainboard (a Voron mainboard). So far, the mainboard developed a lot and its version goes to V2.2
So, let take a look and see what has been changed.
WIFI Module and 12864 Screen Port
The V1.0 version does support WIFI connection and HDMI display, but you need to use a wireless adapter and cannot use an 12864 screen with the mainboard. But the mainboard already has the most features of the later versions.
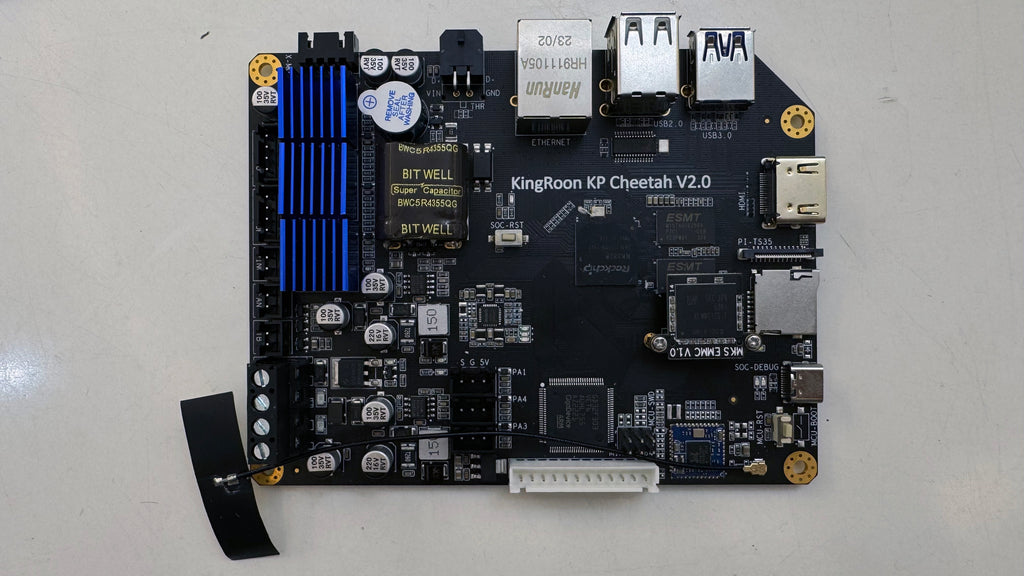
WIFI Module, Antenna and 12864 Screen Support
We add a WIFI module, a WIFI antenna, and a 12864 Screen port on the V2.0 mainboard. So the KP3S Pro V2 start to have a 12864 screen, the KLP1 has a touch screen, and both models start to support WIFI.
The antenna is stick on the metal frame, but the connector may get disconnected during the shipping, if the printer won’t connect to the WIFI when the password Is correct, please open the printer and check it.
More Upgrade on V2.2
After the short-term test on the V2.1 version, we made quite a few upgrades on the KINGROON KP Cheetah V2.2 Mainboard. According to the change, we also use new THR cable (with new connectors), a V2.0 THR Board, a new Proximity sensor (KLP1 230), and a new CHC Heating ring (with a port). Those units are must be used together.

First, we change the THR port from 4-pin to 6-pin. The connection between the mainboard and THR board are much more stable and it is an upgraded CAN connection. The connector on the THR board has also been changed. It has new connector and reinforced with two screws and glue.

Then we upgrade the WIFI module. It is now having a stronger signal, a wider range and a more stable connection.

The old one has an RTL8723BS chip.

The new one uses an AP6212 chip.
After that, we remove the build-in battery for a better stability. The battery was prepared for some features, so it exists on both V1.0 and V2.0 version. But as the system develops, it becomes unnecessary.
So, we removed it.
Conclusion
As Klipper mainboards developed with the Klipper system, new features are certainly will be released and added to your Klipper printers. The continuing upgrade makes a 3D printer become something like a smartphone. What’s more, it even builds the itself needs.
bunch of wankers at Kingroon.
Abbanded the printers and now sell shitty filament.
Nice promotional story, but what are the boardsettings if we want to compile our own Klipper firmware?
Mungkin dua bagian pelindung rusak dan chip utama rusak.
rk3328 – 1pcs
SMBJ43A – 2pcs
Thank you so much in detailing all the changes! Not even BTT talks this much about the minor improvements. Your team is making a nice board for one mission…. I really appreciate that your took the time to improve wifi and even 6 wire canbus while most are using a 4 wire canbus. This board is pretty elegant for it’s intended purposes, and maybe one day you can make a daughter board to allow more steppers for a modular mb that can accommodate bed slingers to voron 2.4 belt driven machines. On the future board revisions please include more connections for auxiliary fixed part cooling fan, and LED output as klipper has good LED scripts.
Saya melakukan cabut colok konektor THR saat printer masih menyala, lalu tampilan layar menjadi selalu “loading”, apa yang perlu diperbaiki dari mainboard-nya? Saya rasa ada bagian yang rusak dari sana karena keteledoran saya. [ID]